

19th Jan 2026
Make a Handmade Stuffed Heart Ornament Tutorial
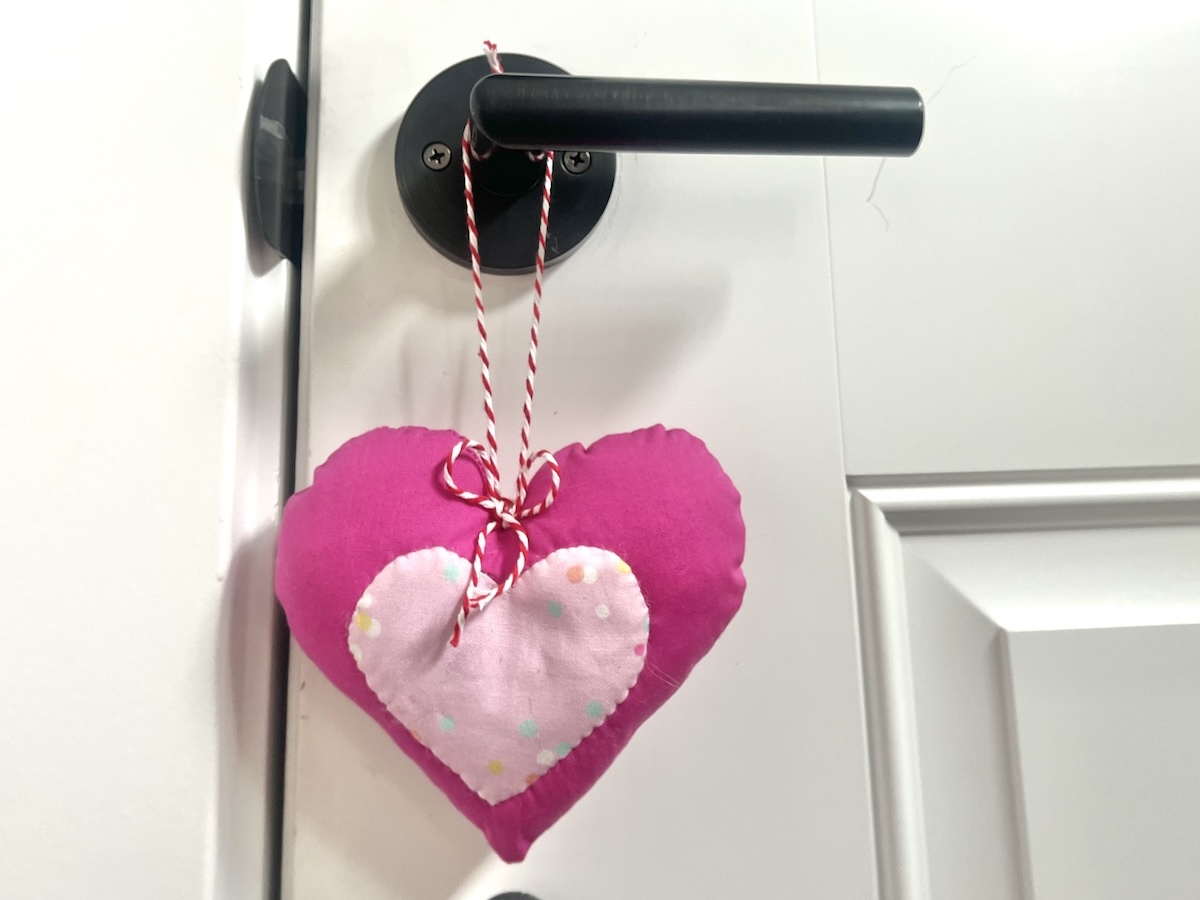
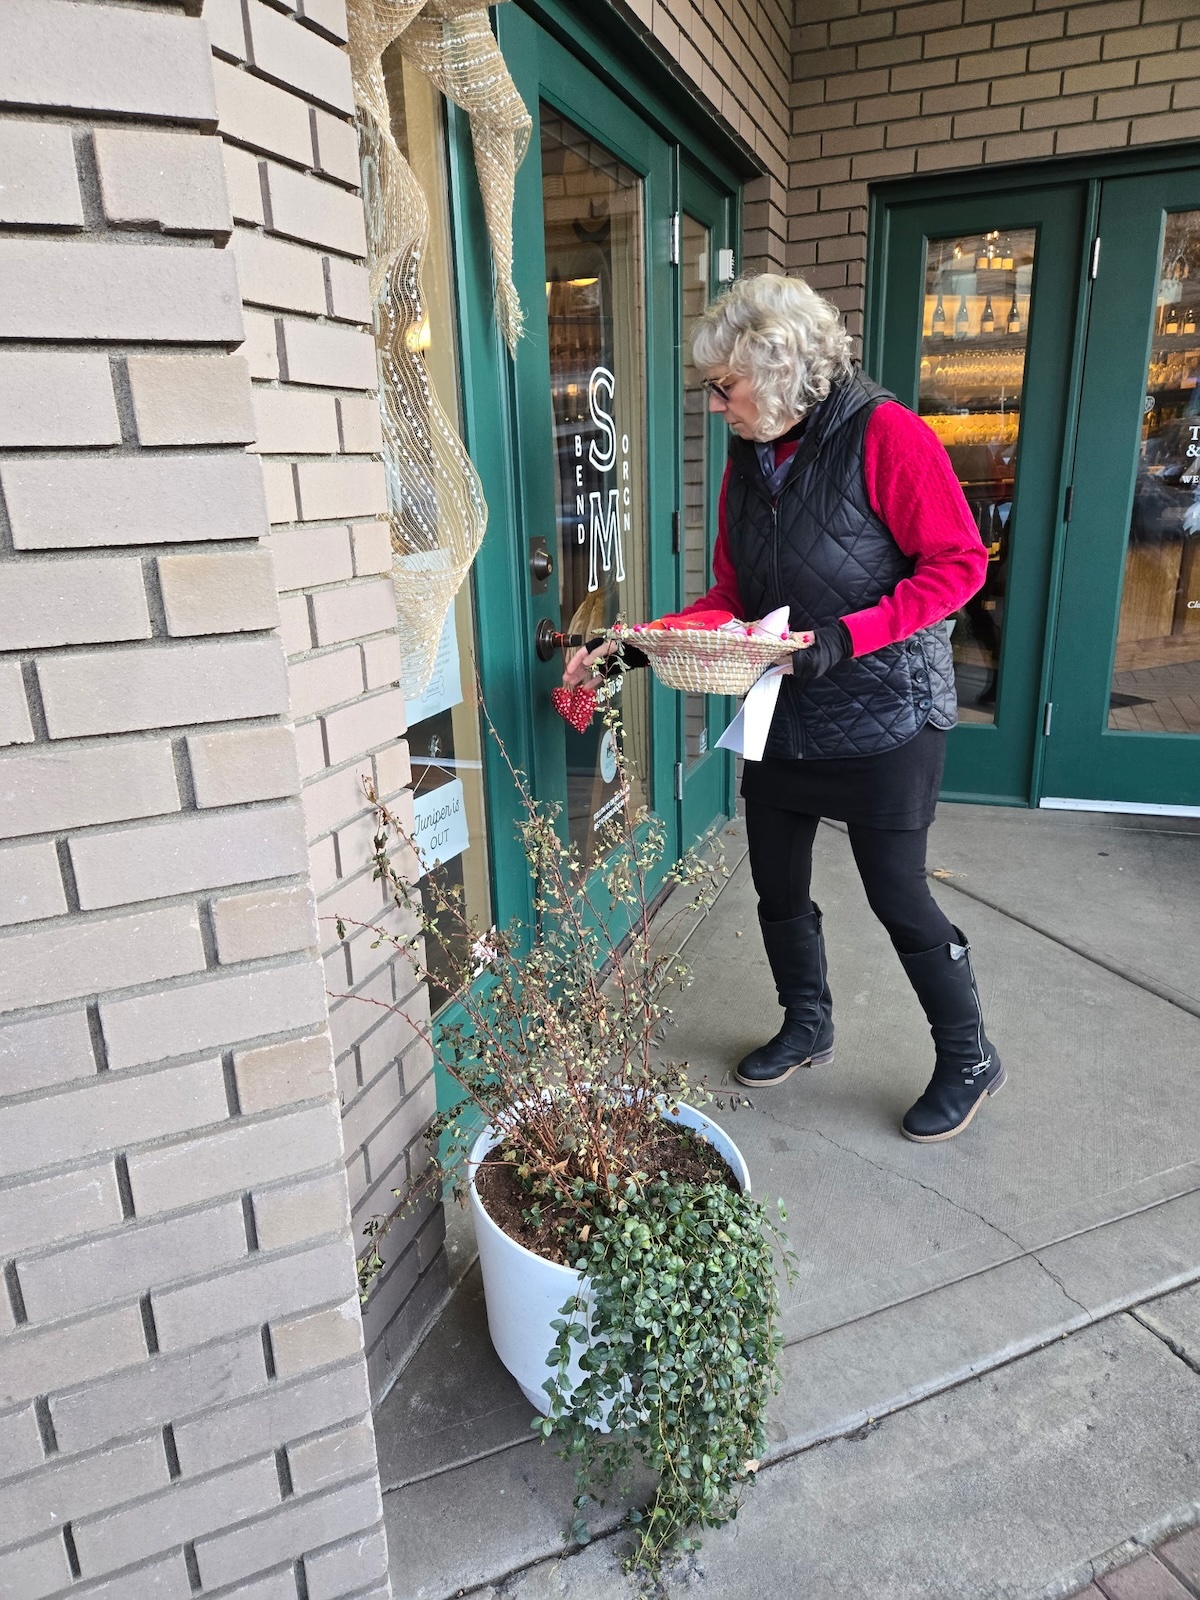
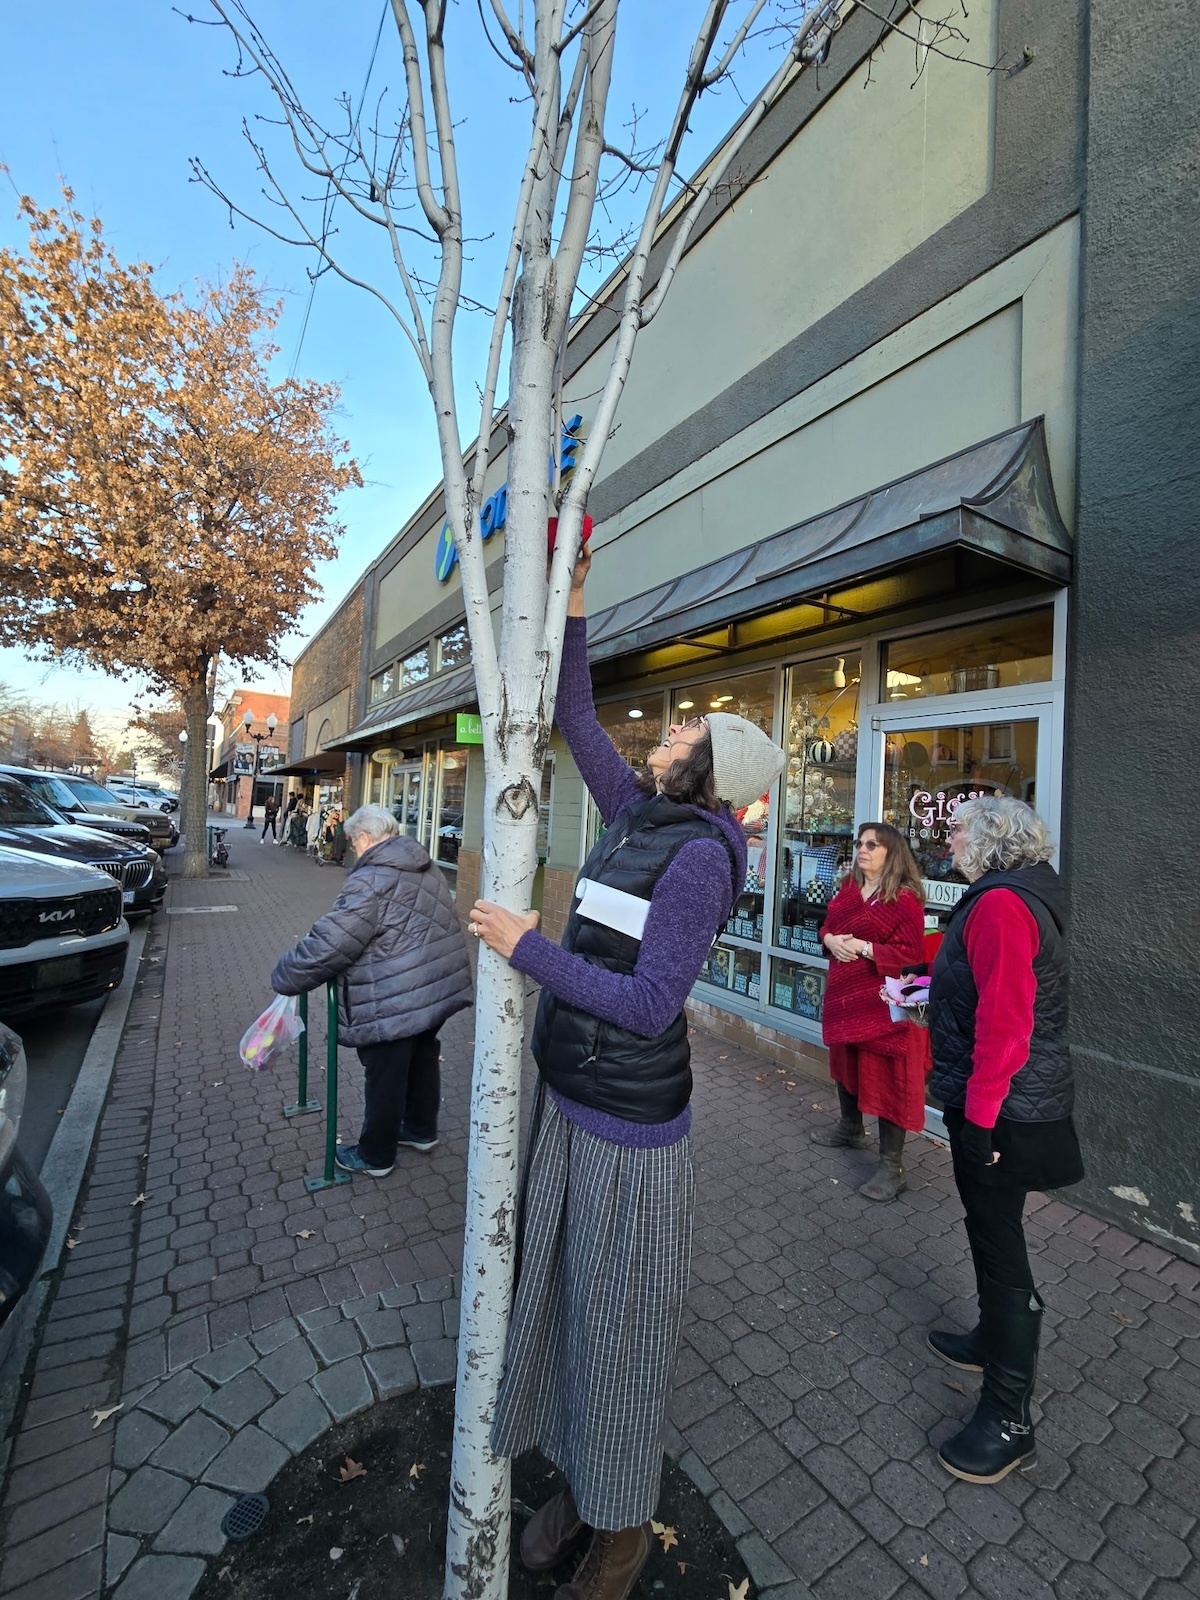
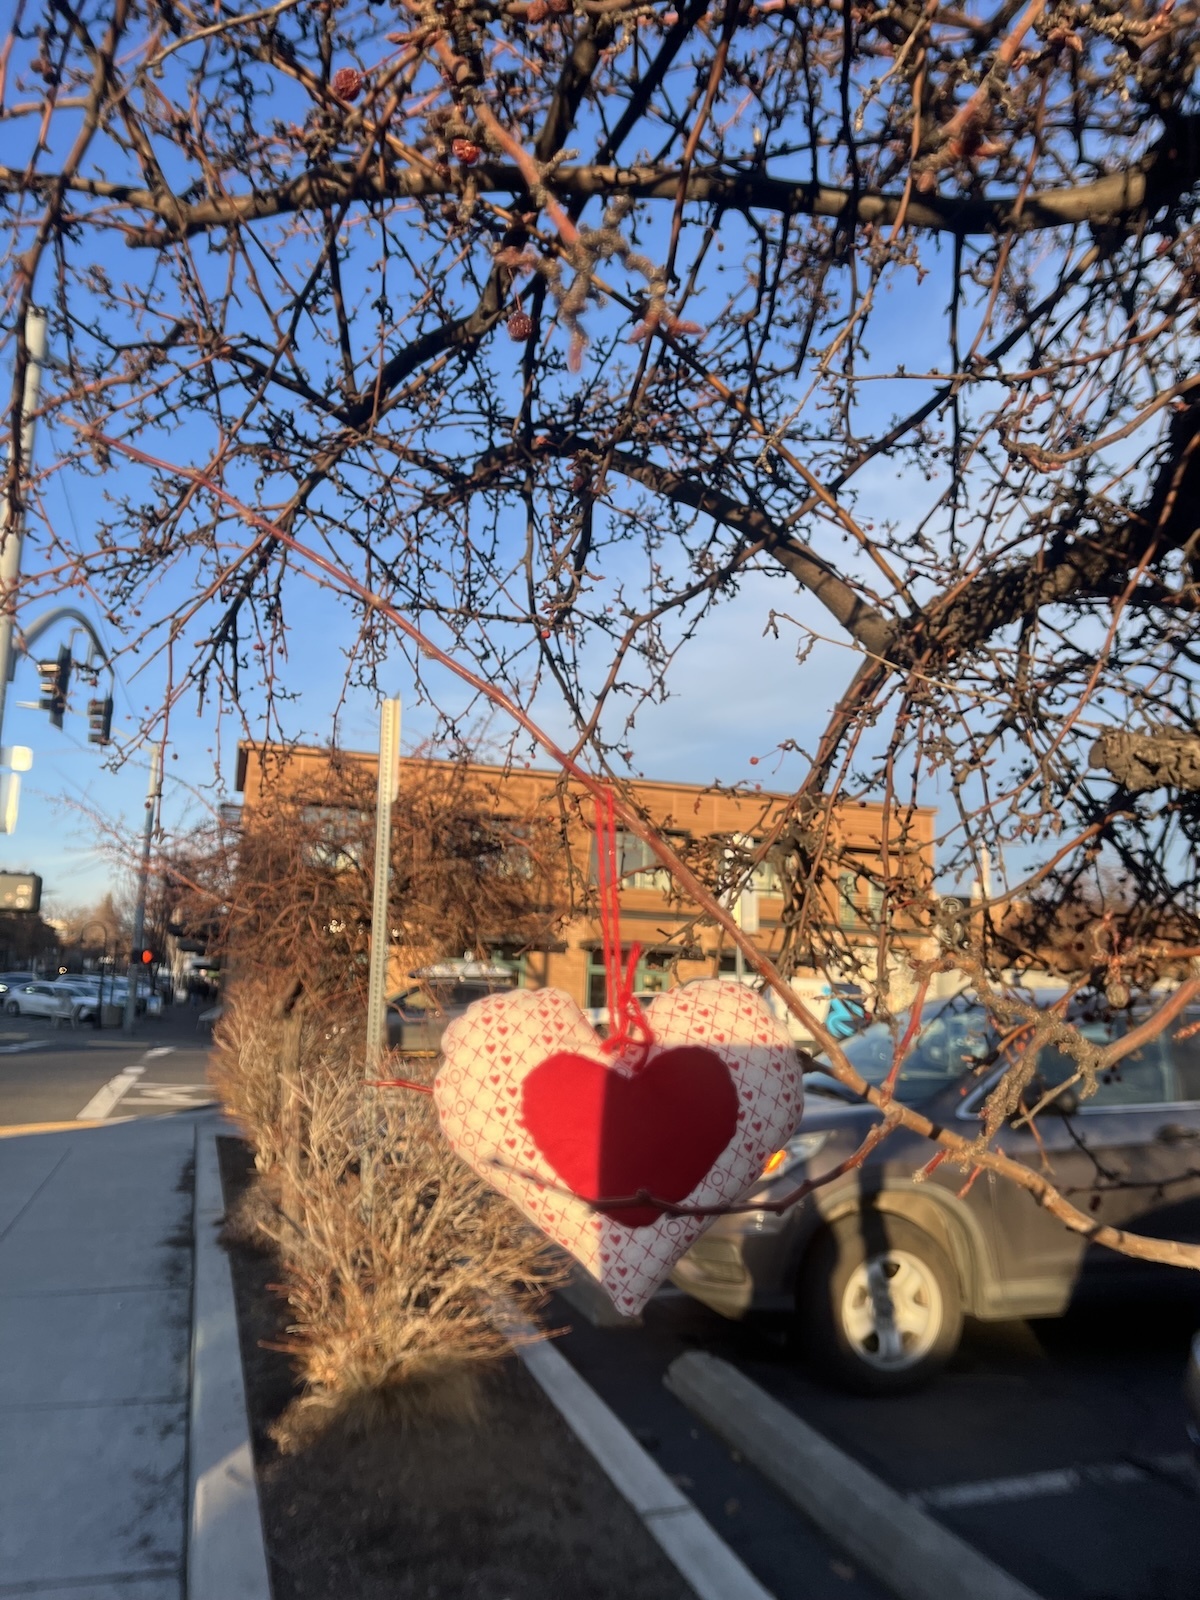
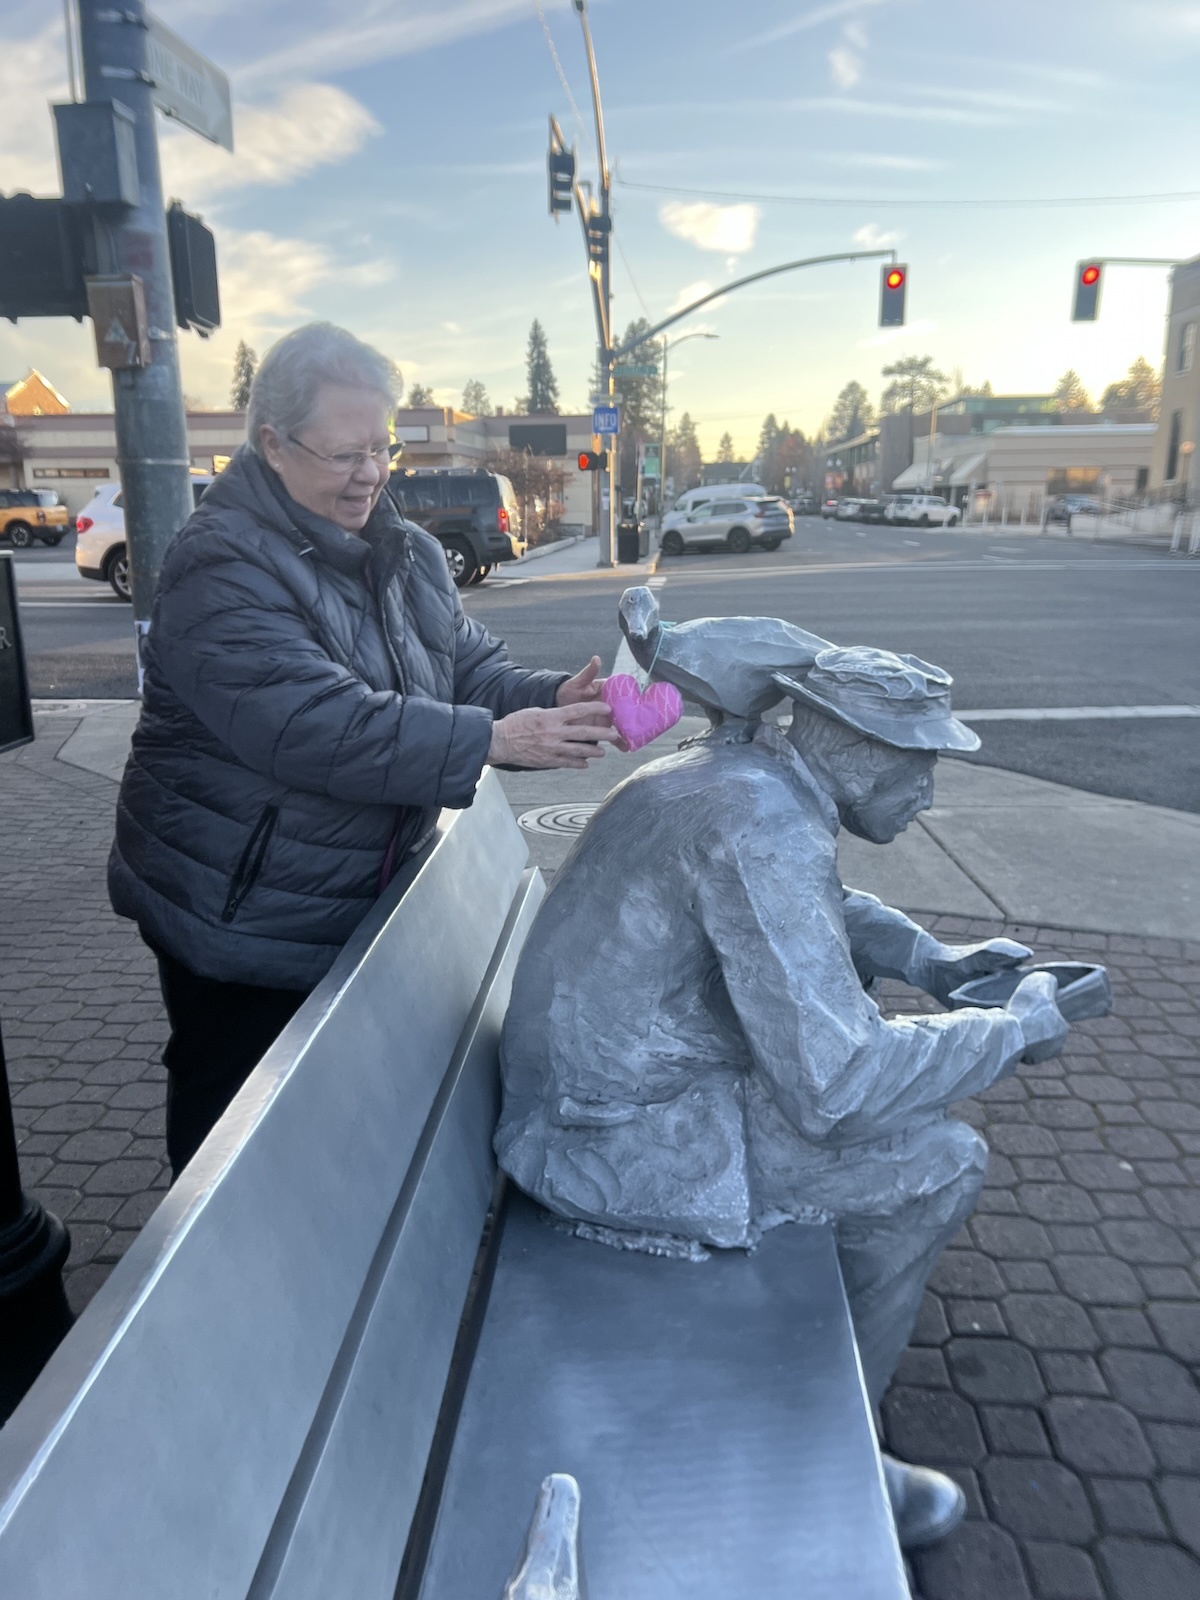
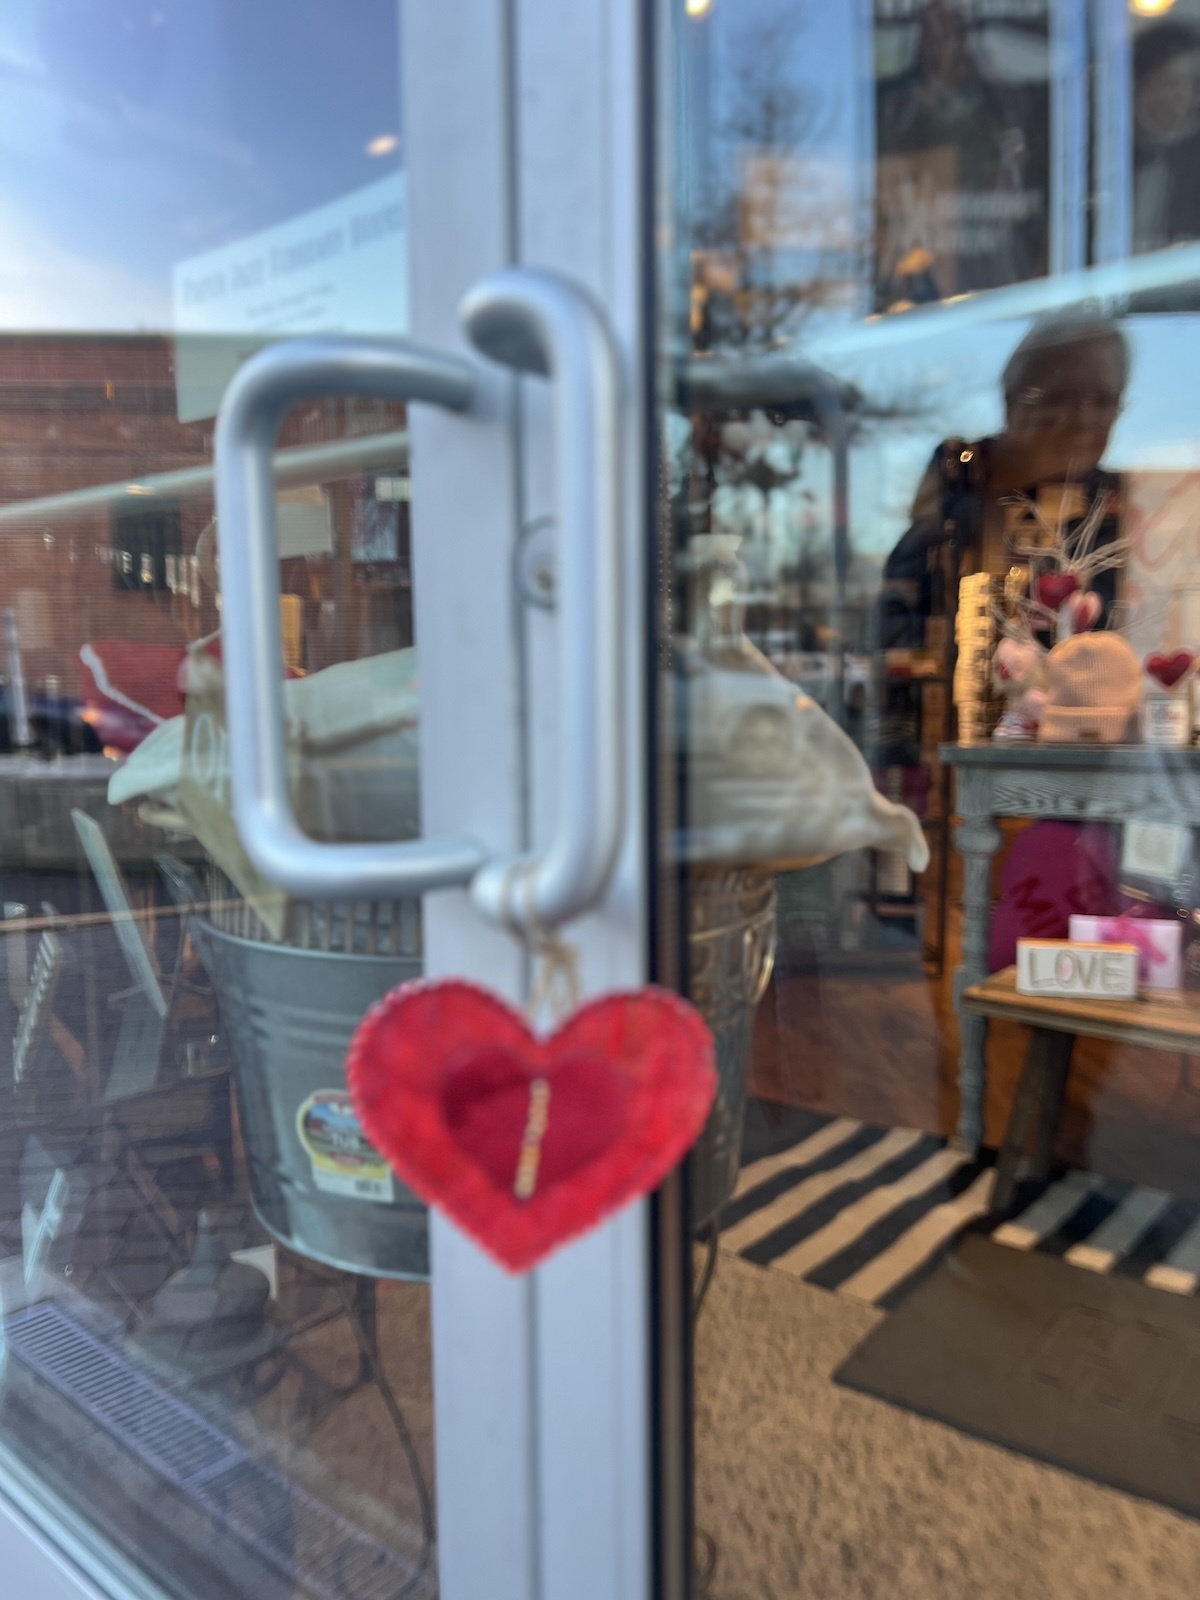
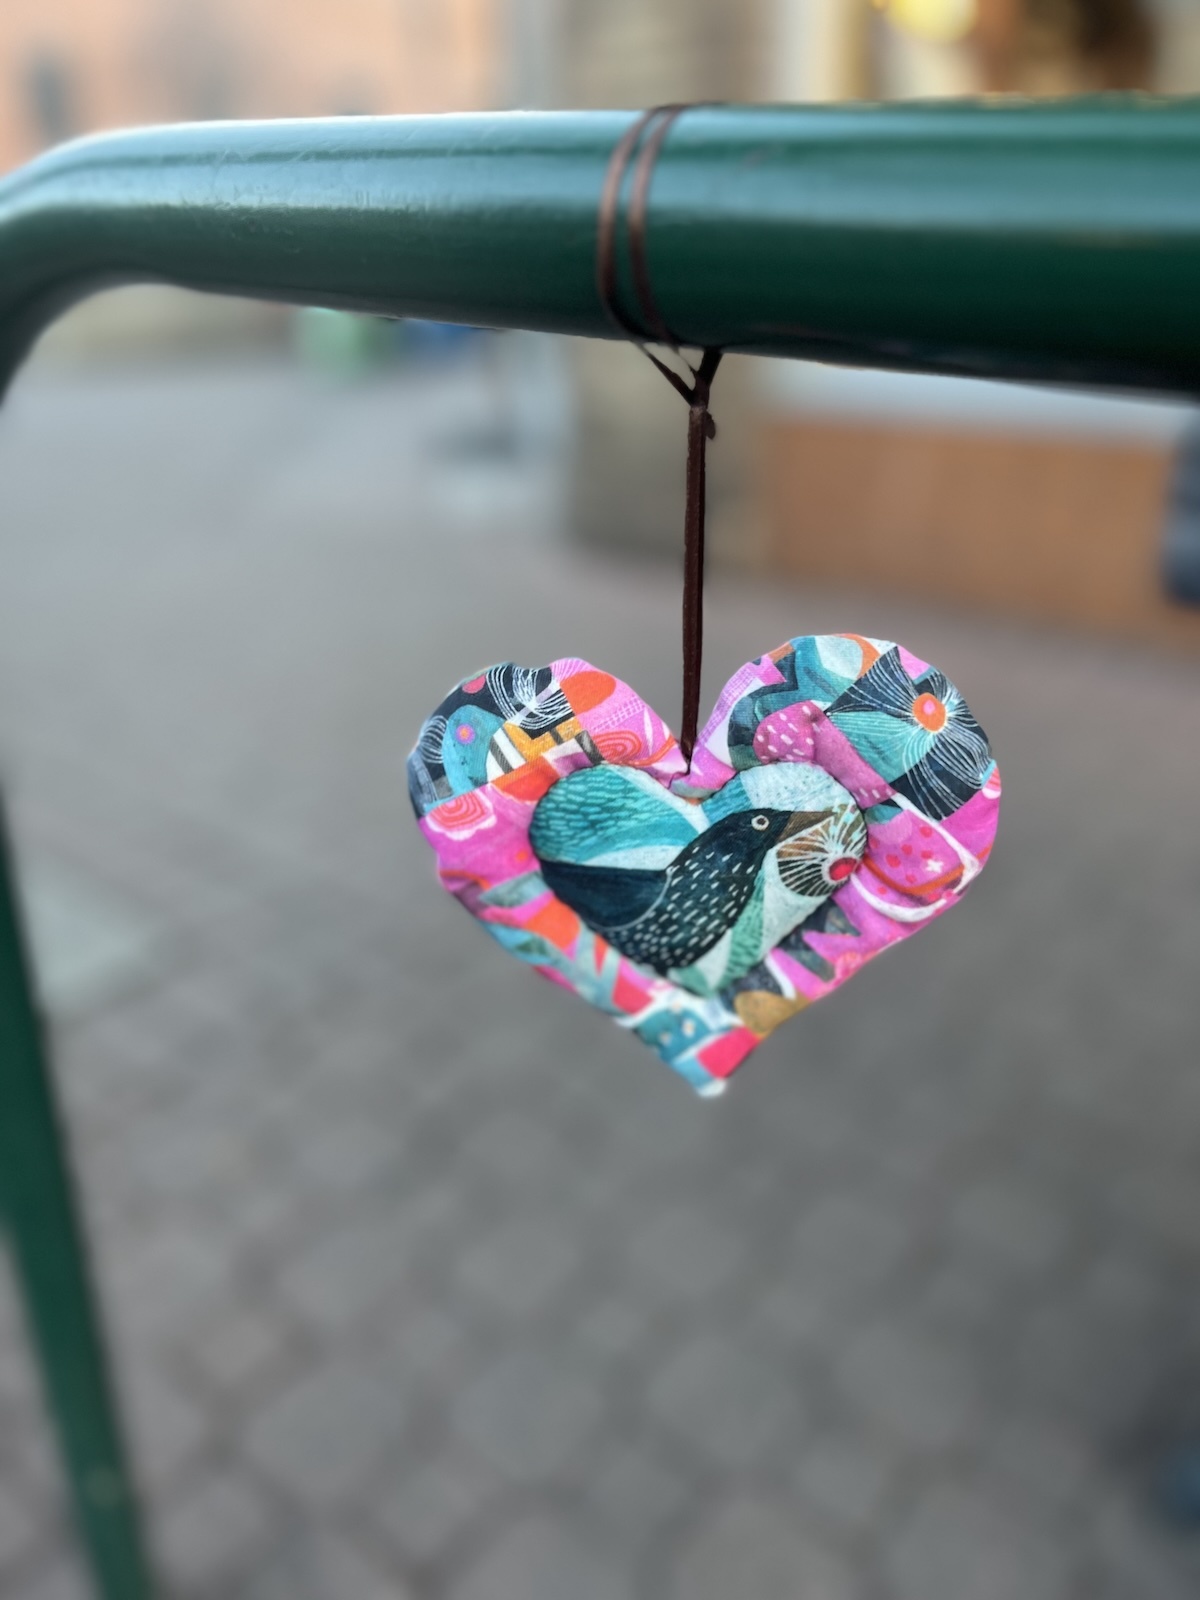
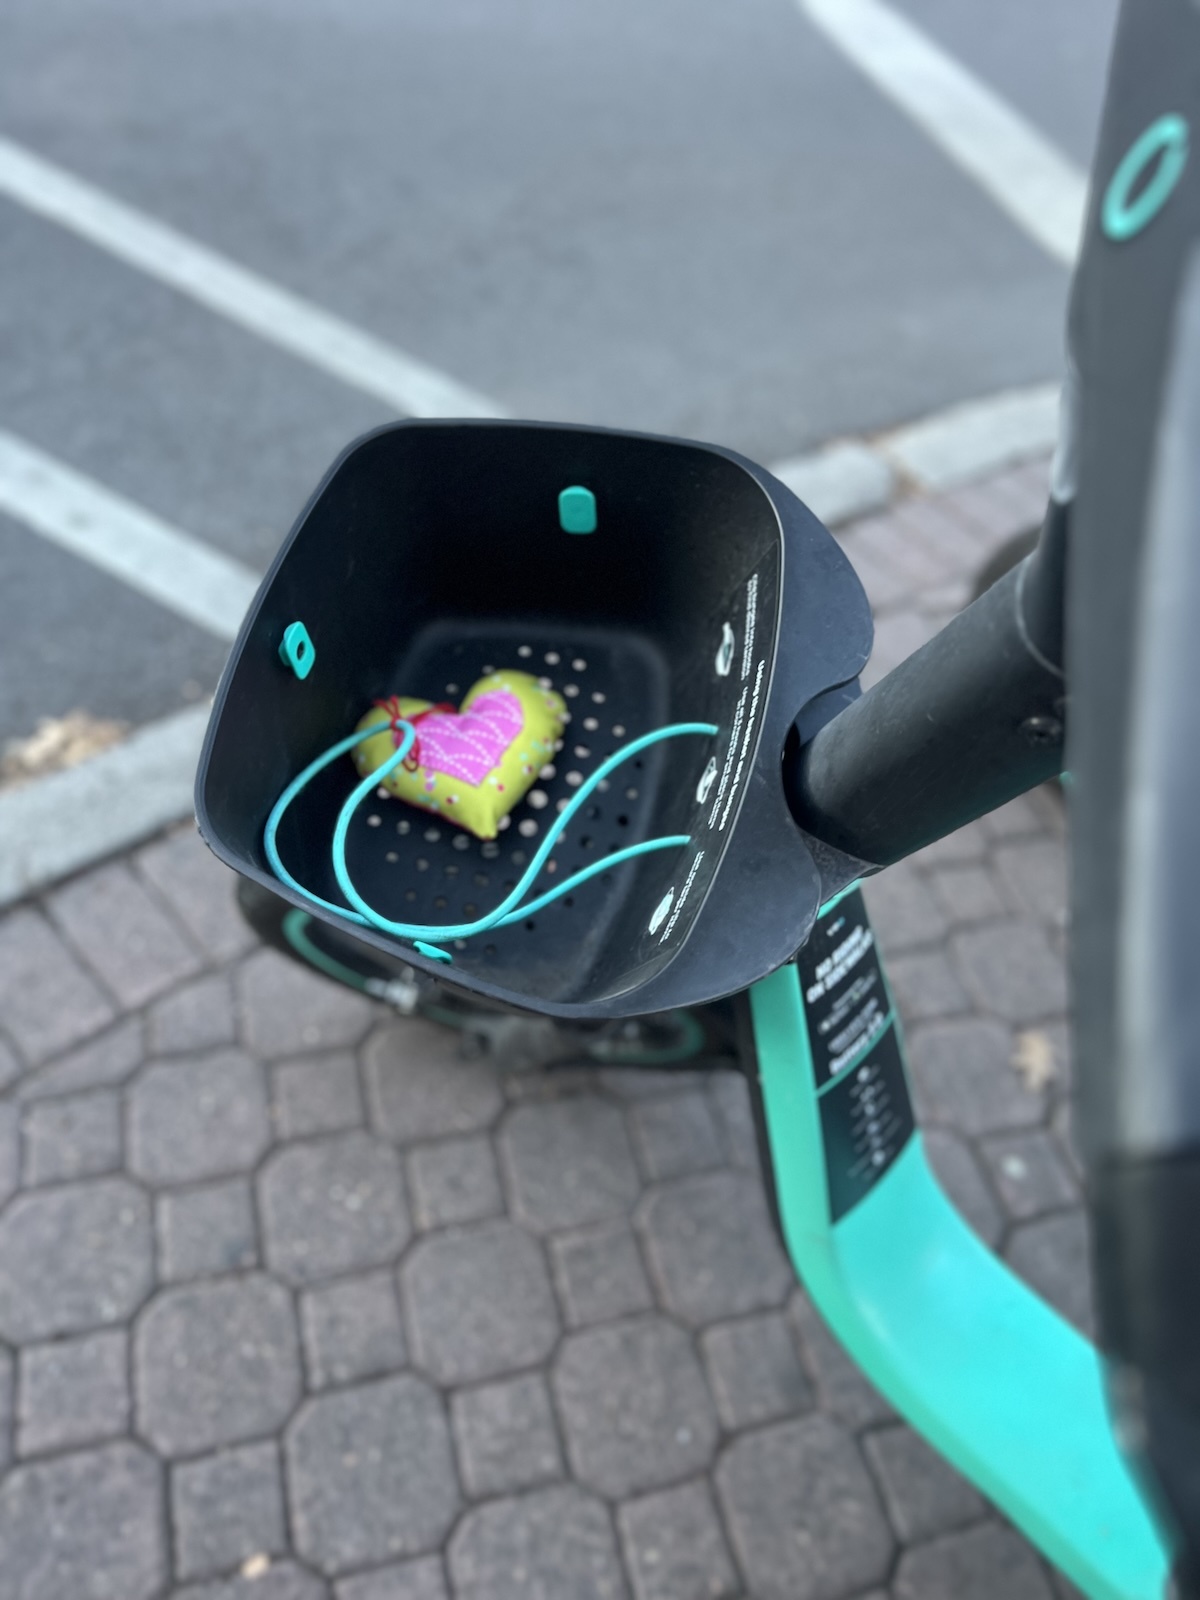
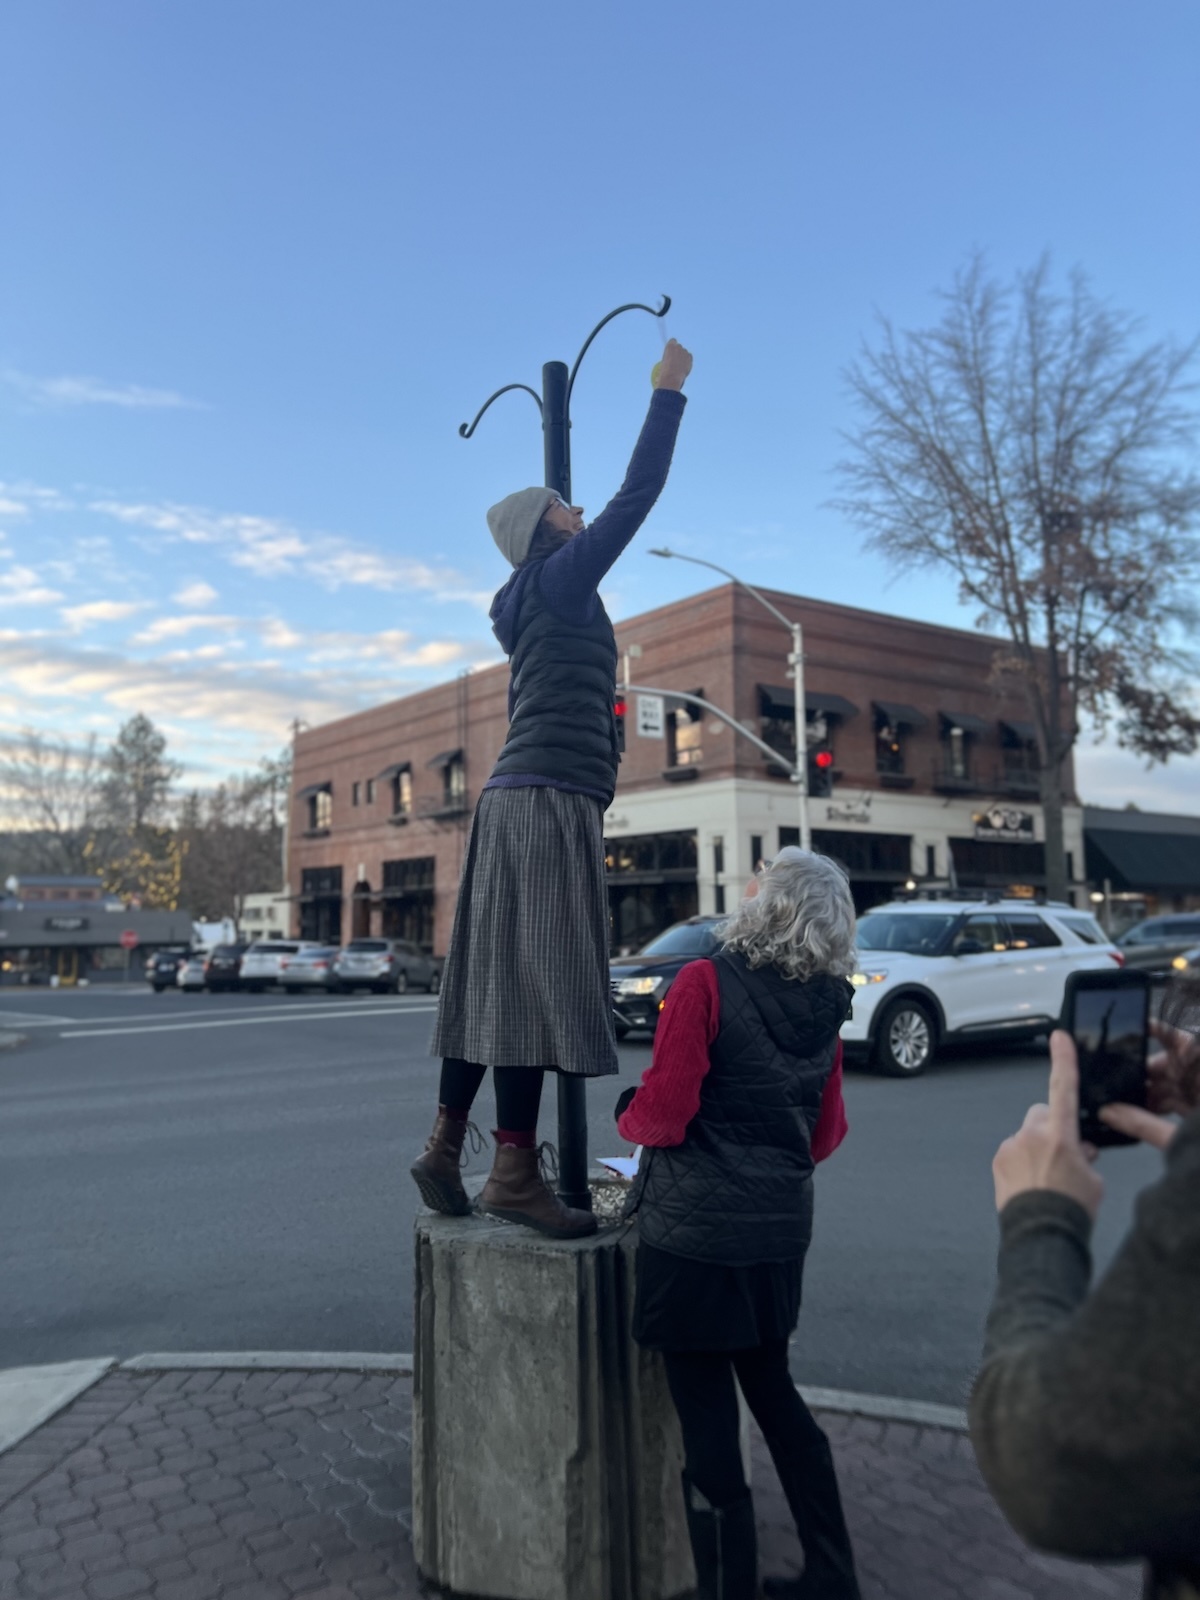
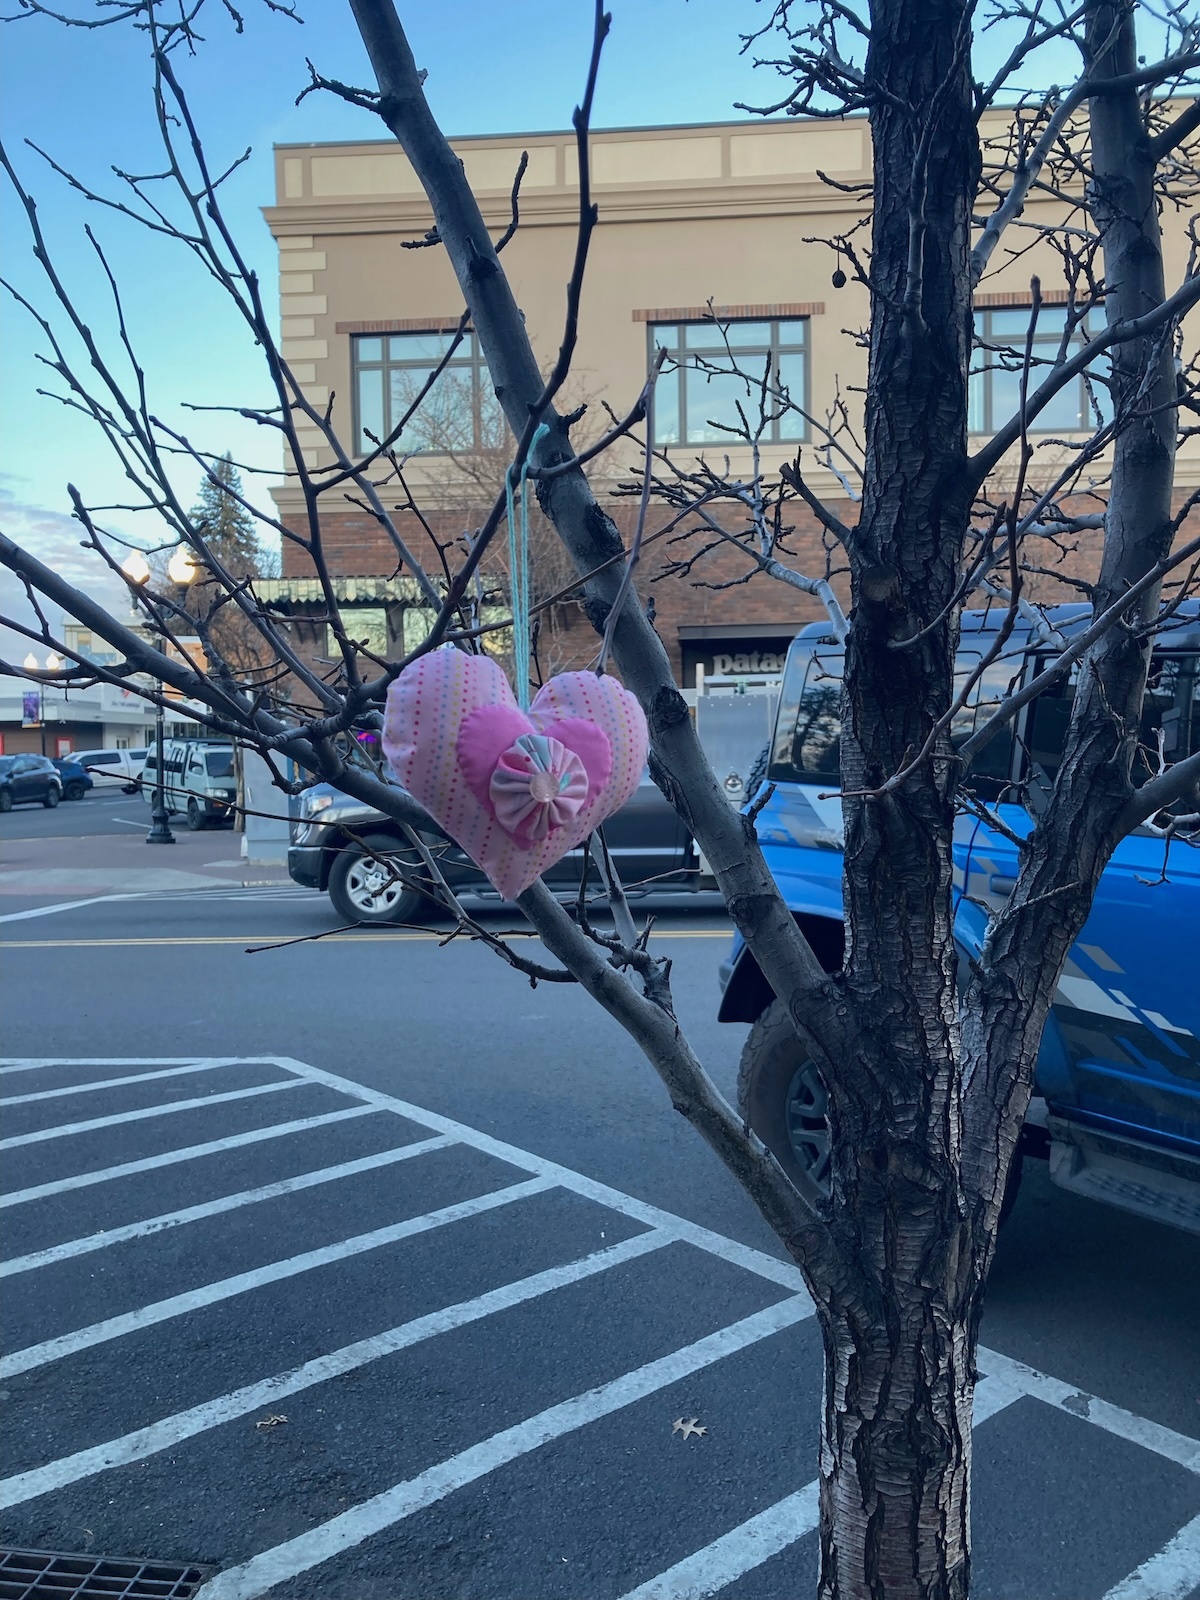
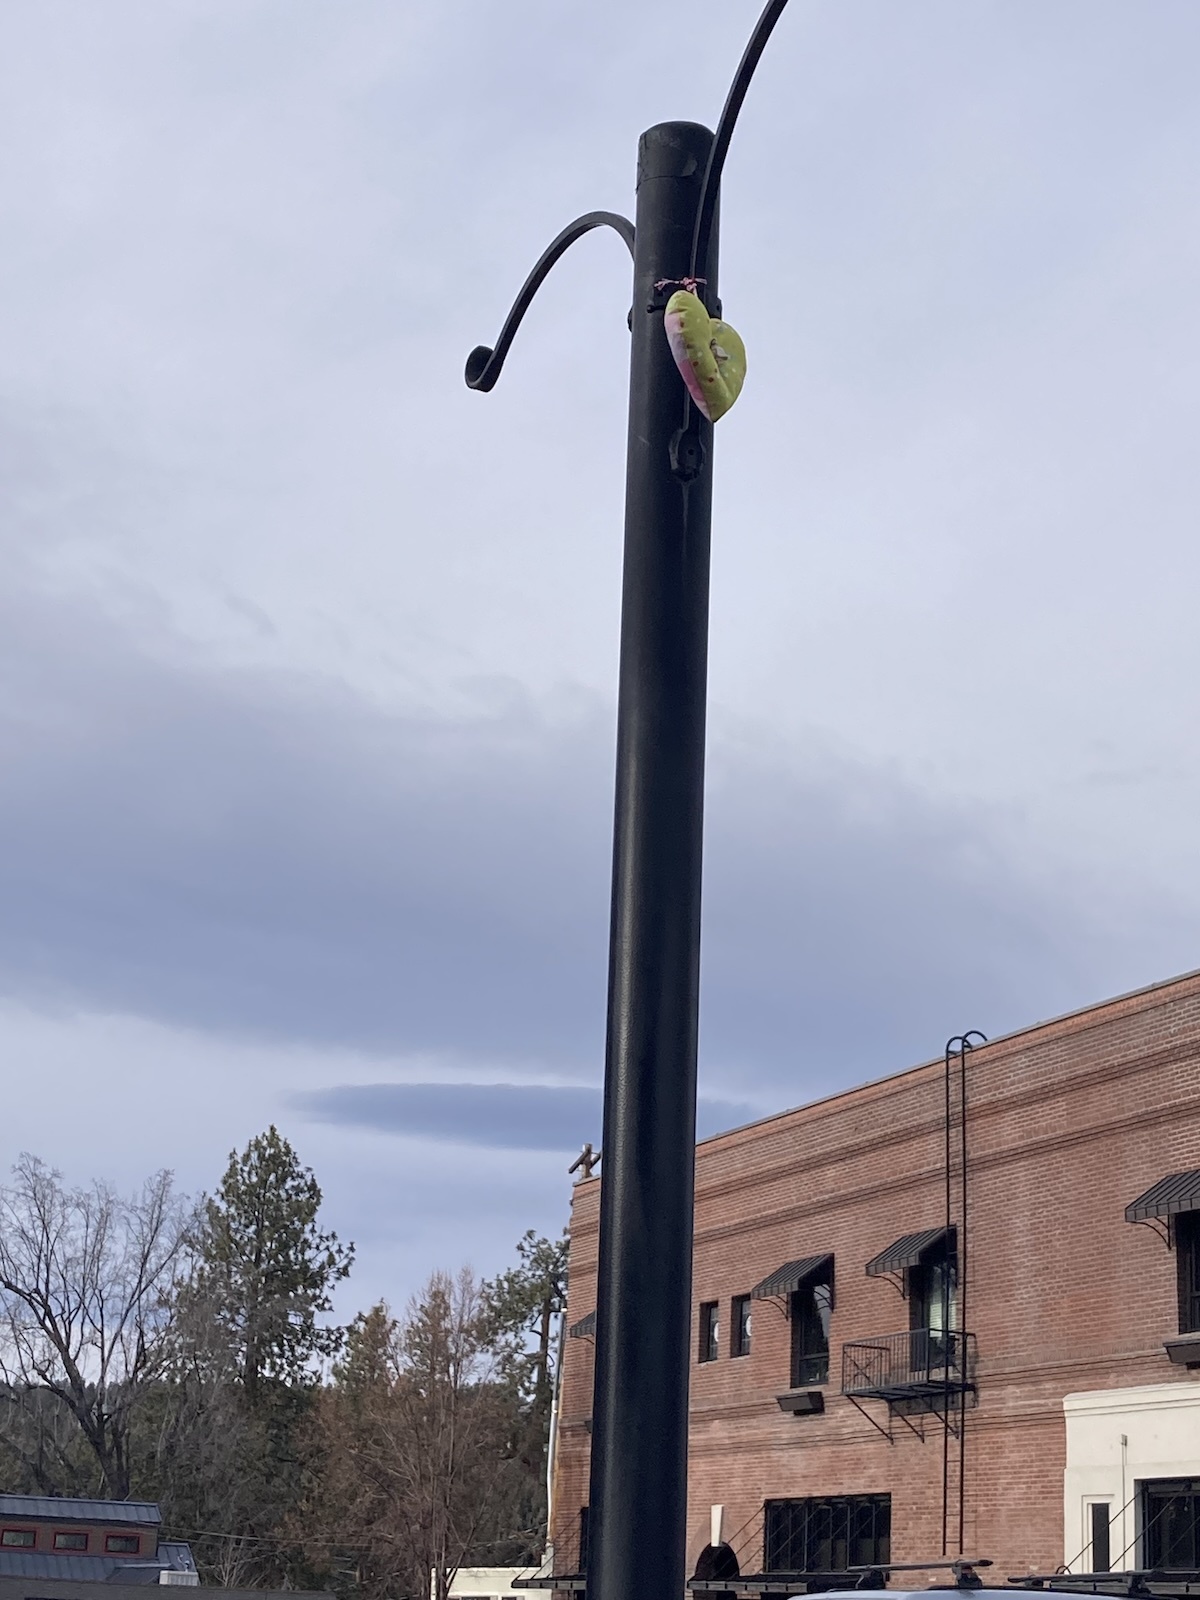
Each February around Valentine’s Day, handmade hearts quietly appear around downtown Bend—hung in trees, tied to fences, or waiting on shop doorknobs.
Anyone can put one out, and anyone can take one home; there’s no permission needed and no expectation attached.
Quiltsmart is happy to add a few hearts to this simple exchange of kindness, just because it feels good to share something handmade.
And if your town doesn’t do this yet, consider this your invitation—one heart is all it takes to start.
Scroll down to see the Quiltsmarties sharing hearts all over downtown Bend!
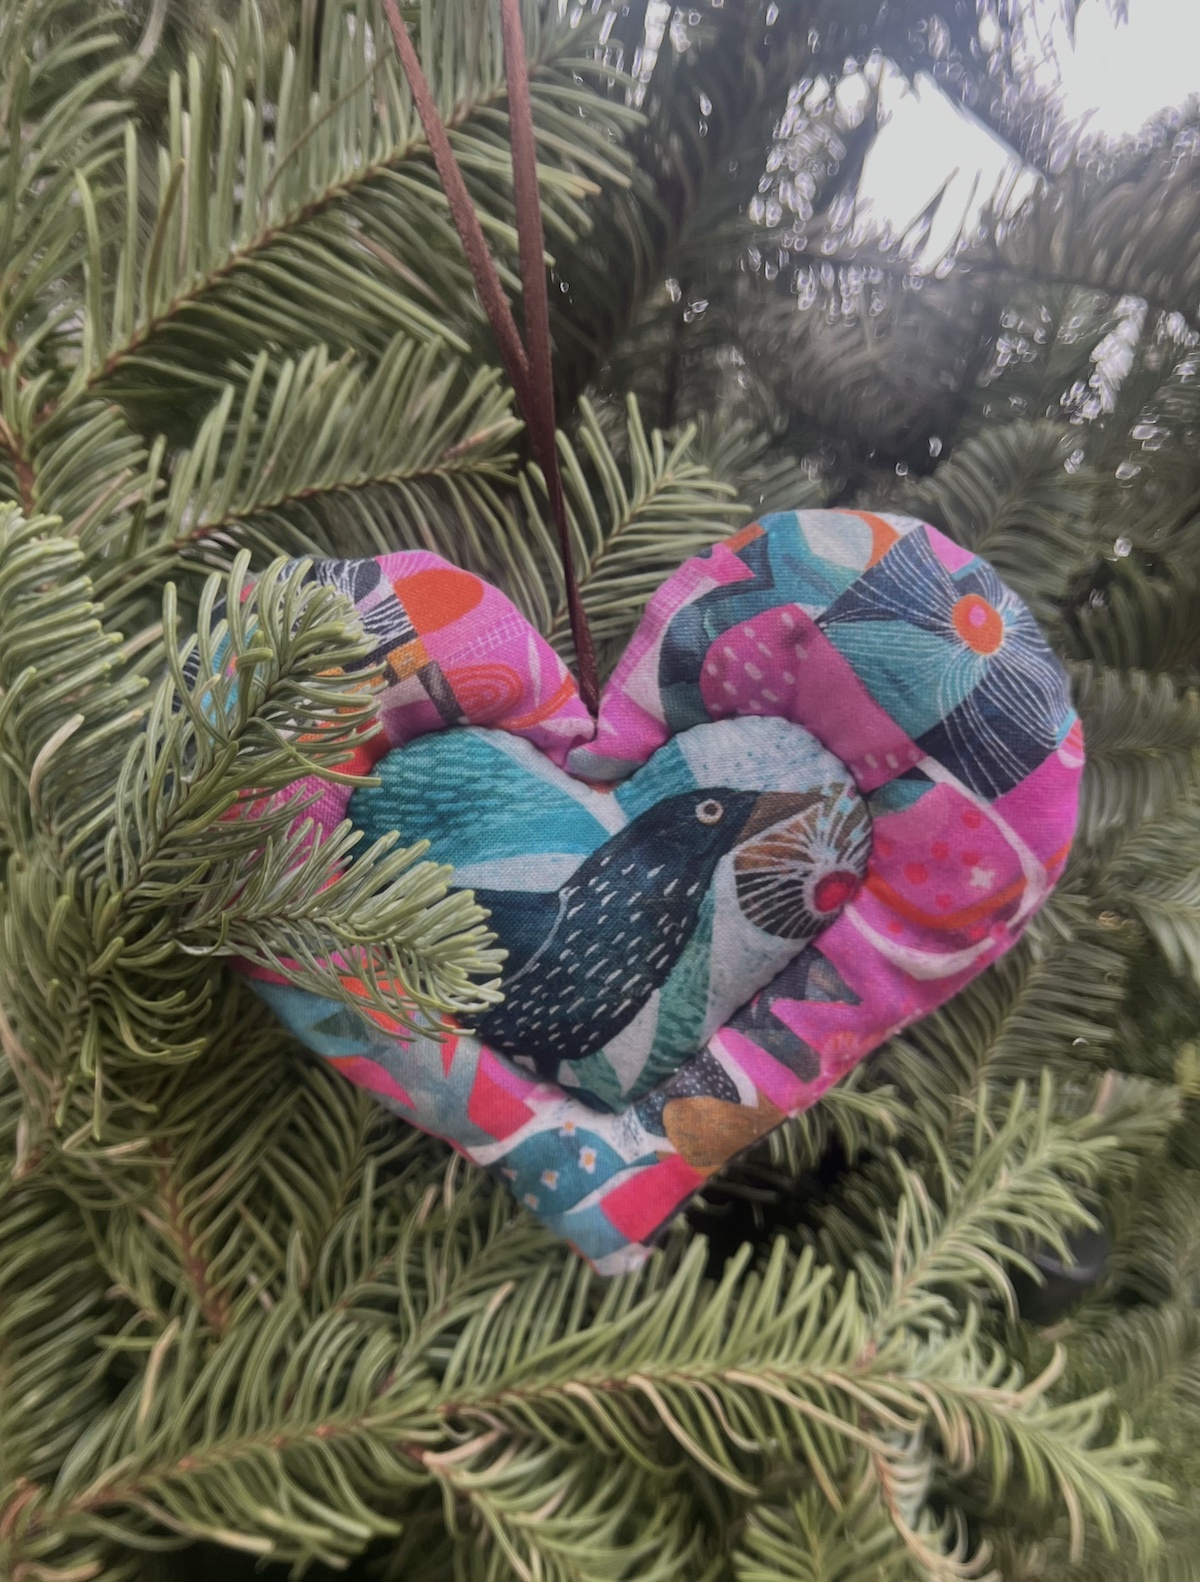
If you love this, but don't have time before Valentine's Day (it takes about 30 min, depending on how much time is spent picking fabrics, trims, and doing the options at the bottom of this blog), you can make it for the holidays and put it on a Christmas tree, or give it as a gift. Christmas in July - could be fun!
How to make a stuffed heart ornament
Materials needed:
Hearts: (2) 6" squares of cotton fabric
(1) 4" square for the small heart
Interfacing: 1 heart from Quiltsmart ZigZapps Sweet Hearts printed interfacing panel
12" cording, string, jute, or 1/8" ribbon to hang the ornament
Matching thread
A bit of polyfill or materials to stuff the heart.
Tools needed:
Sewing machine
Small scissors
Pointer creaser
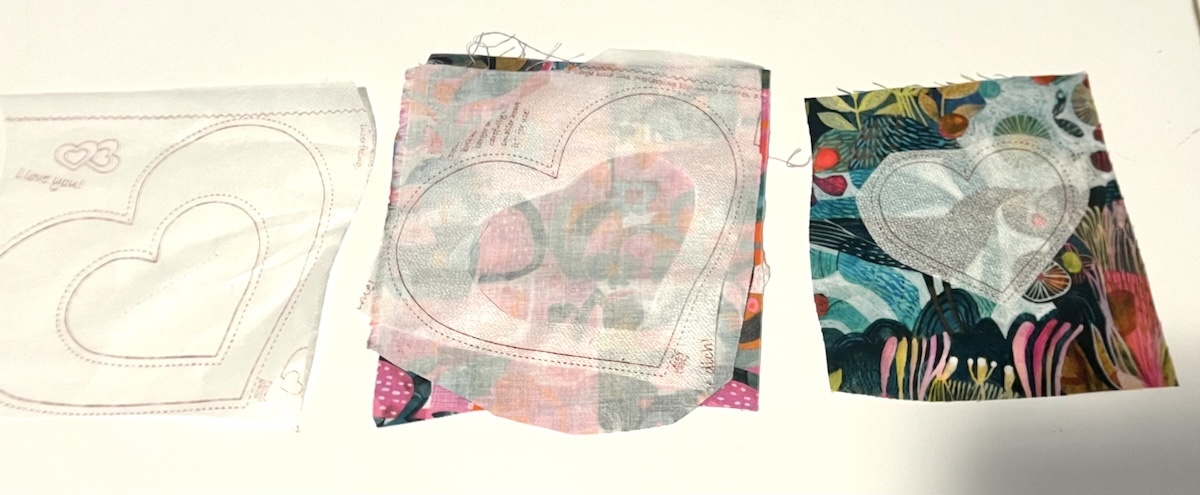
1. Cut out interfacing hearts. Cut the small heart out of the large heart, leaving about 1/2” margin. Set aside the small heart and your 4” fabric square.
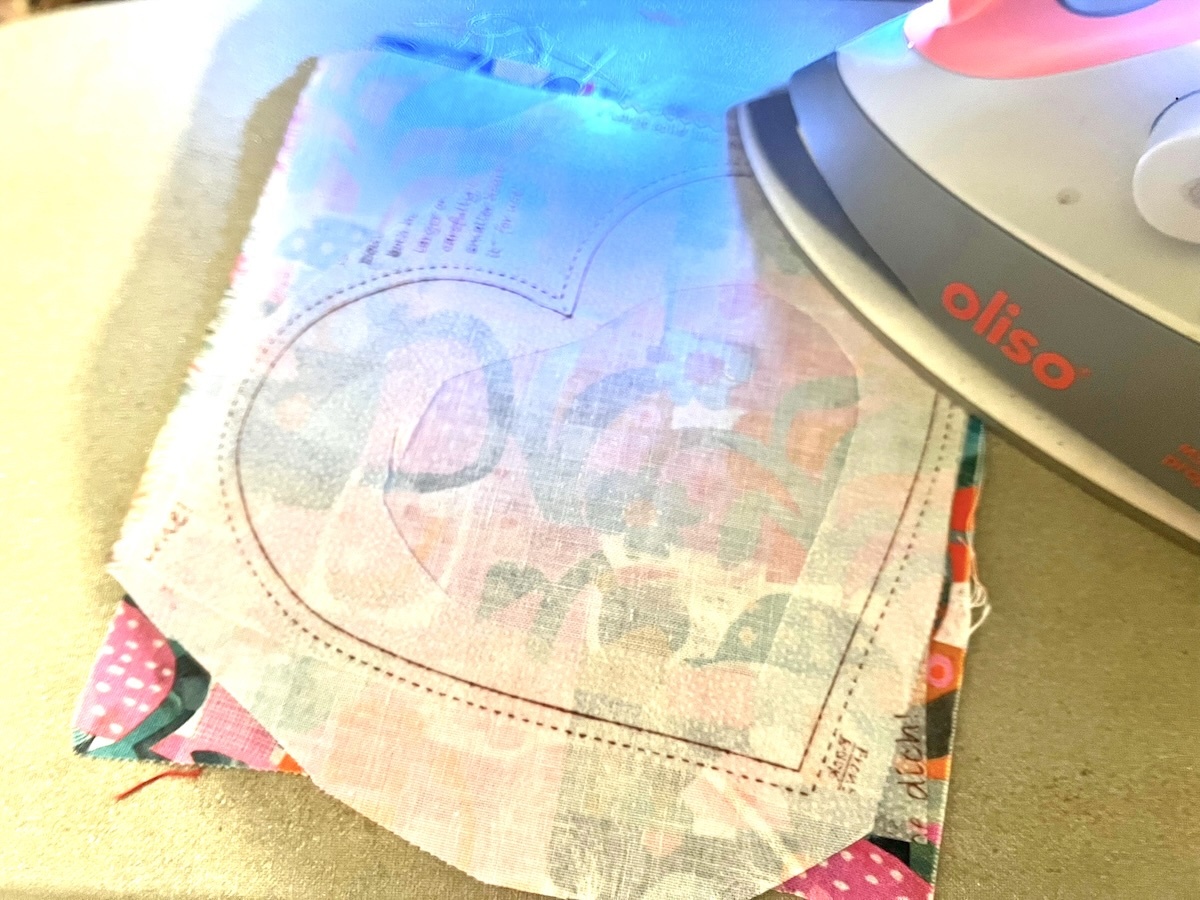
2. Place the 6” squares right sides together. FUSE the large interfacing heart to the WRONG side of one fabric.
TIP: As an alternative to measuring squares, lay the interfacing on the fabric and cut about 1/2” outside of the dashed line.
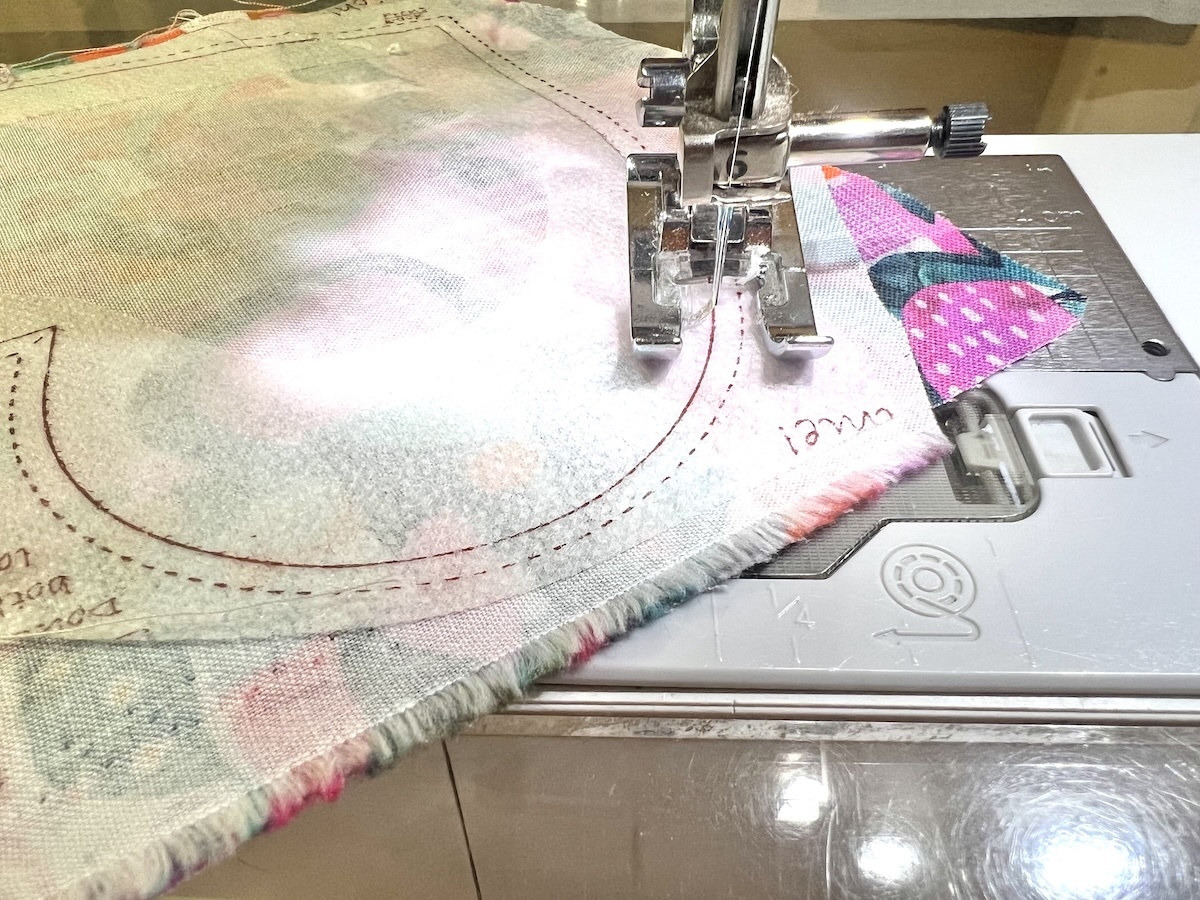
3. Stitch on the solid line all around the large heart unit through all three layers, overlapping beginning stitches by about 1/2” or more.
TIP: Use a small stitch - 1.5 mm / 1.8mm - the smaller the stitch length, the smoother the curves will be.
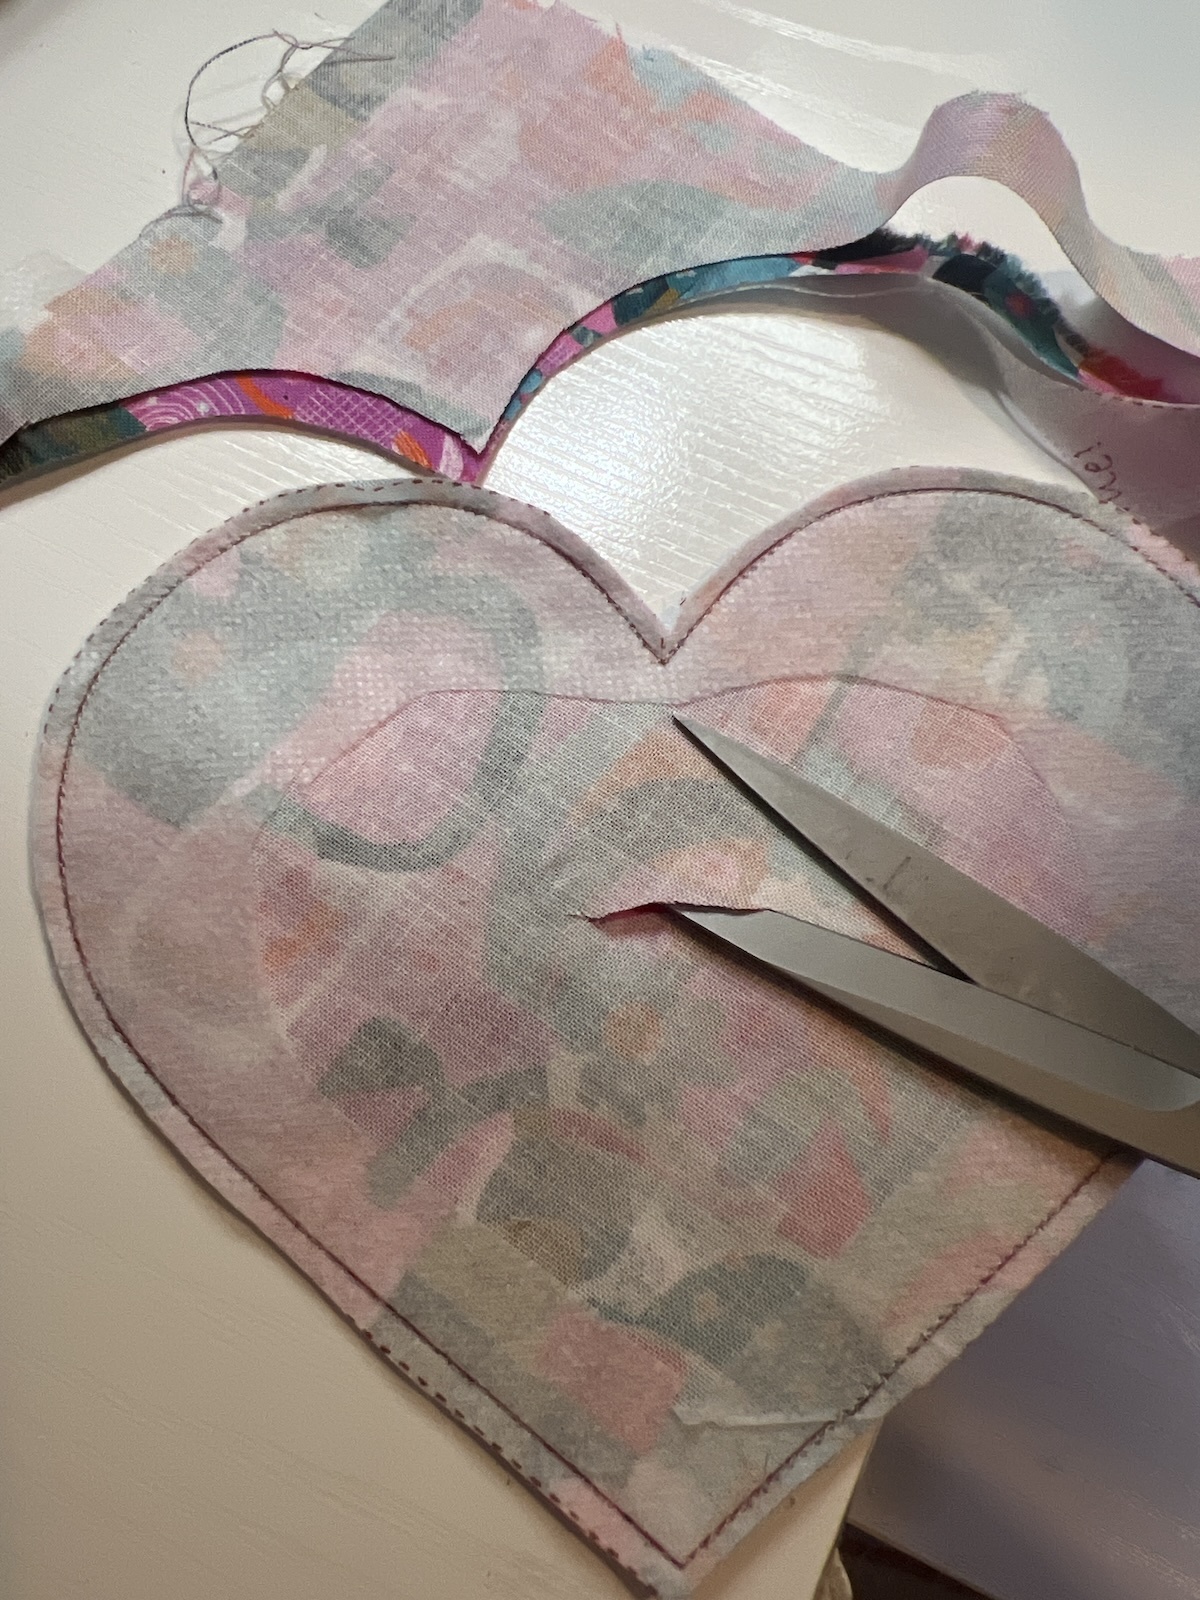
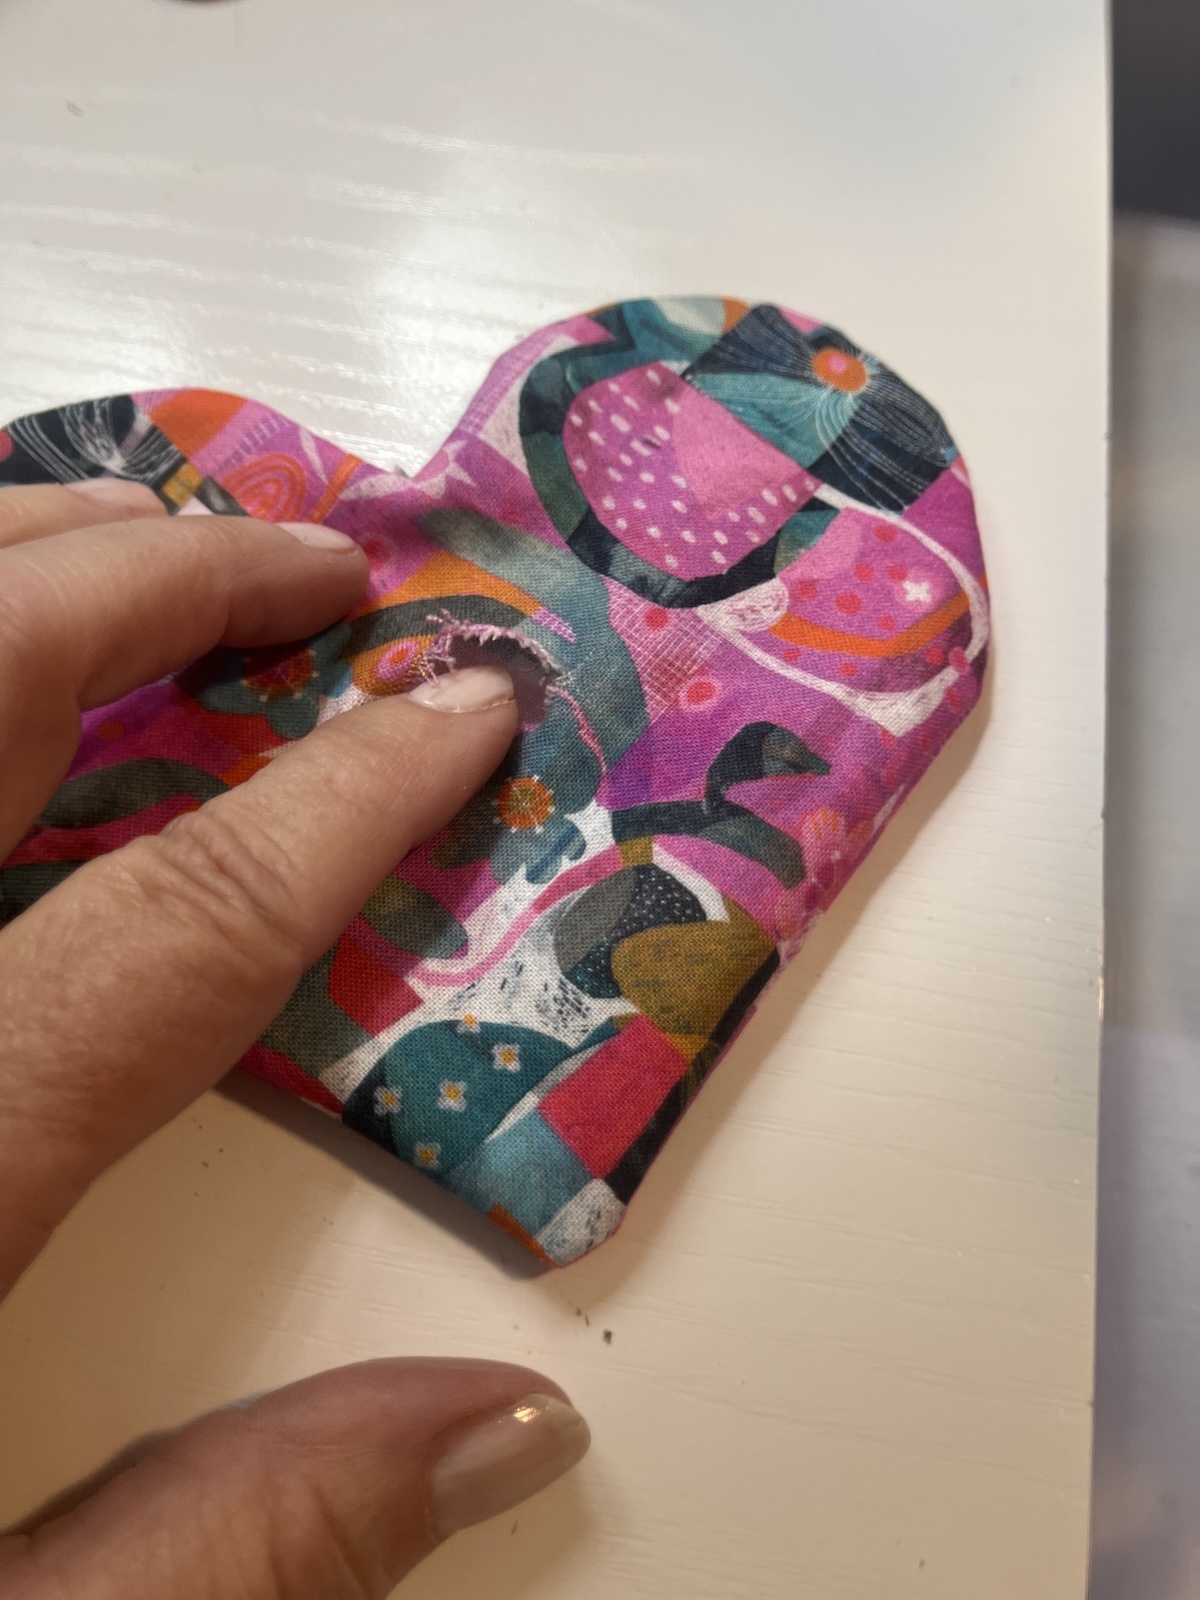
4. Cut on the dashed lines, clipping at the clip mark between the humps. Pull the fabrics apart and cut a small slit (no larger than 2 inches) in the fabric intended for the front of the heart. The little heart will go over this opening.
5. Turn the large heart right side out. Use a pointer creaser to smooth the edges.
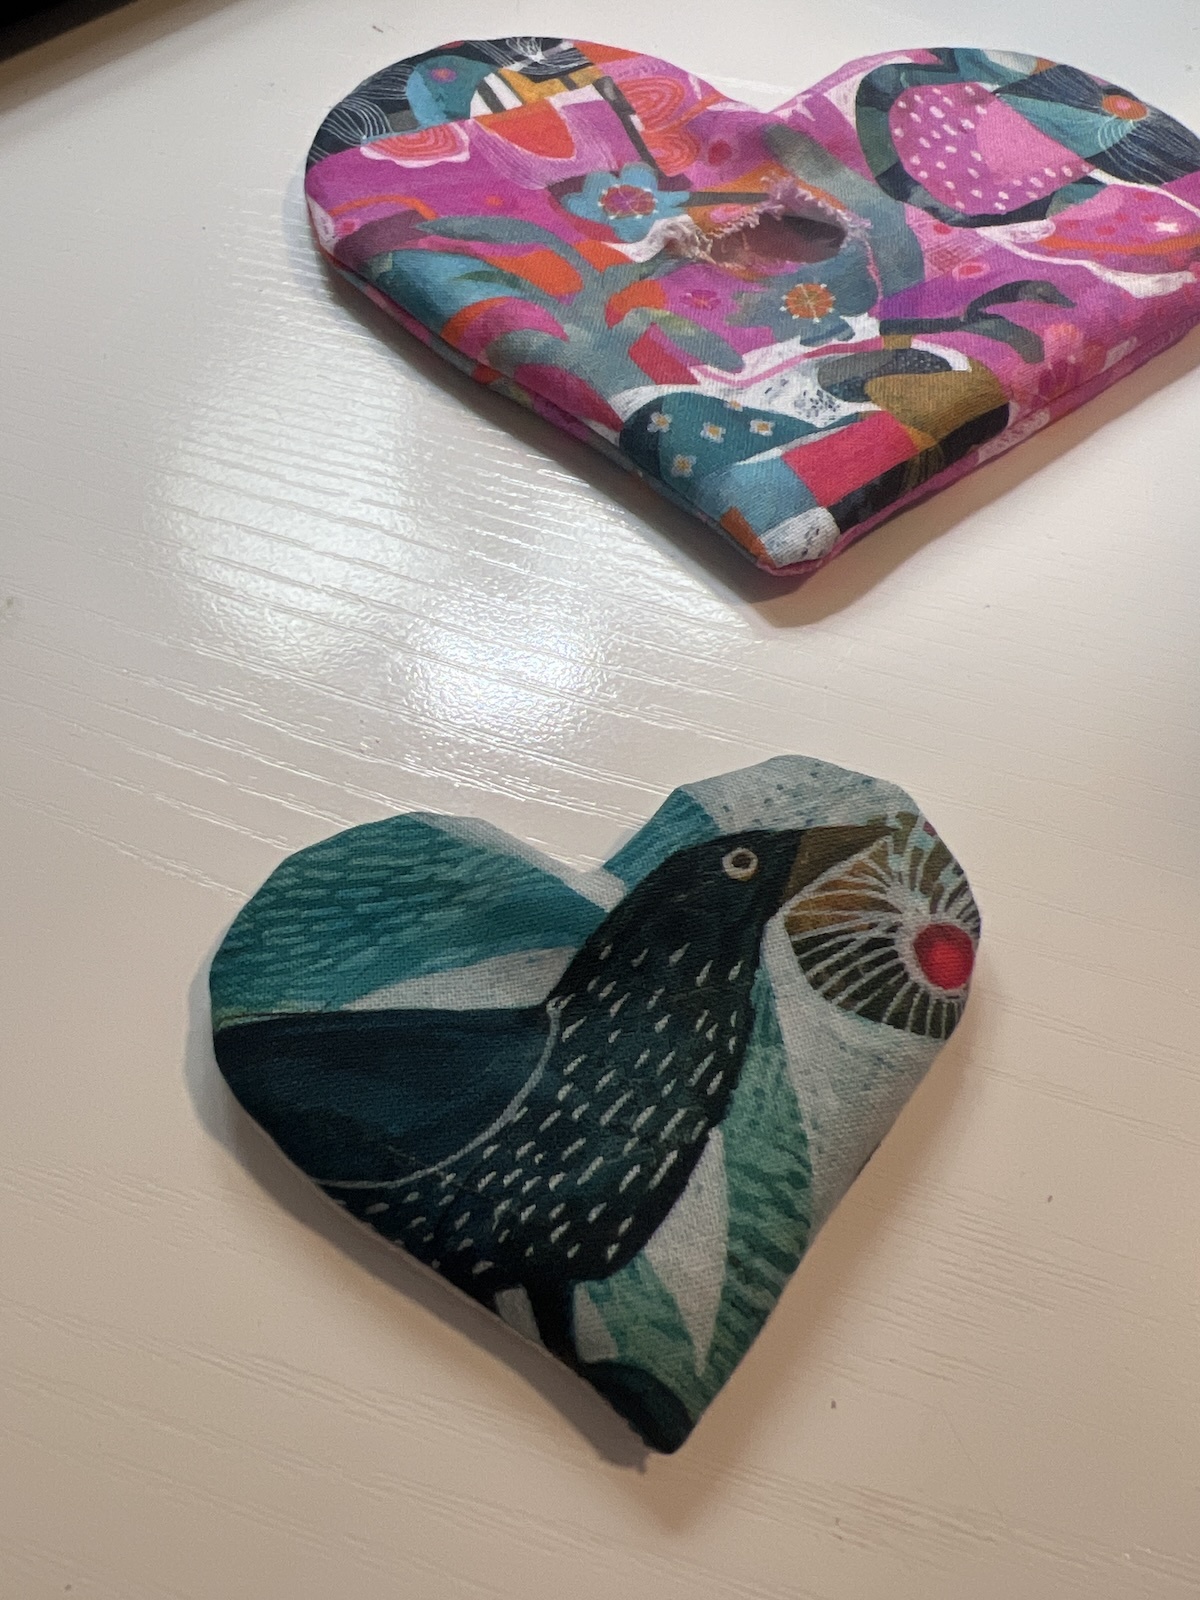
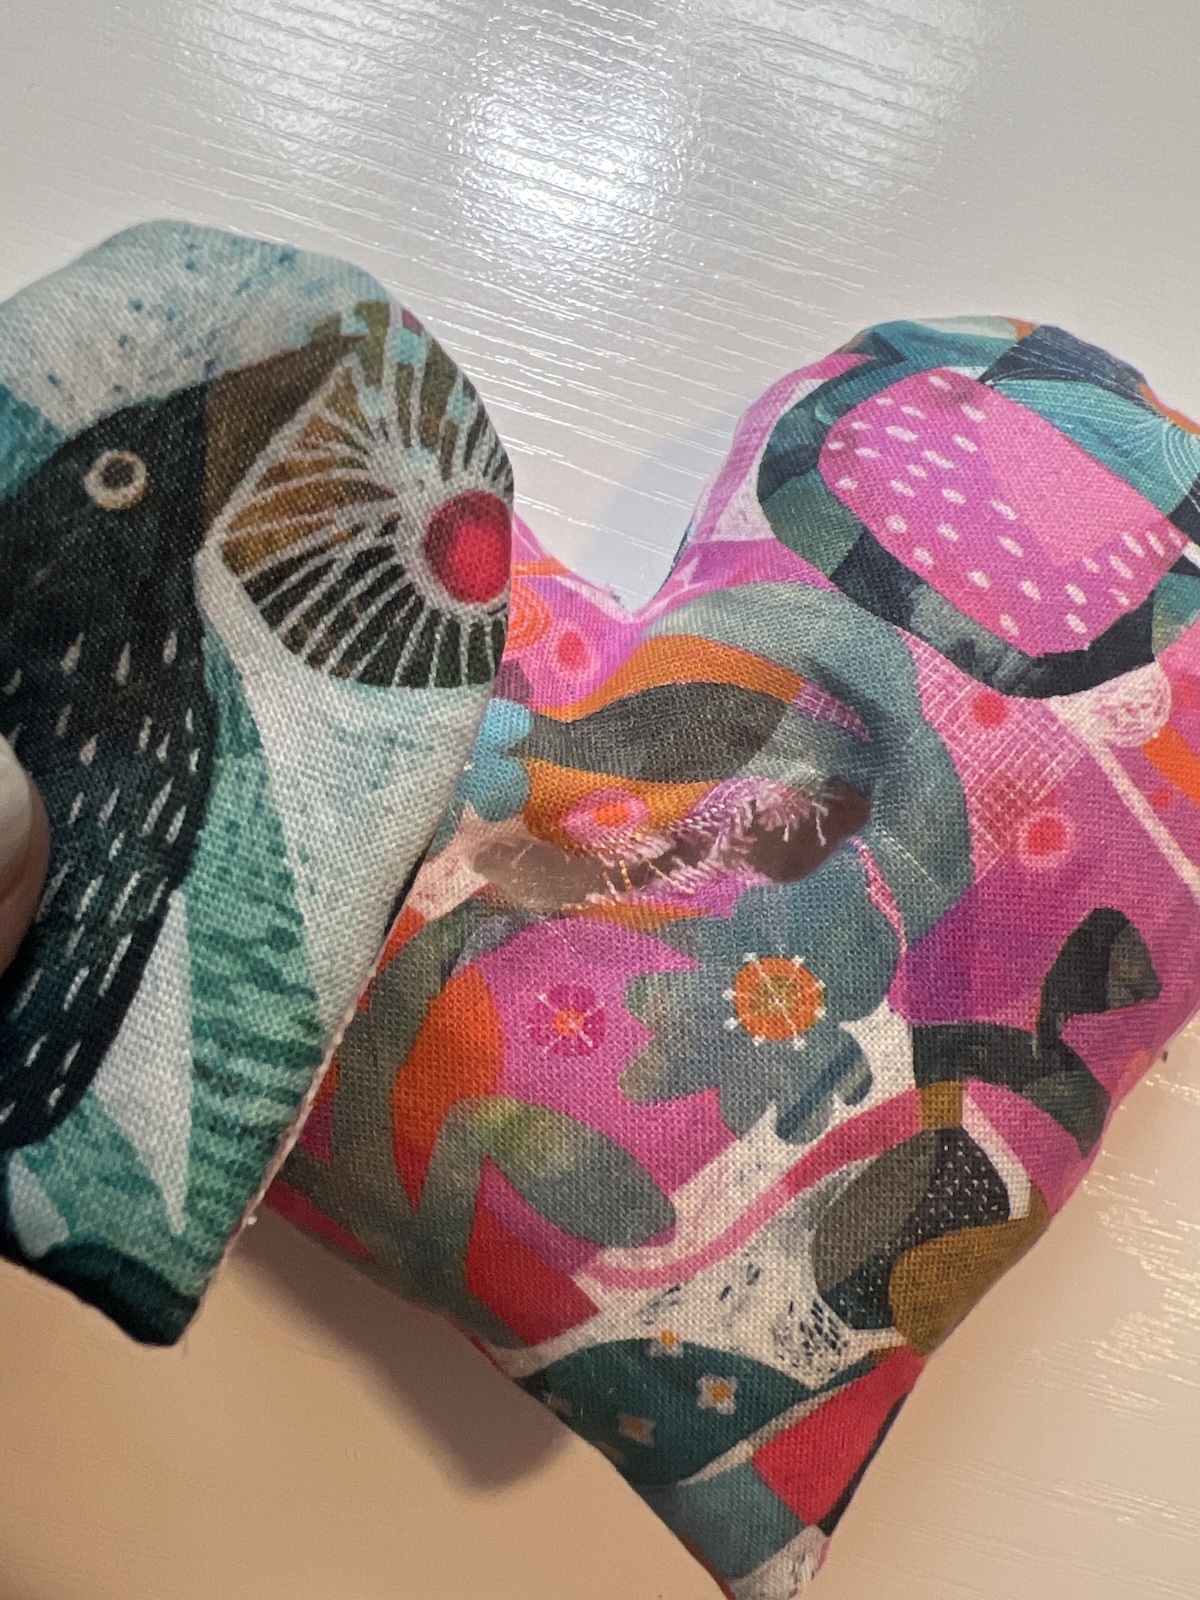
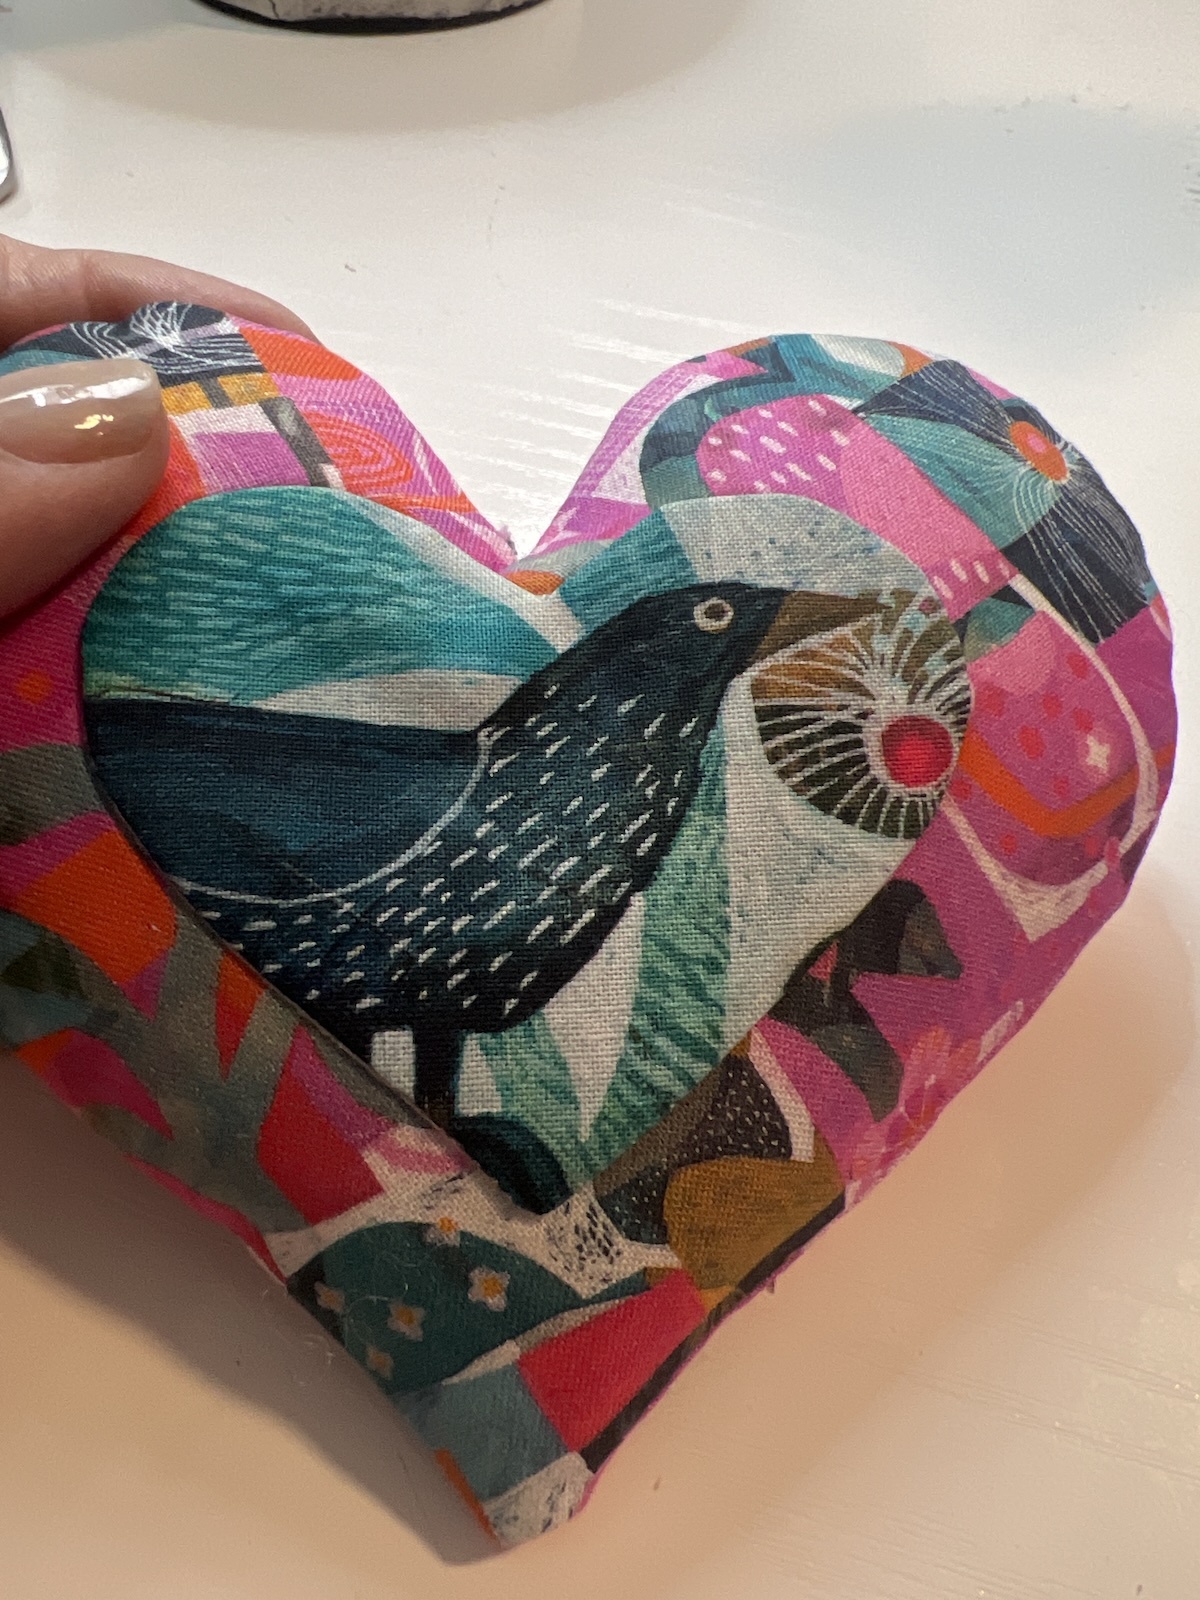
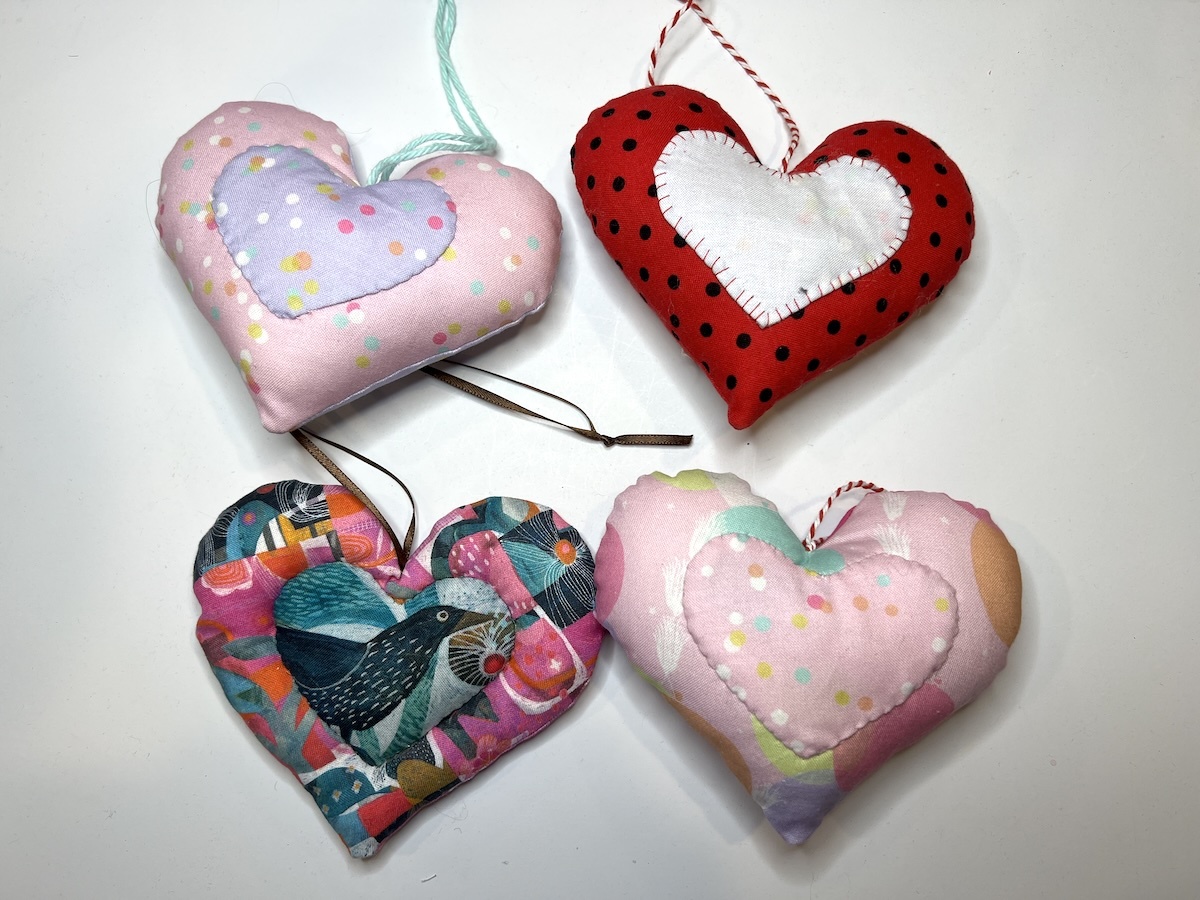
This heart will have a fussy-cut small heart, so I can show off the pretty bird.
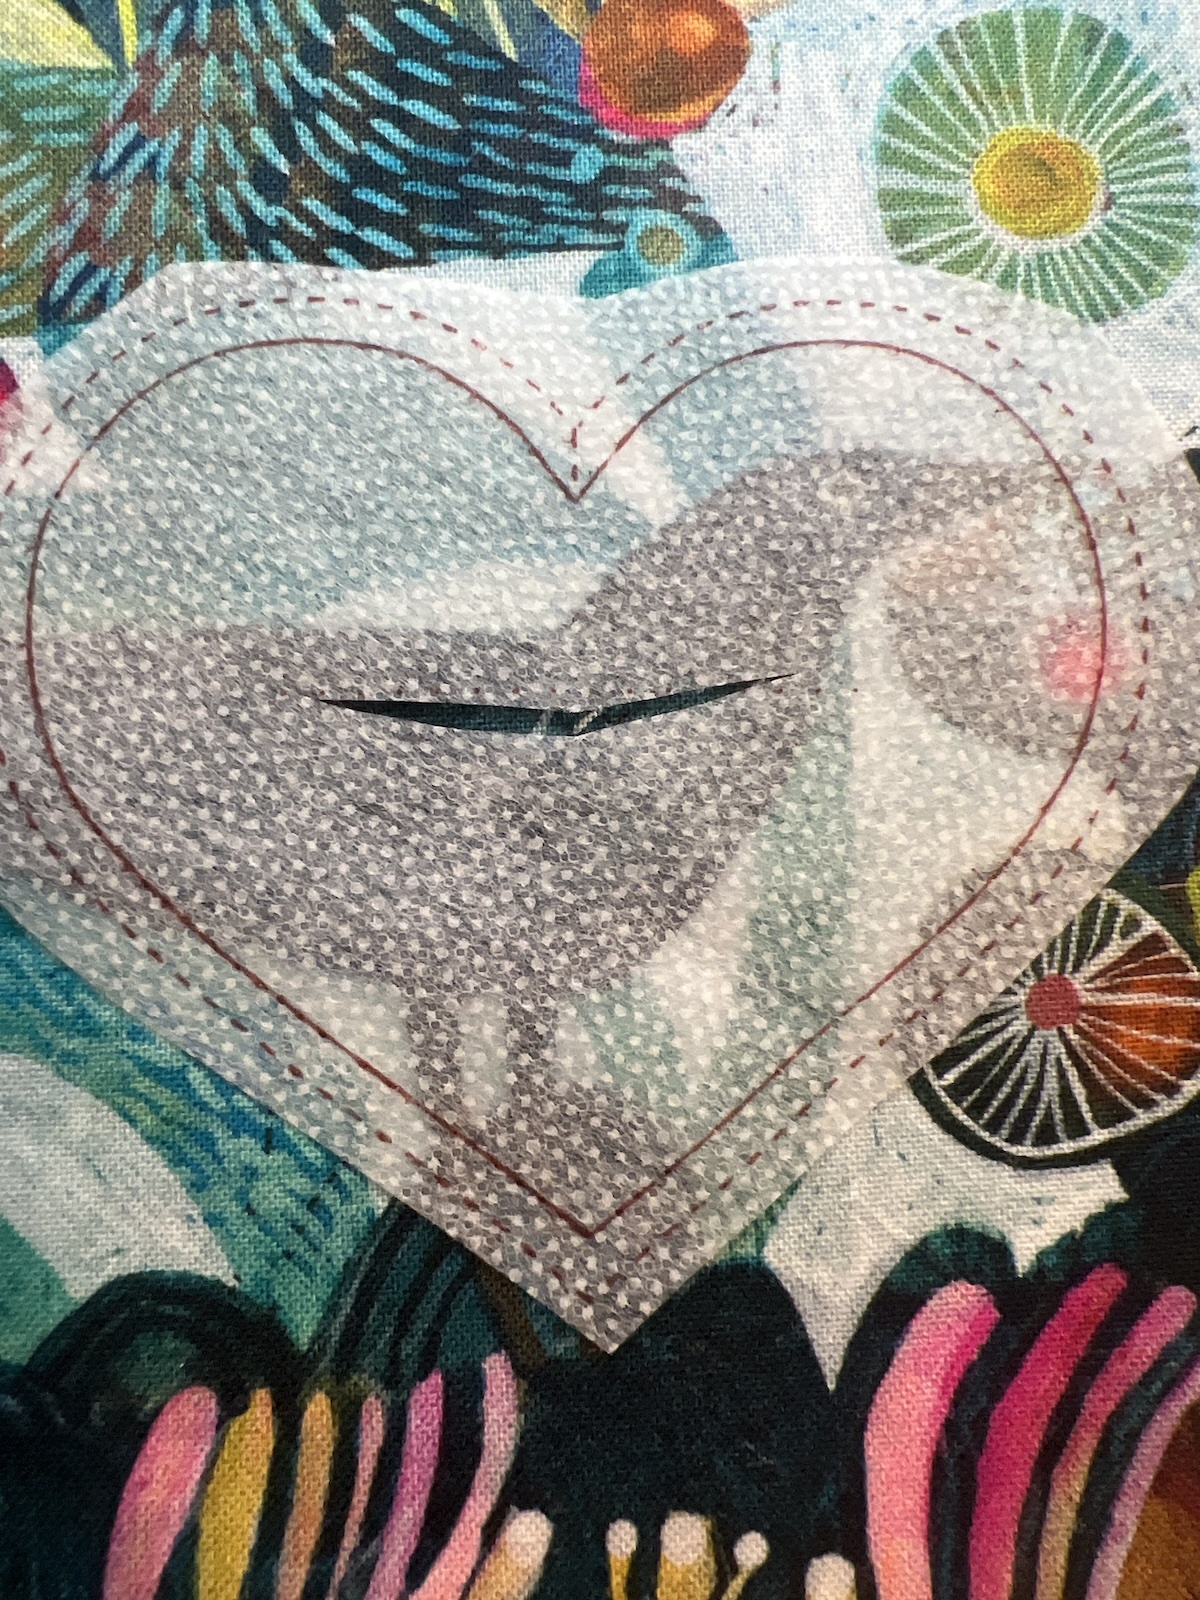
6. To do that, place a small slit in the interfacing heart. Place that on the fabric where you wish- ROUGH side to the RIGHT side of the fabric.
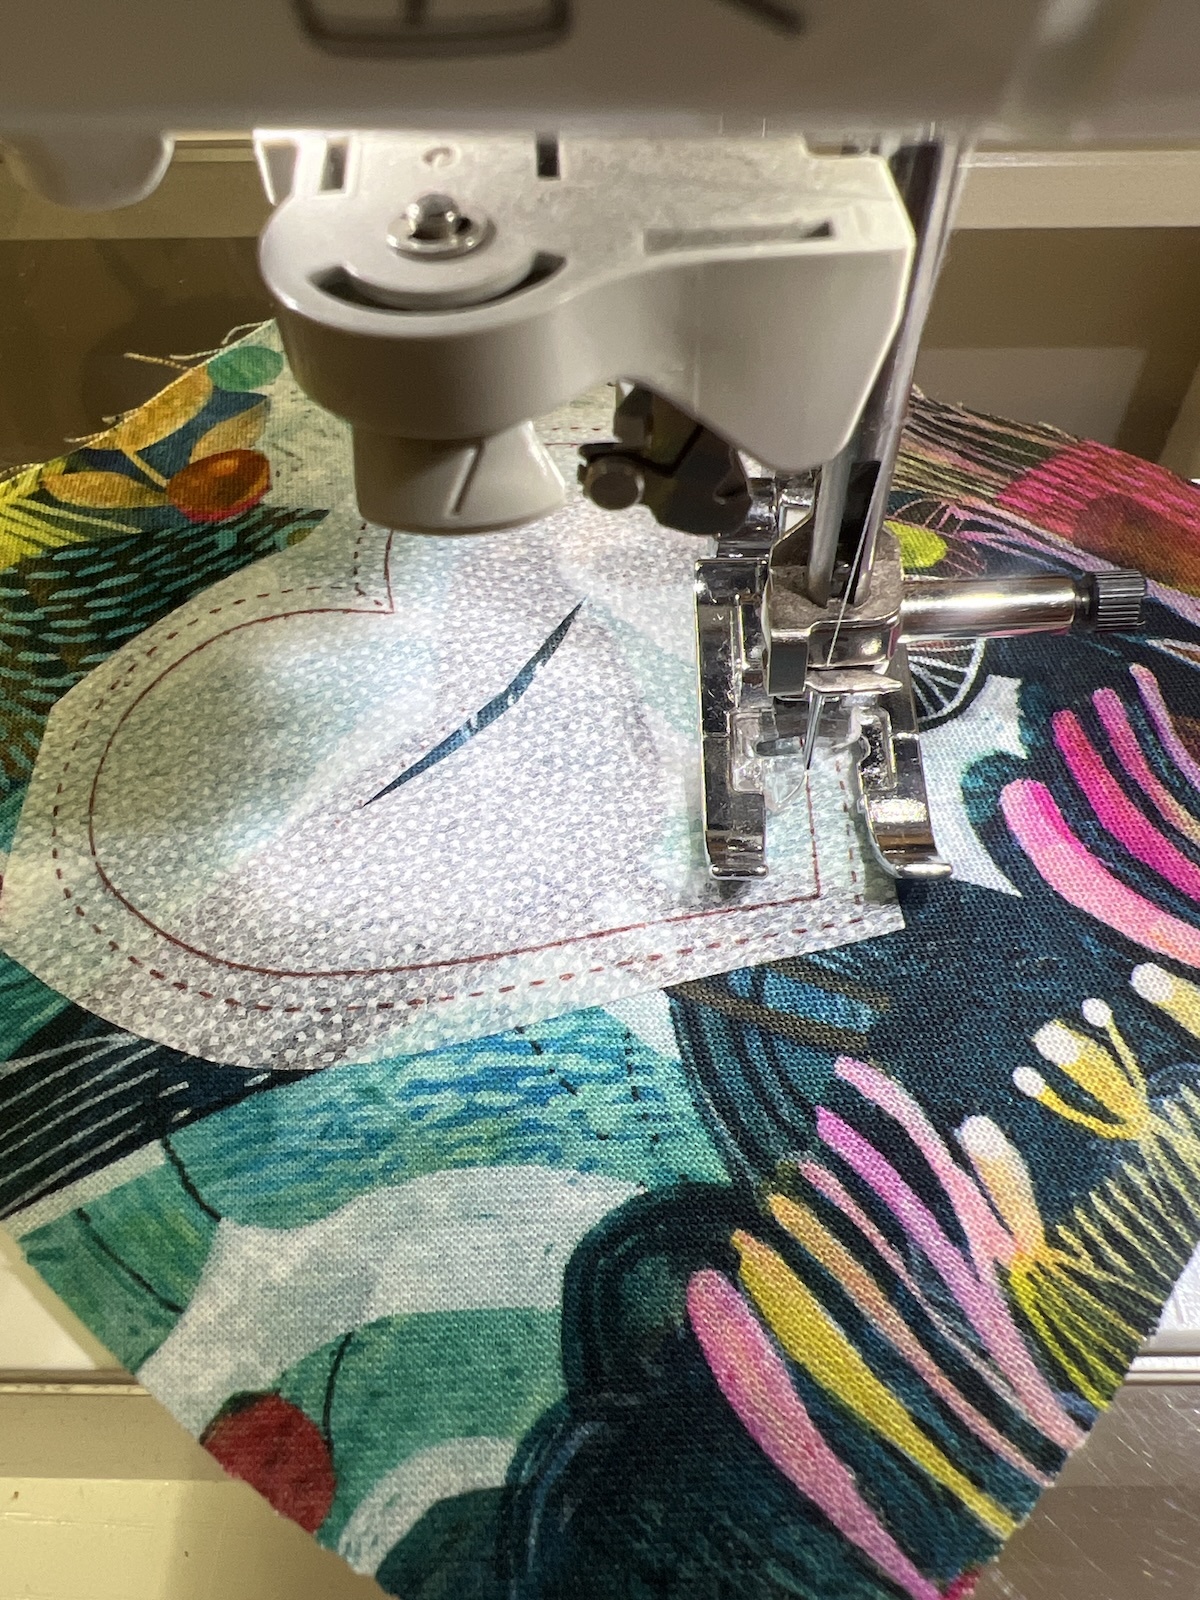
7. Stitch as before, all around the heart on the solid line, with a short stitch length.
8. As before, trim, clip, turn, smooth edges. I like to use a point turner and presser - see below.
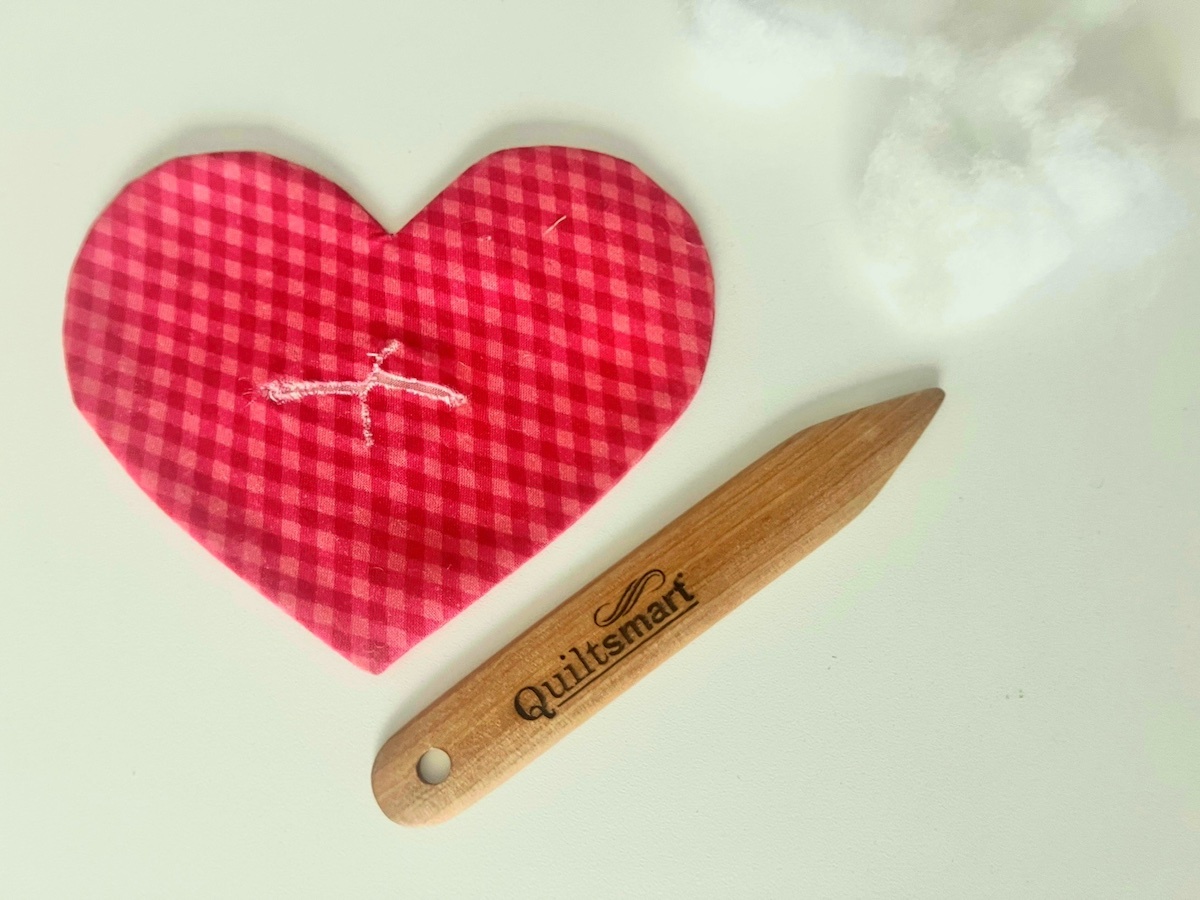
TIP: Be gentle when smoothing the edges with a pointer creaser. The interfacing is strong enough to sew on, but light enough to stay inside your project- try to not rip it. Keep the pointer creaser tool BETWEEN the fabric seams, not next to the interfacing.
9. Lightly stuff the large section with poly fill (or even walnut shells if you want a pincushion).
10. Fuse the little heart over the slit. I have a steam mandala which works perfectly for this!
TIP: If you have “overstuffed” the heart, you may need to either take out some stuffing, whipstitch the opening closed, or put a little fabric glue to close the opening before you put the heart over it.
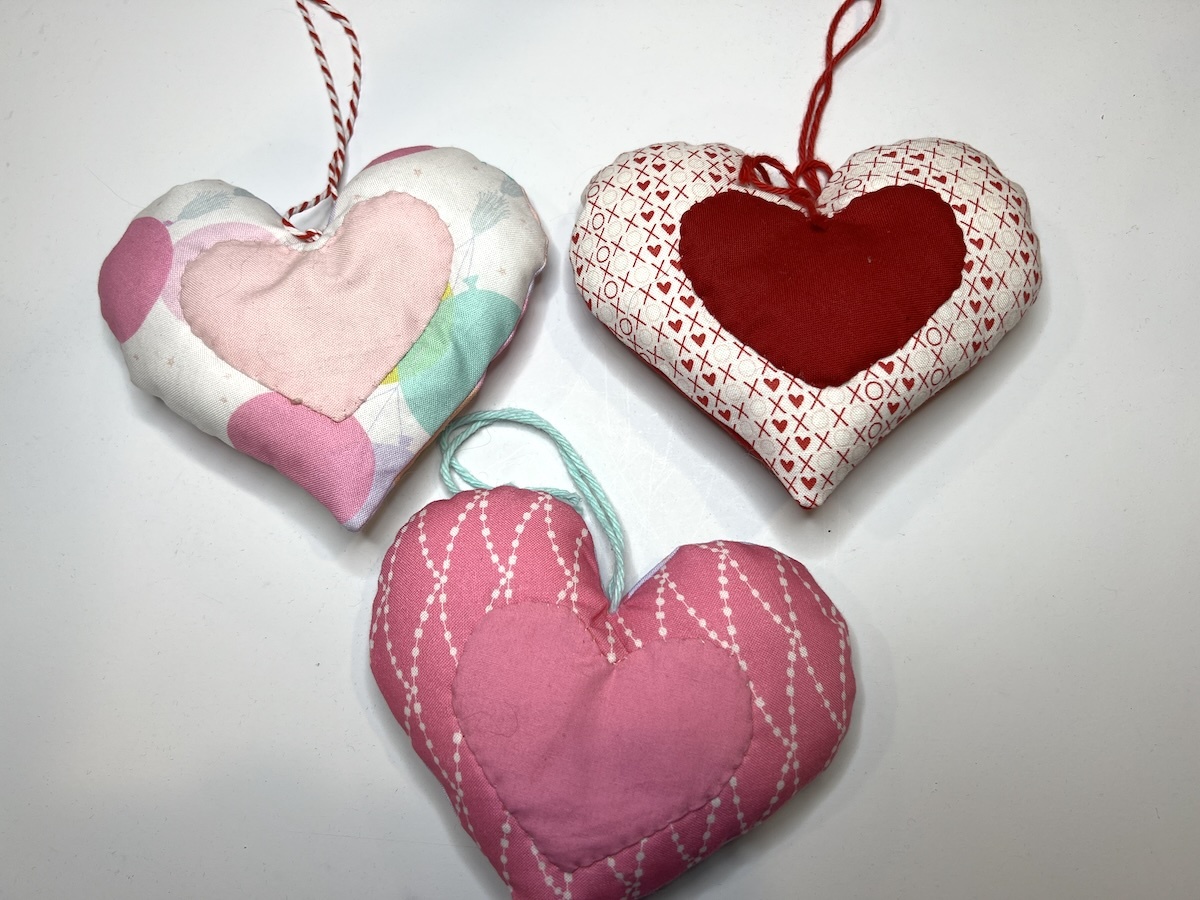
11. Stitch around the heart with hidden stitches or embroidery stitches.
TIP: If you stuff lightly, you can stitch the small heart to the larger heart by machine through all of the layers. This is the time to have fun with those built-in decorative stitches on your machine!
12. Add a string or ribbon for the top hanger.
TIP: I use a very large-eyed upholstery needle and bring the cord through right under where it was clipped. Knot, bow, embellish as you wish!
TIP: 1/8” wide ribbon is easier to put through the eye of the needle than cording.
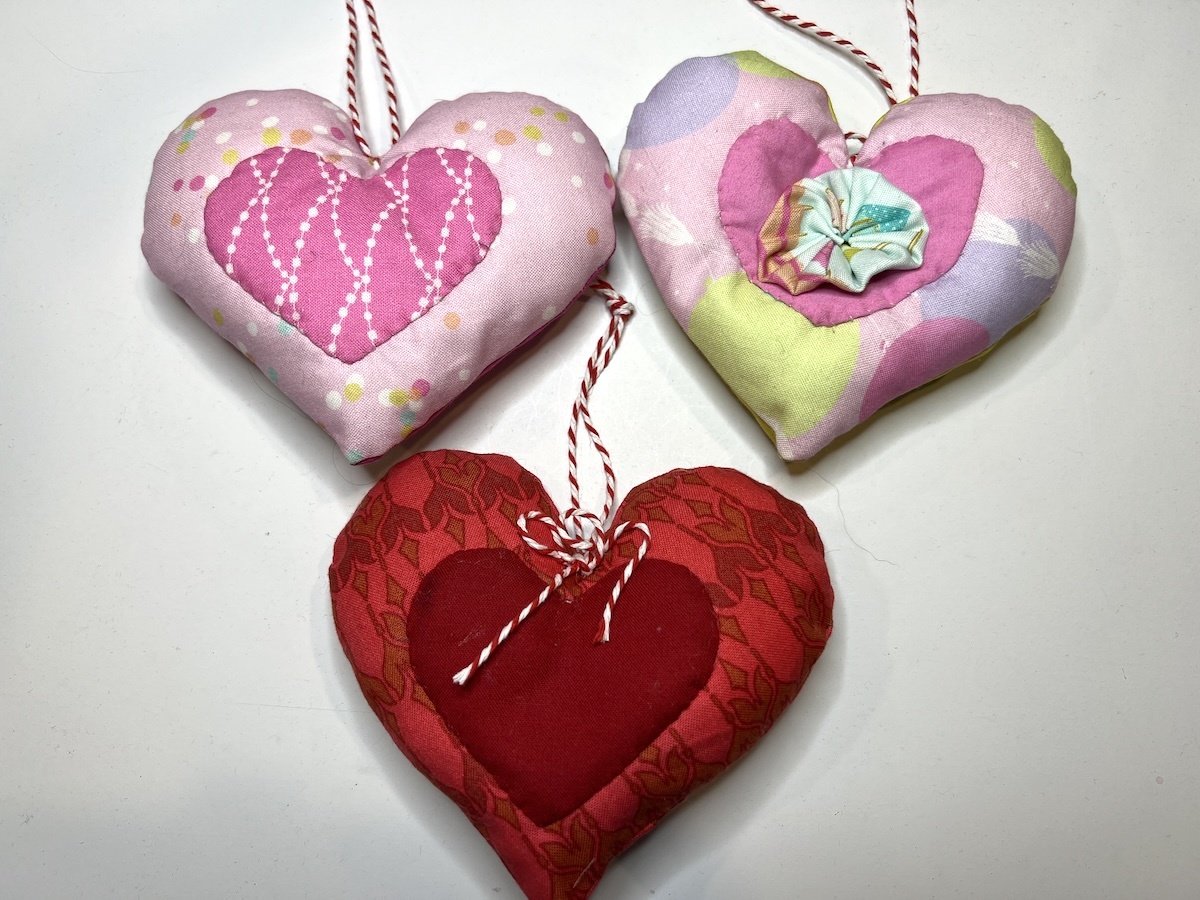
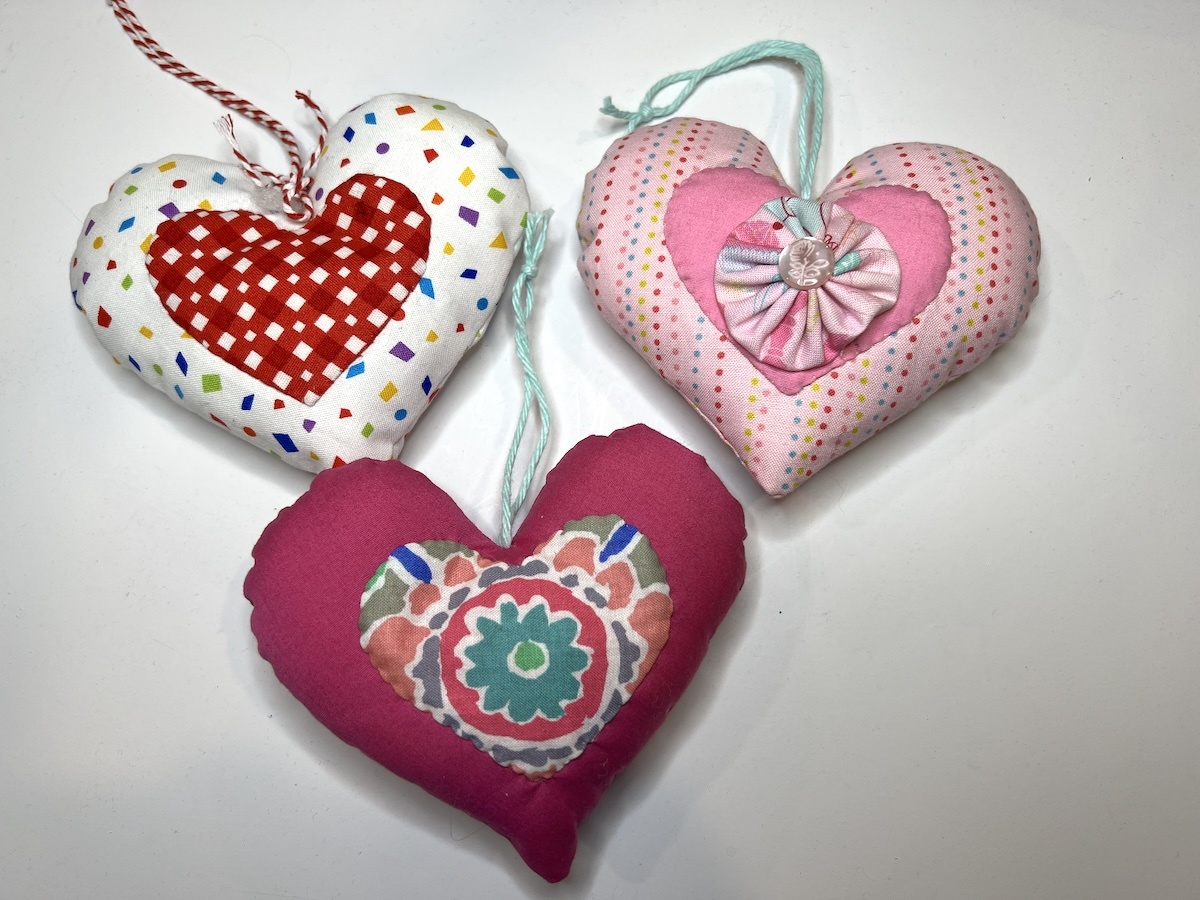
If you'd like, you can now add more embellishments! Some ideas are adding lace, embroidery, buttons, and even yo-yos!
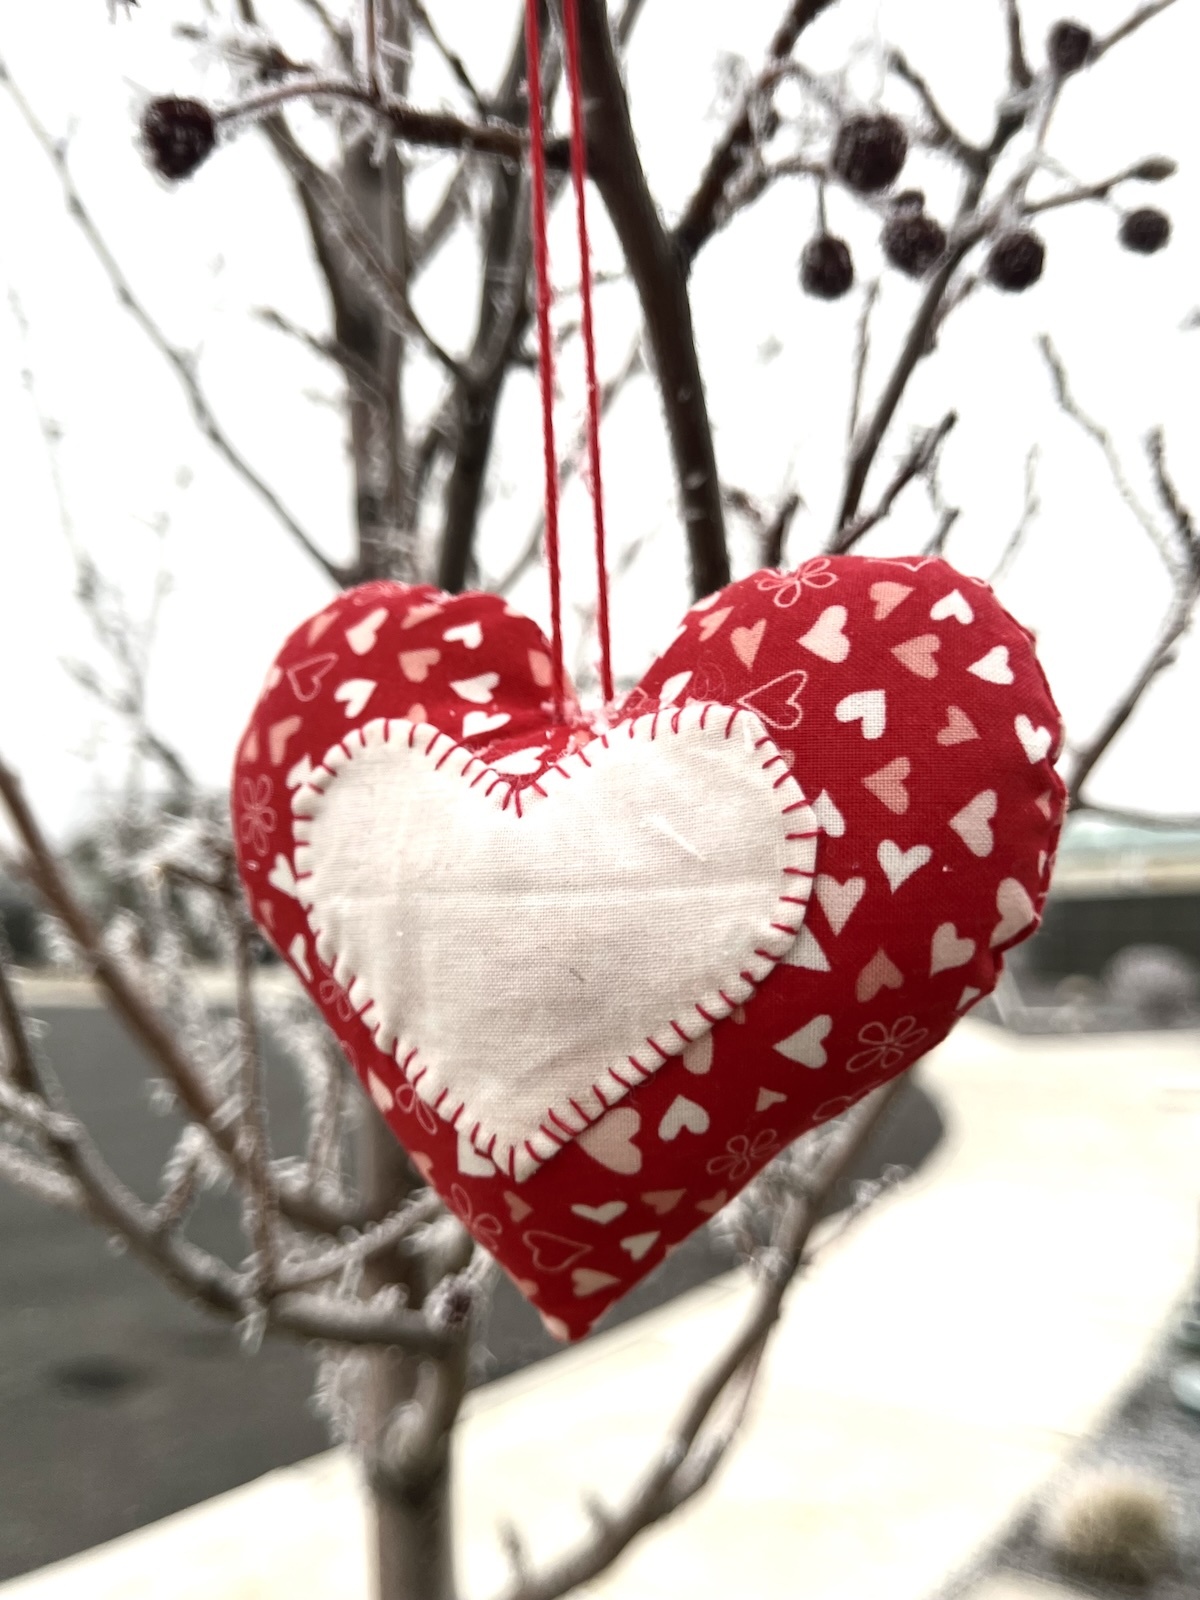
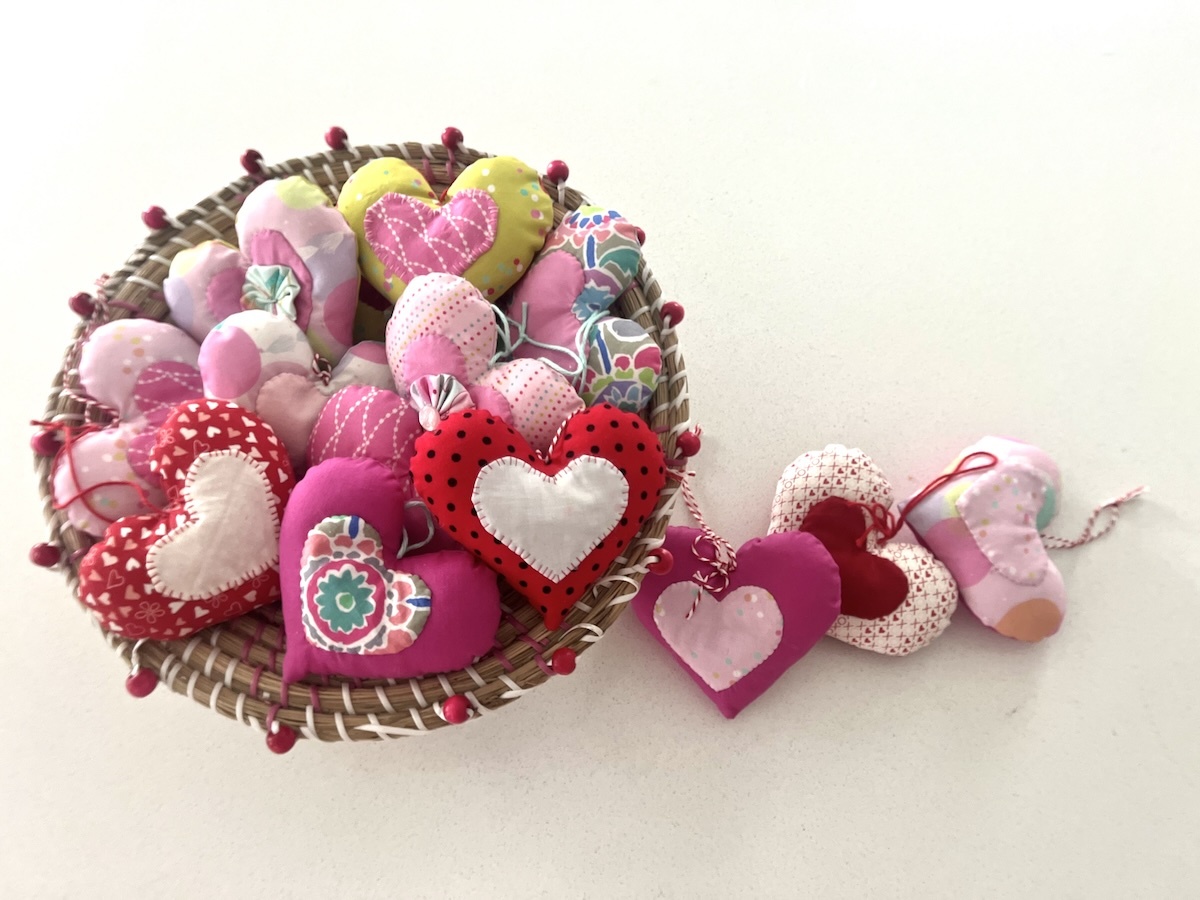
Here is the finished ornament, ready to give as a gift or leave somewhere for someone to discover - share the love!
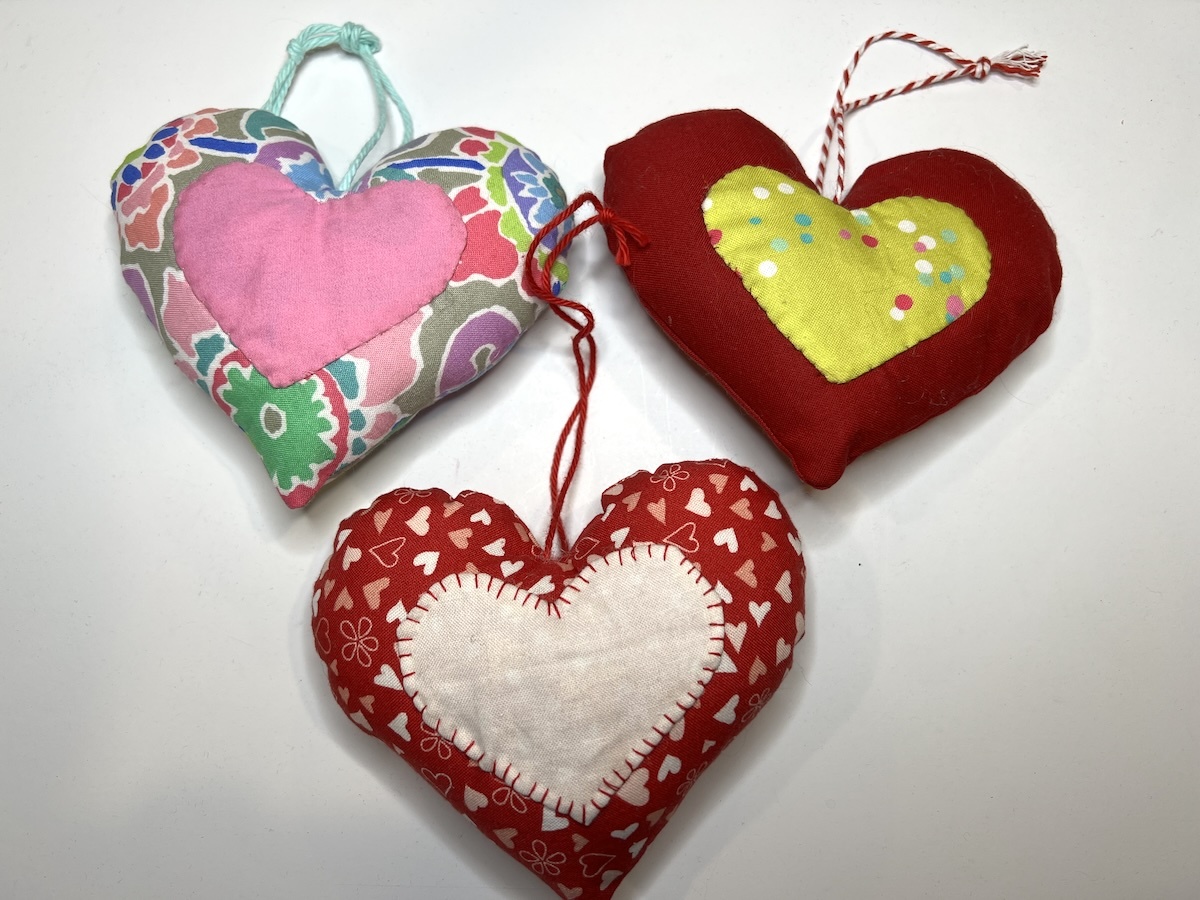
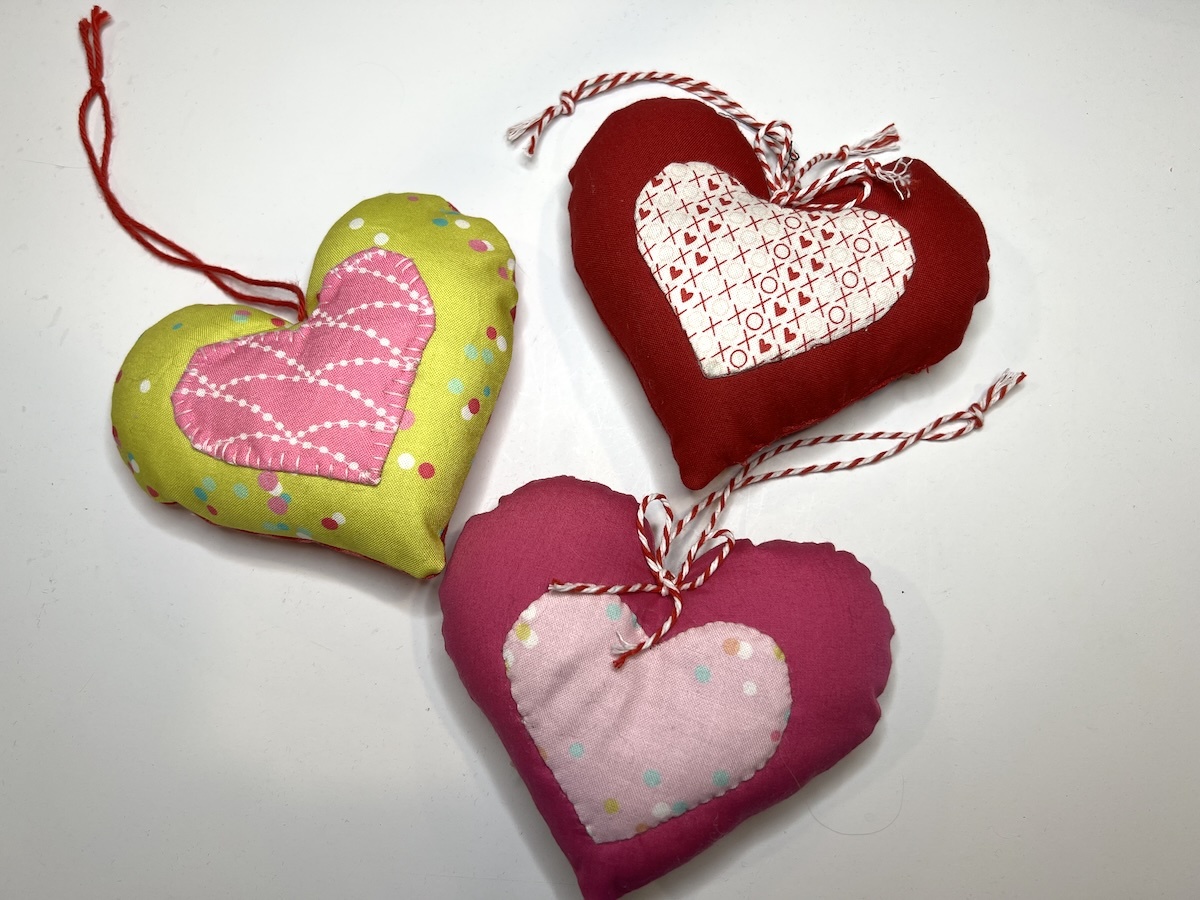
Here are several I've made - ready to go hang in surprising places around Bend!
So many creative ideas for your heart ornaments. Most of all, have fun while making them!

More Heart Ornament Ideas
- 3-D - Make the small heart as you did the large one, but without the stuffing. So, it has fabric on both sides. You can then hand tack at the point and center to attach it to the large heart. OR, consider hand-stitching it and leaving the "humps" open to create a pocket for a piece of wrapped candy.
- You can embroider the small heart after it is turned, before you attach it to the larger heart. Great use of redwork, needle punch, or cross-stitch!
- A photo transfer to fabric can also be used in the small heart. (ahh...grandchild!)
- Consider adding buttons, yo-yos, and lace.
- Pin heirloom pins to the ornament for safekeeping and display.
- Use the hearts as gift wrapping decorations for your loved ones!
RELATED: Make a Quilted Fabric Postcard
Gallery of Heart Ornaments
We hope you enjoyed making the "Sweet Heart Ornament" and that you liked our easy appliqué method.
Imagine what you can do! Teach a little one to sew - this would be a great project!
Sharing Love Around Downtown Bend, Oregon


Learn how to make a handmade stuffed heart ornament with our step-by-step instructions!