


1" Grid
$6.00 - $150.00


What Quilters Are Saying
“I’ve never had my points match this well—this completely changed how I piece quilts.”
“The grid makes designing so easy. I can finally turn my ideas into actual quilts.”
“I love the on-point option—no more complicated cutting charts!”
“Perfect for teaching and learning. My students get it right the first time.”
“I didn’t realize how much time I was wasting measuring until I used this.”
Project Ideas for PiX Smart Grid
Have fun with one of our project ideas below, or take some graph paper and make an original design! All you need are some colored pencils or crayons and get playing!
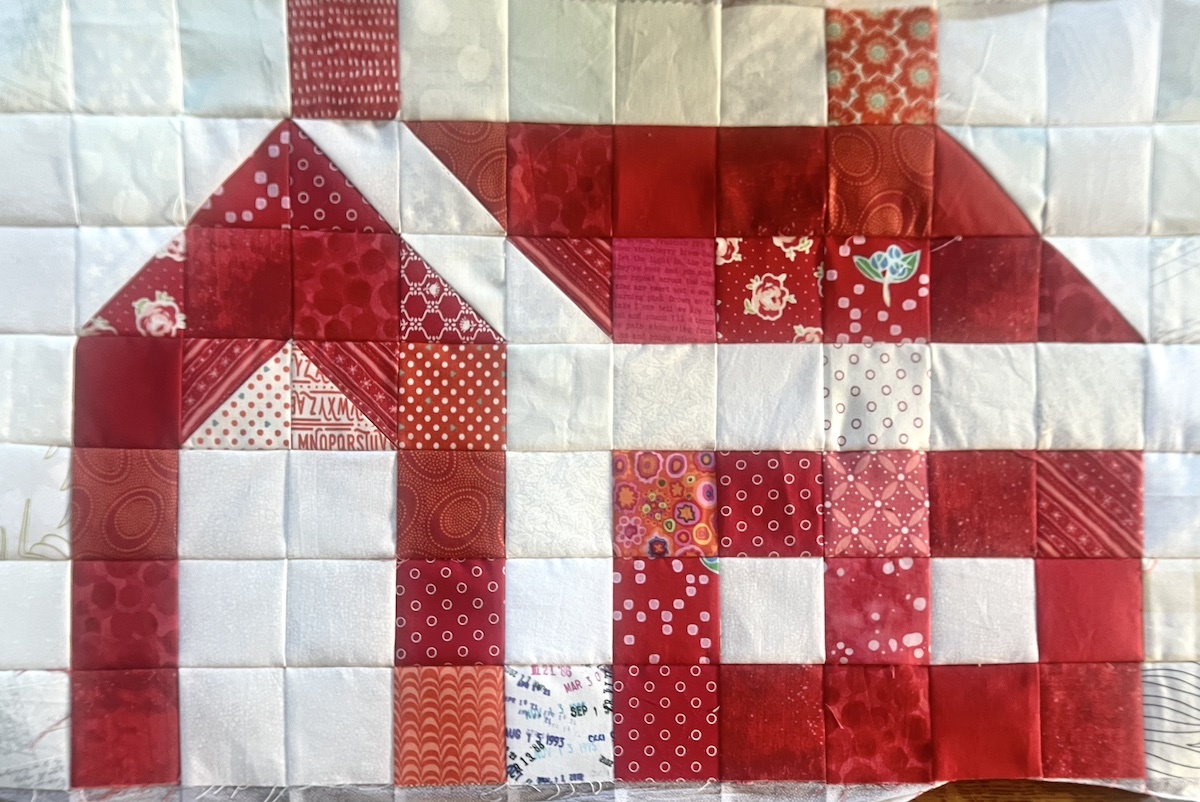
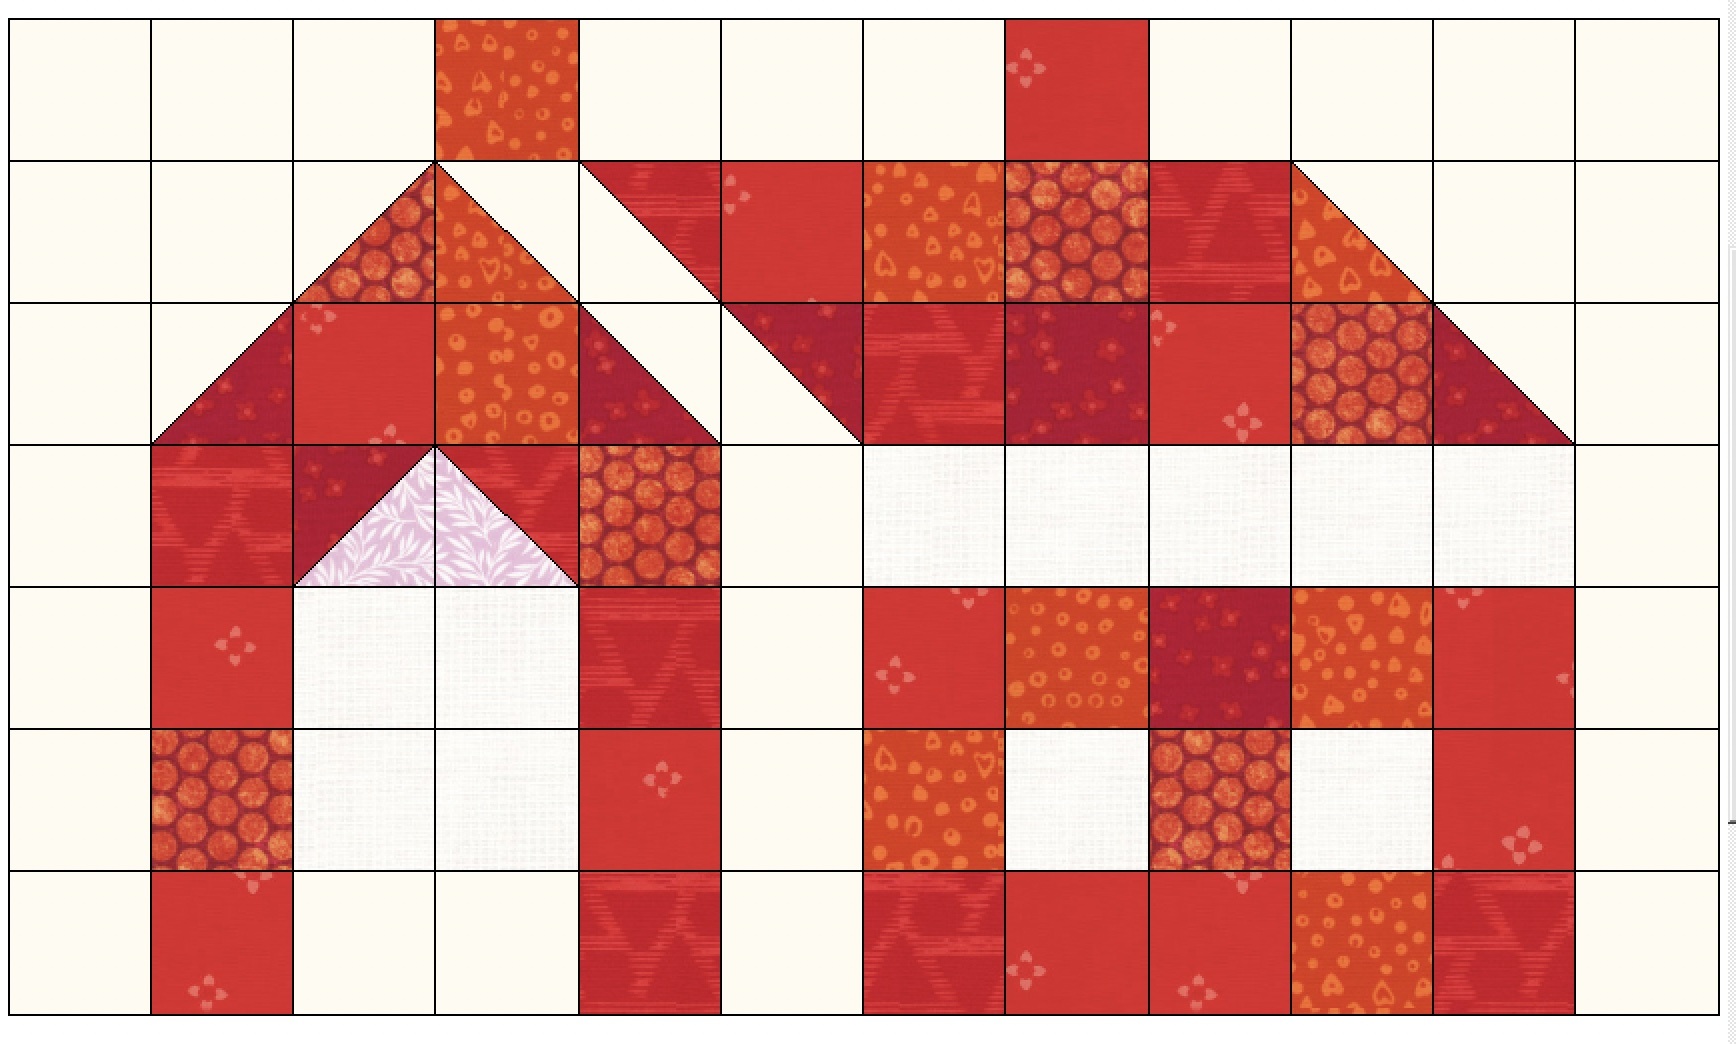
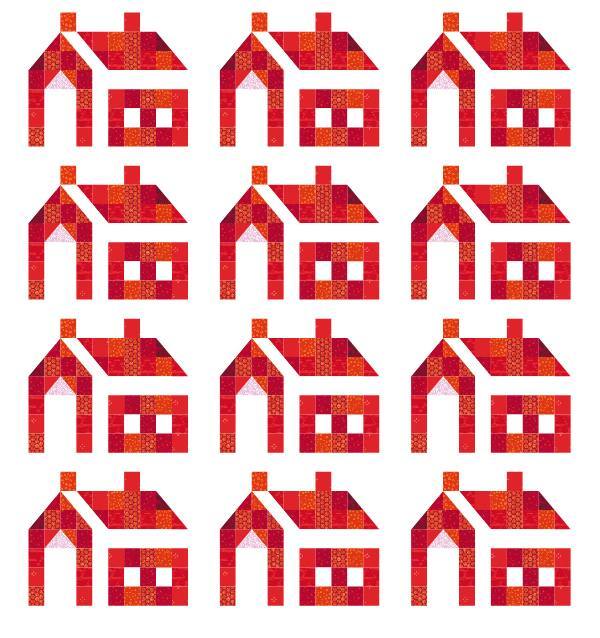
The Schoolhouse quilt block uses one (1) 2-1/2 inch PiX Smart Grid panel and finishes at 24w x 14h. Combine our easy half square triangles with solid squares.
See the layout for placement of the squares and where to make the half-square triangles.
This blogpost shows you how to make our easy half-square triangles.
Combine the blocks to make a quilt. A 3 x 4 layout makes a finished quilt that is 72w x 64h. We added a 2-1/2" sashing between rows when sewing them together.

TranQUILTity Ocean Waves are a breeze to make with our PiX Smart Grid. See our full step-by-step instructions on our blog!
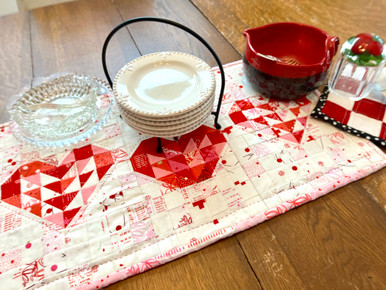
Decorate with love with this table runner made from a simple heart block, combined with an apple with a star made easy with our PiX Smart Grid. Download our FREE pattern for the heart and our FREE pattern for the apple, both designed by Mattie Rhoades.

Perfect for your sewing room or to make for your sewing friends. This spool with a heart is a snap to make with our PiX Smart Grid. Download our FREE pattern for the Spool Wall Hanging designed by Julie Dess
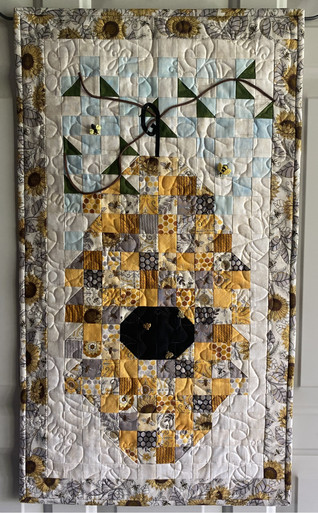
This adorable Bee Skep is a fun wall hanging to make with our PiX Grid. You can download our FREE pattern designed by Terri Musulin.

This festive and patriotic flag pillow was made with the 2.5-inch on-point PiX Smart Grid. Make a grid that is 9 squares wide by 7 squares tall.
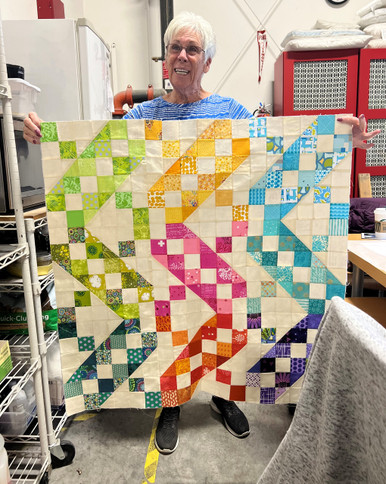
Jacob's Ladder is a layout using Grid Squares. You can use the PiX Smart Grid or check out our custom Jacob's Ladder Pack!

Spread Joy with this festive Truck and Tree pillow pattern. Free Downloadable Pattern designed by Mattie Rhoades using our Easy Lop & Fuse Method.
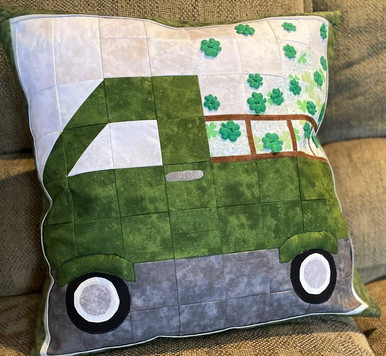
It's your Lucky Day! Start with the Spread Joy Truck and Tree pillow FREE pattern and make a few adjustments for this Lucky Truck pillow!
To make the Lucky Shamrock pillow, replace the tree half square triangles with the background fabric. Then, add some novelty shamrock buttons. Use grosgrain ribbon for the ladder!
Quick Start
1. Choose your grid size and layout (straight or on-point)
2. Cut fabric squares or strips for your design - or use one of ours above!
3. Place fabric on the printed interfacing
4. Sew along the printed lines
5. Press and assemble into your finished project
What You'll Learn
- How to sew accurately using printed interfacing
- How to design original quilt layouts on a grid
- How to create straight-set and on-point blocks with ease
- How to streamline your piecing process for faster finishes
Who This is For
- Quilters who want perfect points without frustration
- Beginners looking for a confidence-building method
- Experienced quilters who want to save time and skip tedious measuring
- Designers who enjoy creating their own quilt patterns
- Anyone interested in grid-based quilts, pillows, and accessories
What's Included
- Printed fusible interfacing with clearly marked grid lines, for placement and sewing
- Your selected grid size and layout (straight or on-point)
- Instructions for use
- Access to downloadable design sheets for planning your projects
Good to Know
- This is a printed interfacing pattern, not a finished quilt
- Finished projects can include quilts, pillows, table runners, and bags
- Works beautifully with scraps, precuts, or yardage
- Great for seasonal projects, gifts, and home décor
- The interfacing stabilizes your fabric for more accurate sewing with fabric placement and sewing lines printed on the interfacing
- Ideal for experimenting with color, layout, and design ideas
Frequently Asked Questions
What is fusible grid printed interfacing?
-You place your fabrics on the placement lines
- You sew on the lines
- It stabilizes fabric
- It replaces templates and measuring
How do you use quilt grid interfacing?
- The video below shows you exactly how to use the Pix Smart Grid printed fusible interfacing
- Cut your fabrics to the size you selected
- Place your fabrics on the fusible interfacing with the wrong side of the fabric to the rough side of the interfacing
- Press gently with a hot iron. TIP: Use a pressing sheet so you don't mess up your iron
- Sew along the marked lines. Sew one direction. Clip at intersections. Sew the other direction.
- Give your piece a good press.
- Now you are ready to use it as a quilt top, or make it into a finished project like a table runner, a quilt coat, a shoestring bag, and more!
Can beginners use grid quilting?
Yes! The PiX Smart Grid printed fusible interfacing is perfect for beginners! You'll get perfect points and intersections every time! There are so many traditional patterns to explore - and the projects we've highlighted above!
PiX Smart Grid gives you the confidence to even design your own patterns!

