

Posted by Amanda Hinchman on 9th Mar 2026
Itty Bitty Easter Basket Project Tutorial
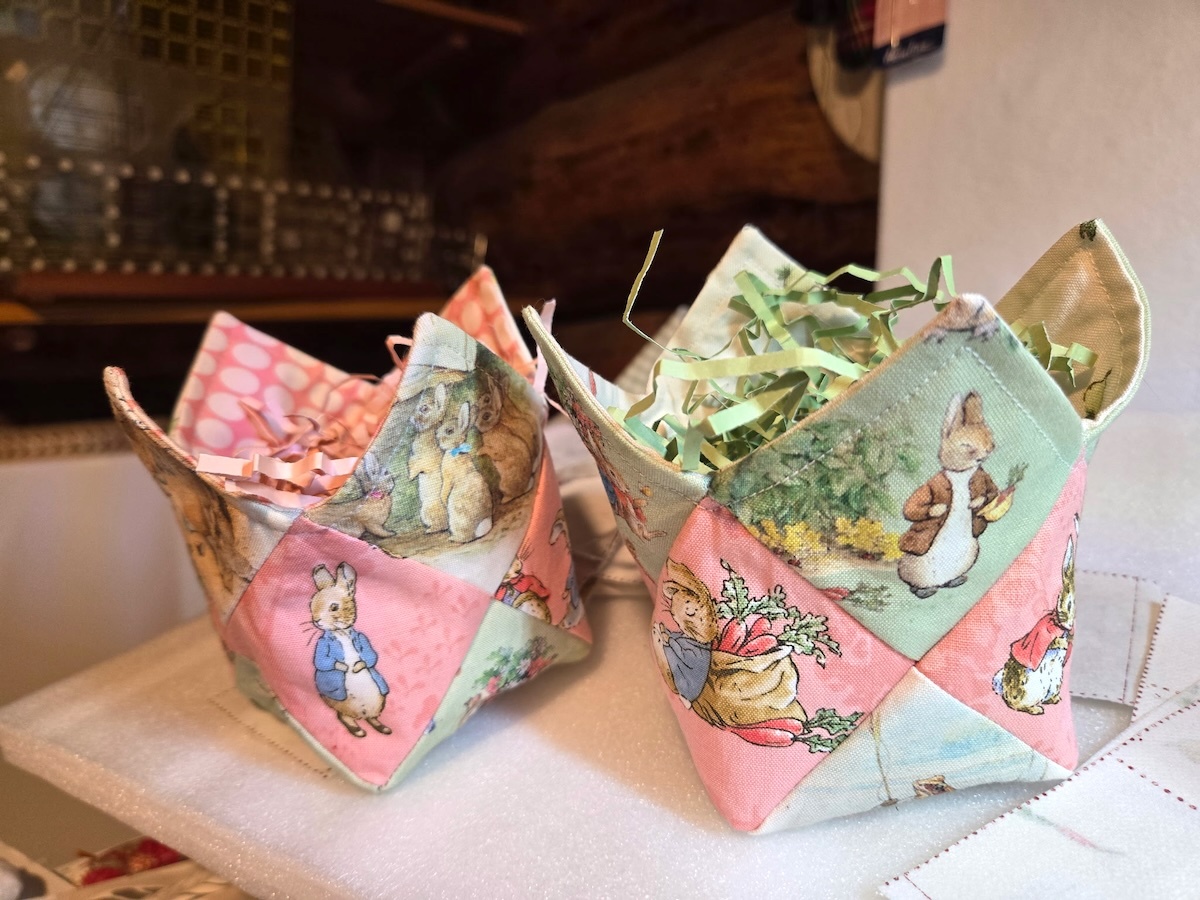
Tiny, sweet, and just the right size for a few chocolate treasures, the Itty Bitty Easter Basket is a delightful little project that comes together quickly using the Quiltsmart printed interfacing sample pack.
These miniature baskets use simple folding and stitching to create a sturdy, quilted container that’s perfect for holding foil eggs, candy, or a small Easter surprise.
They’re a wonderful way to use favorite fabric scraps, or fussy cut fabrics, as I did. Once you make one, it’s hard to stop.
In this tutorial, I’ll walk you step-by-step through how to turn the printed interfacing into an adorable, tiny basket that’s just right for spring celebrations.
Materials needed:
- One sample project fusible brochure panel
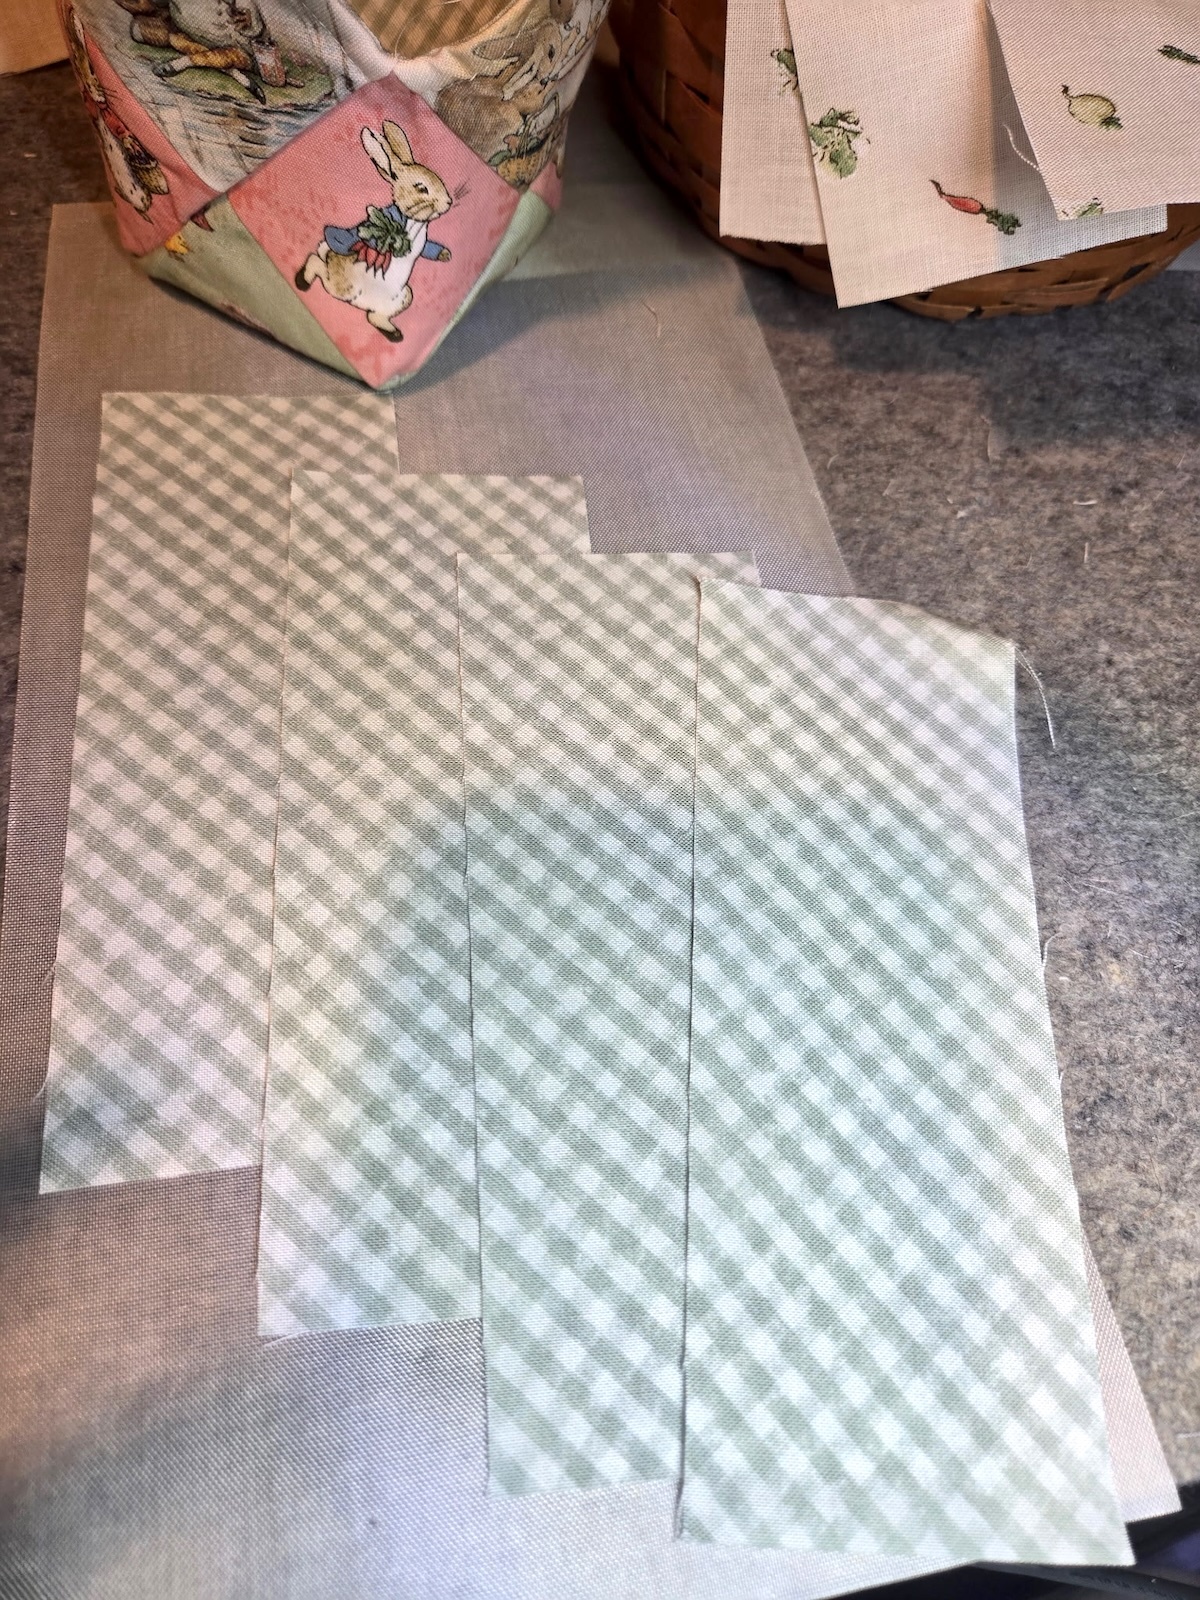
- Twelve (12) 2-1/2" squares of fabric for the outside of the basket
- Four (4) strips of fabric 2-1/2" x 6-1/2" for the lining of the basket
- Light-weight interfacing for the lining of the basket
- Thread for sewing
Tools needed:
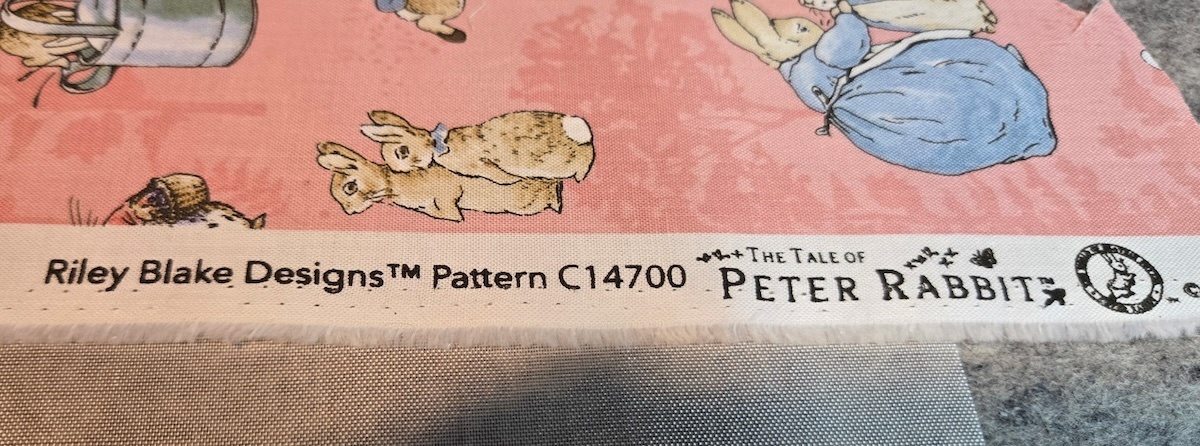
I used this adorable The Tale of Peter Rabbit fabric by Riley Blake Designs for my Itty Bitty Easter Baskets.
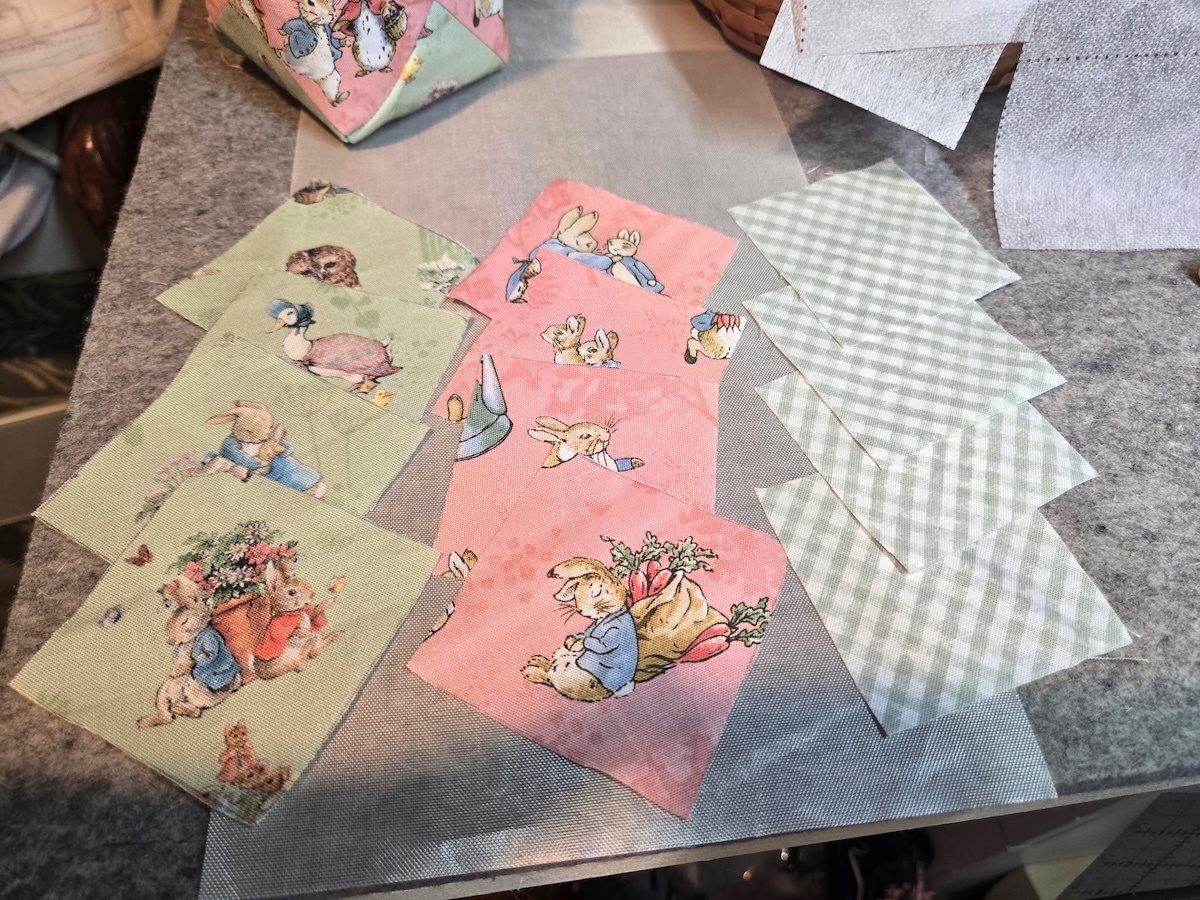
Start by cutting out twelve (12) 2-1/2" squares of fabric. I fussy-cut 8 of them for the outside of the itty bitty Easter basket.
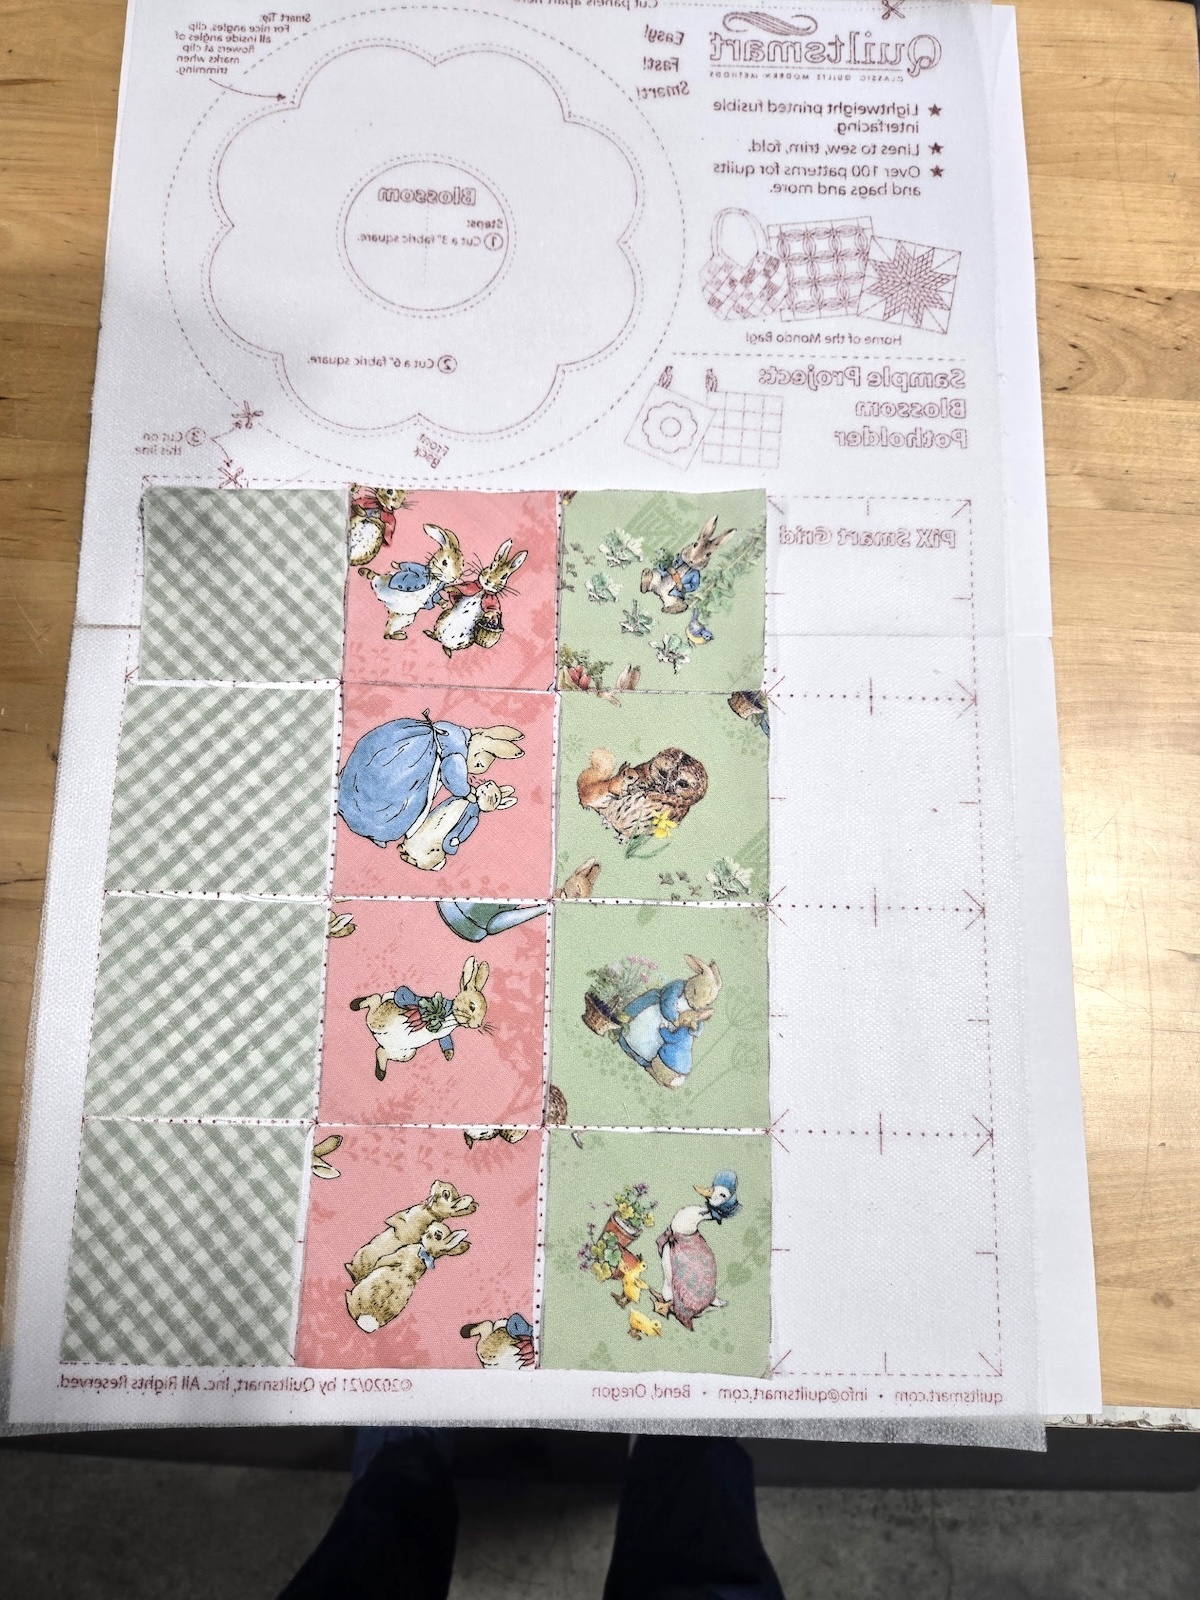
Lay the squares on the interfacing as I've shown in the above image. I only used 12 of the 16 squares for this project.
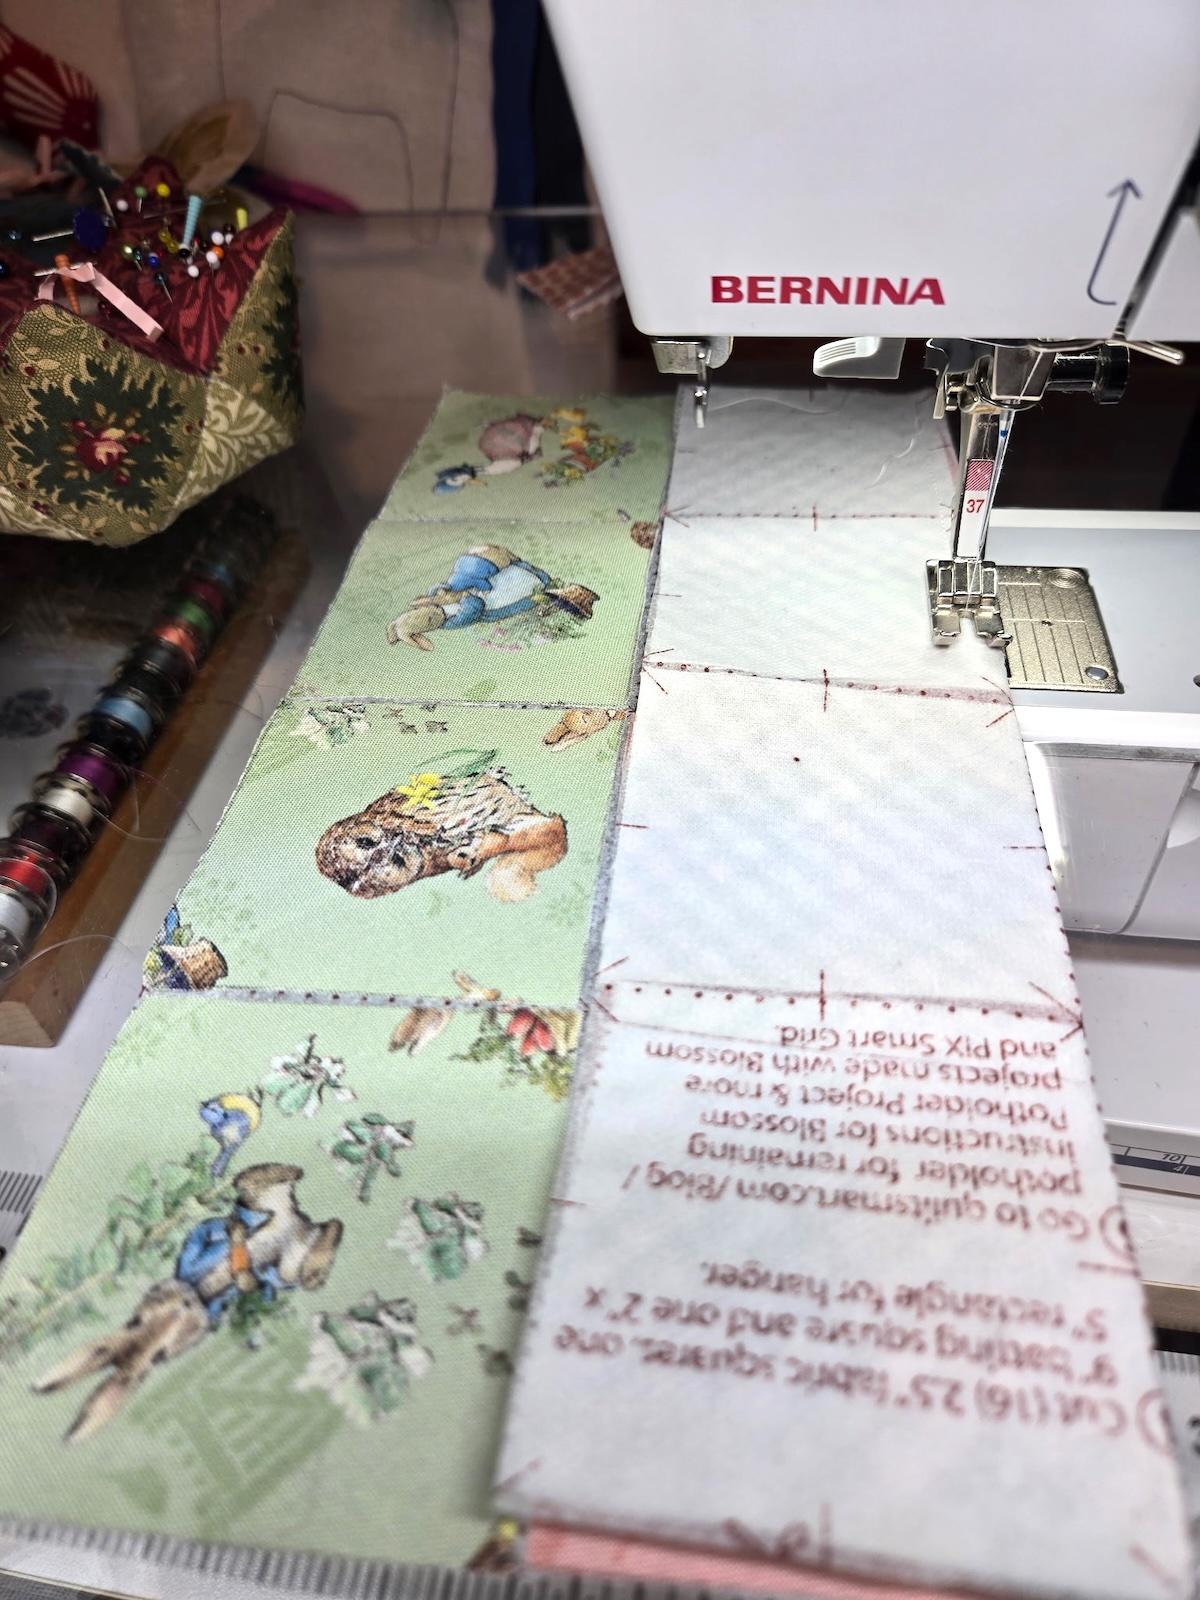
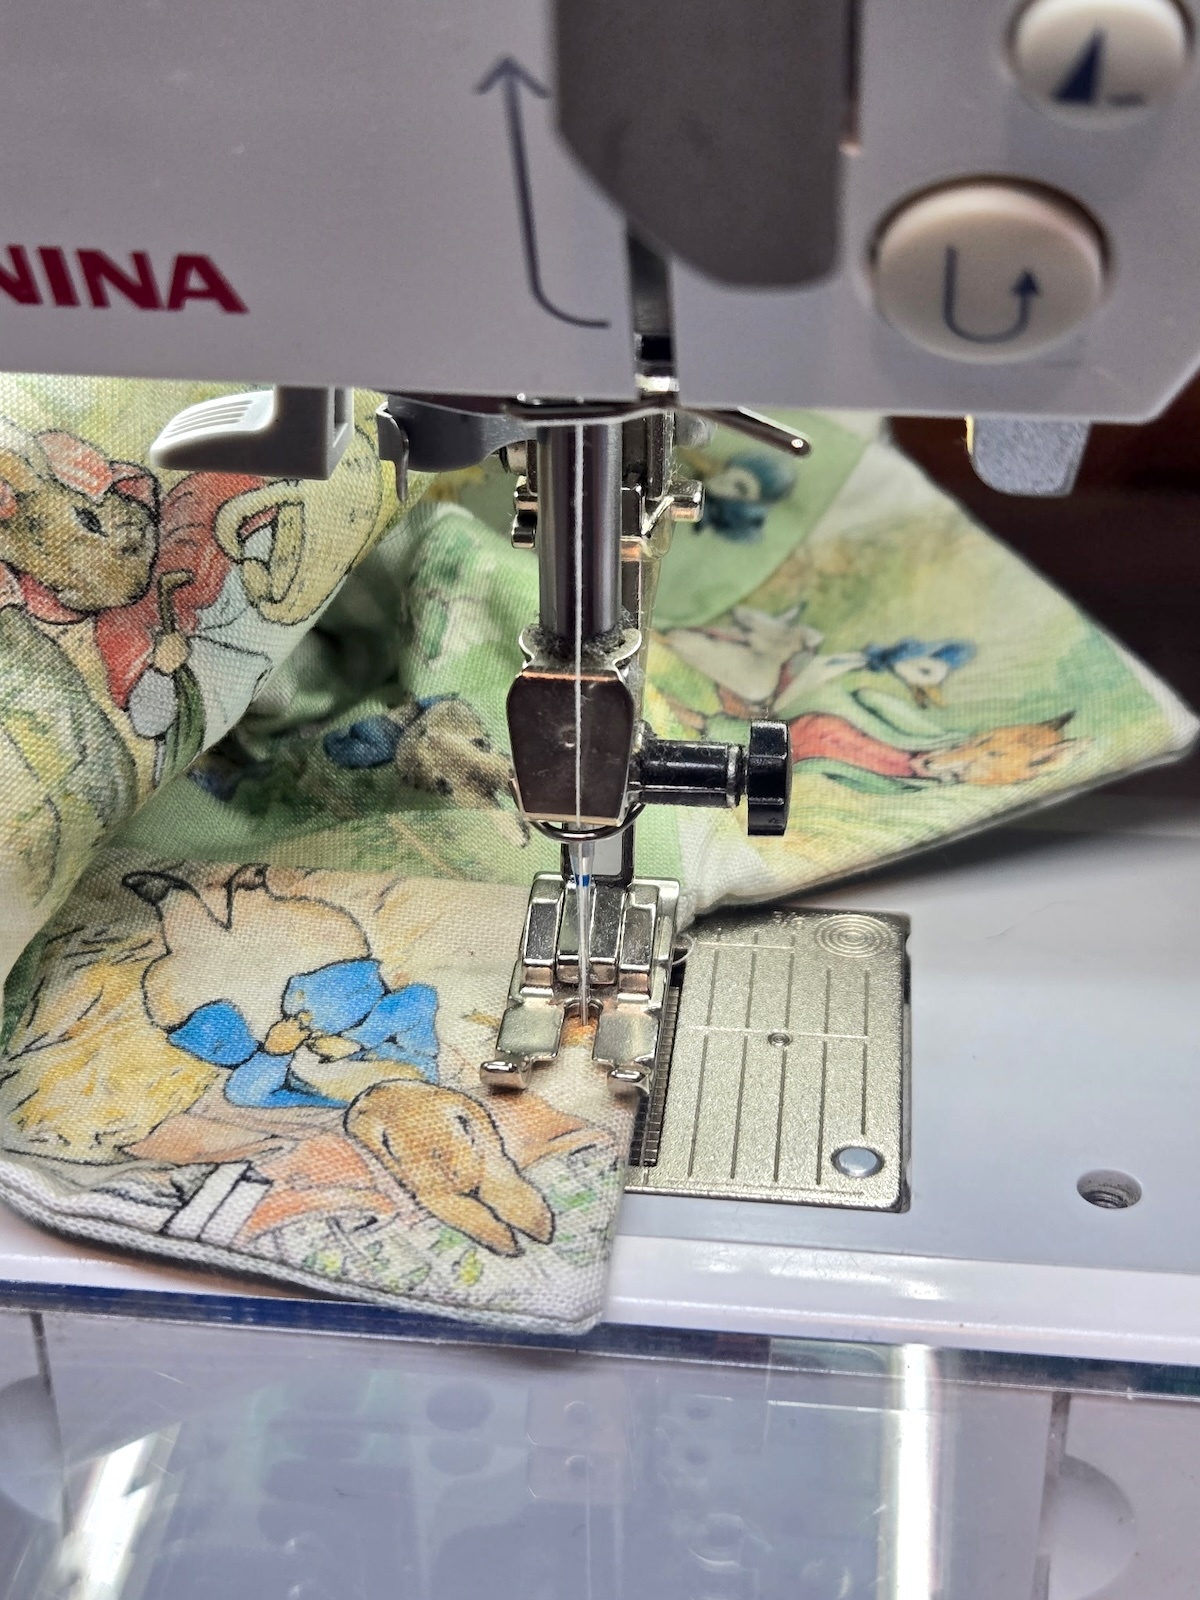
Fold along the dotted line and sew with a 1/4-inch seam allowance.
NOTE: See how I'm sewing them along the dotted line, keeping the similar fabrics in a row.
NOTE: Start stitching 1/4" from the edge and back stitch, and stop 1/4" from the end and back stitch. This way, when you sew up the sides of the basket, it is easy to turn, and the stitches don't come out.
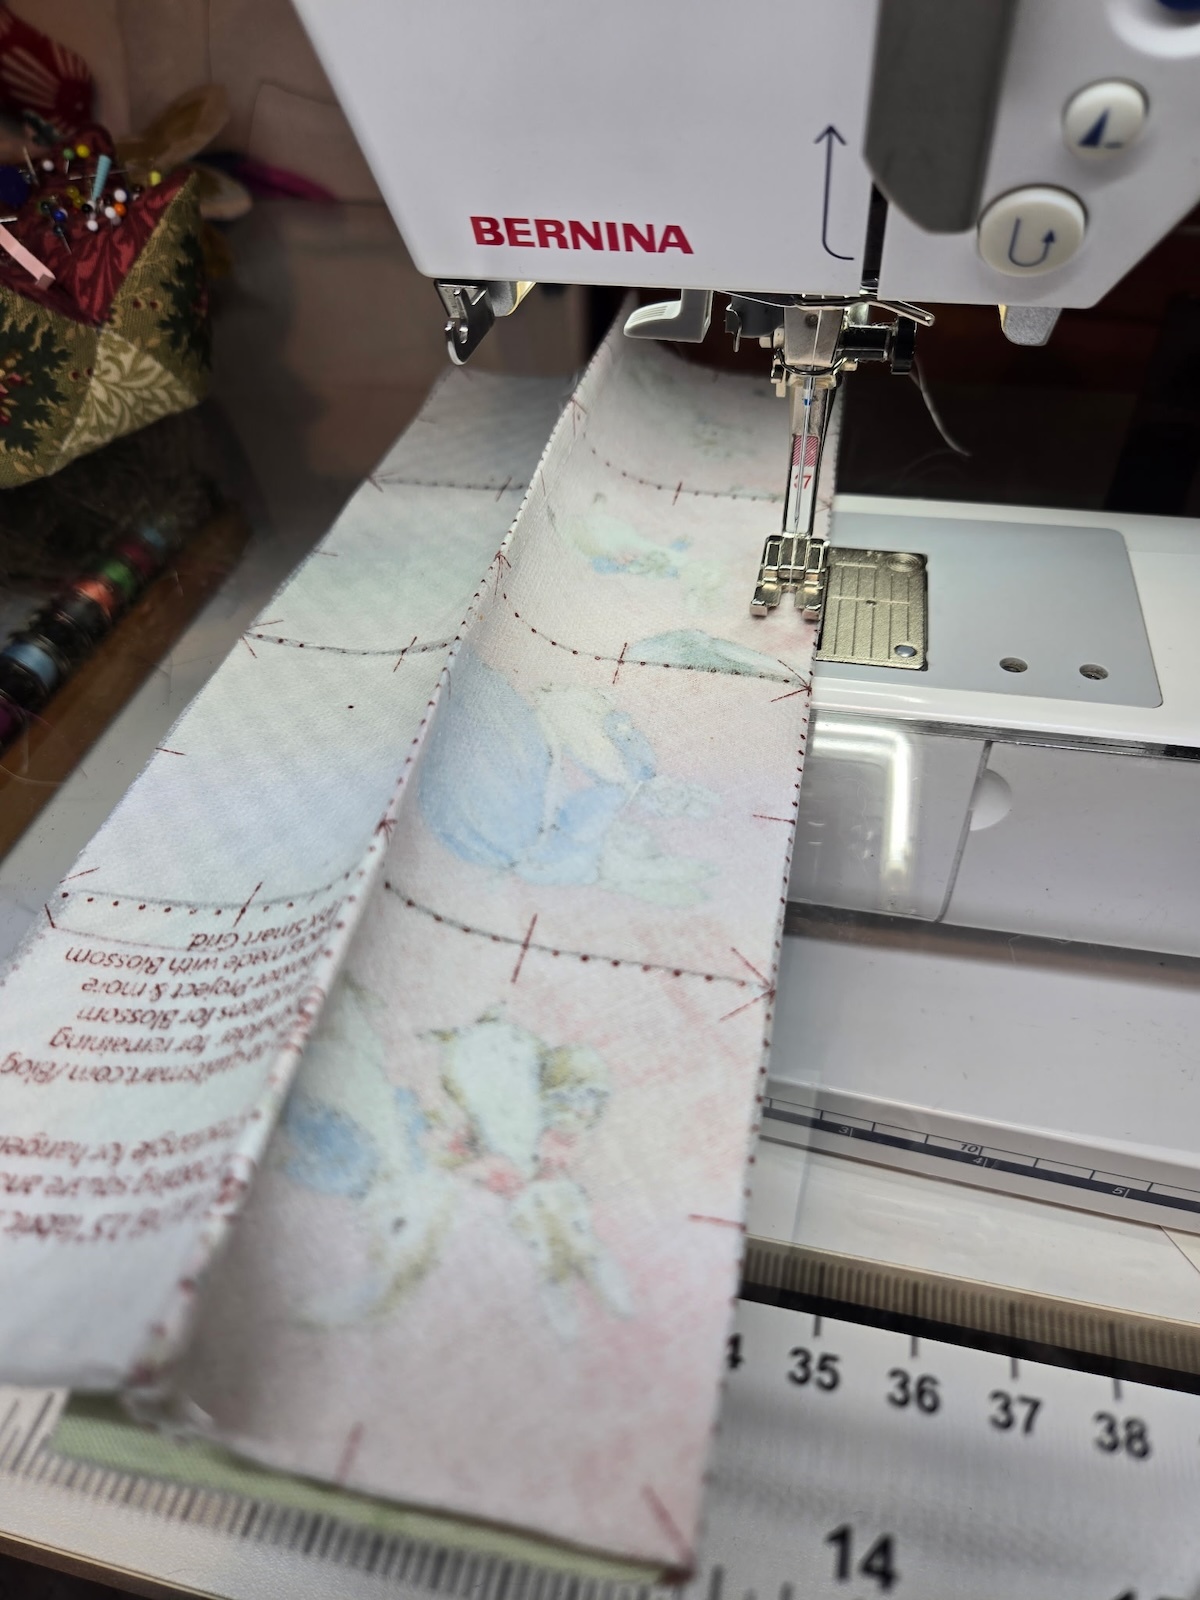
Fold along the next dotted line and sew with a 1/4-inch seam allowance.
NOTE: Don't sew the seams in the other direction.

Cut the rows apart along the dotted lines to form 4 pieces.
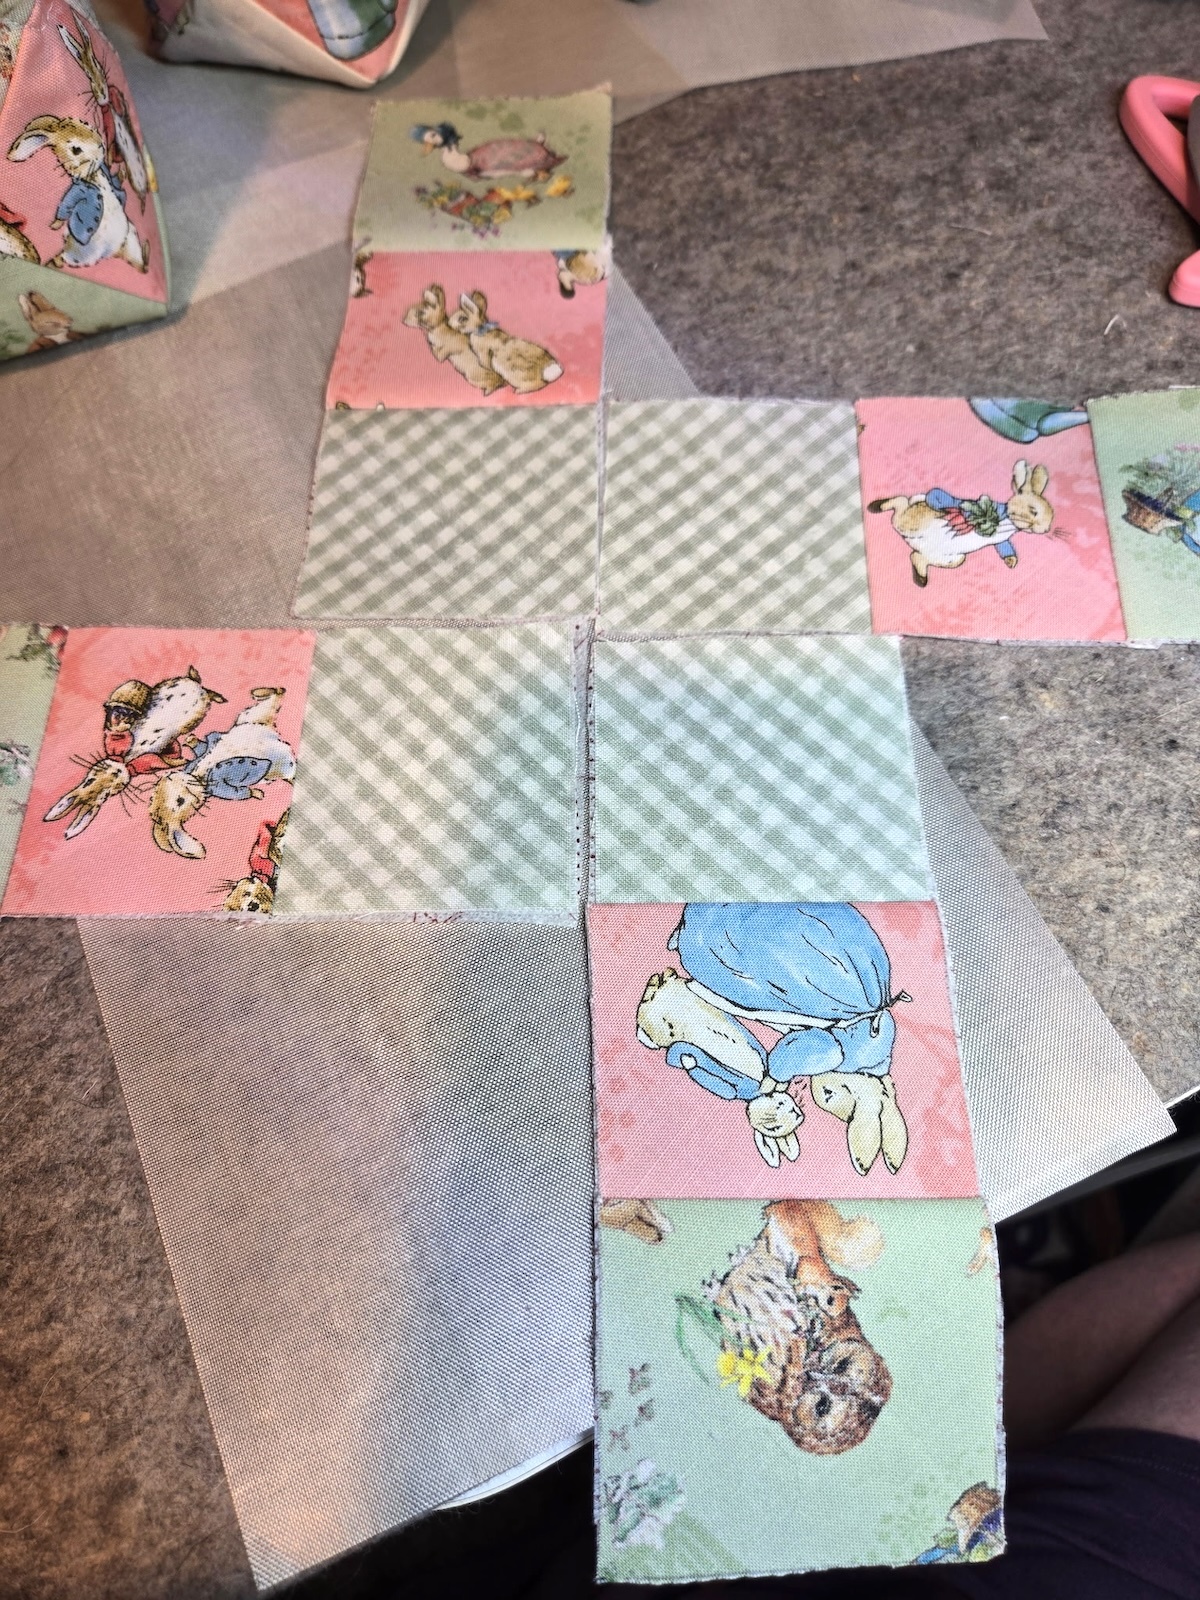
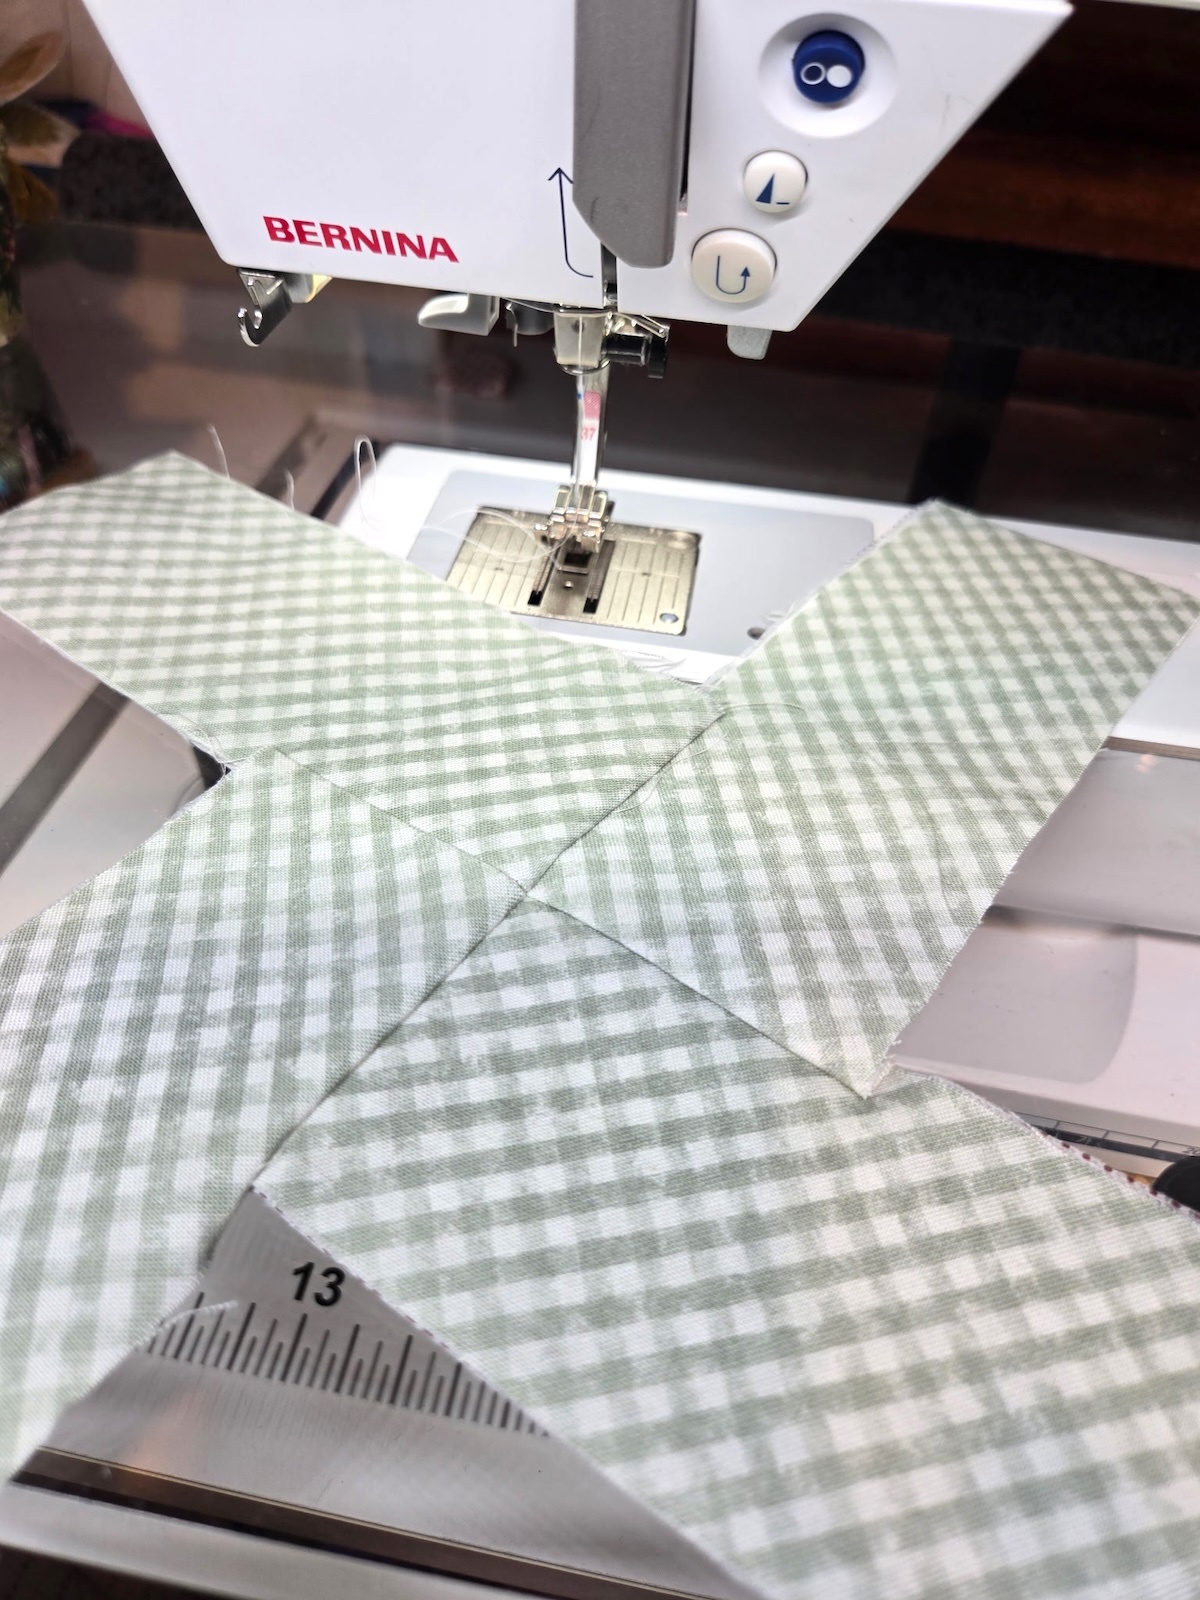
Lay out the strips as I have in the above image. Stitch the center squares together. For mine, it is the green checked fabrics.
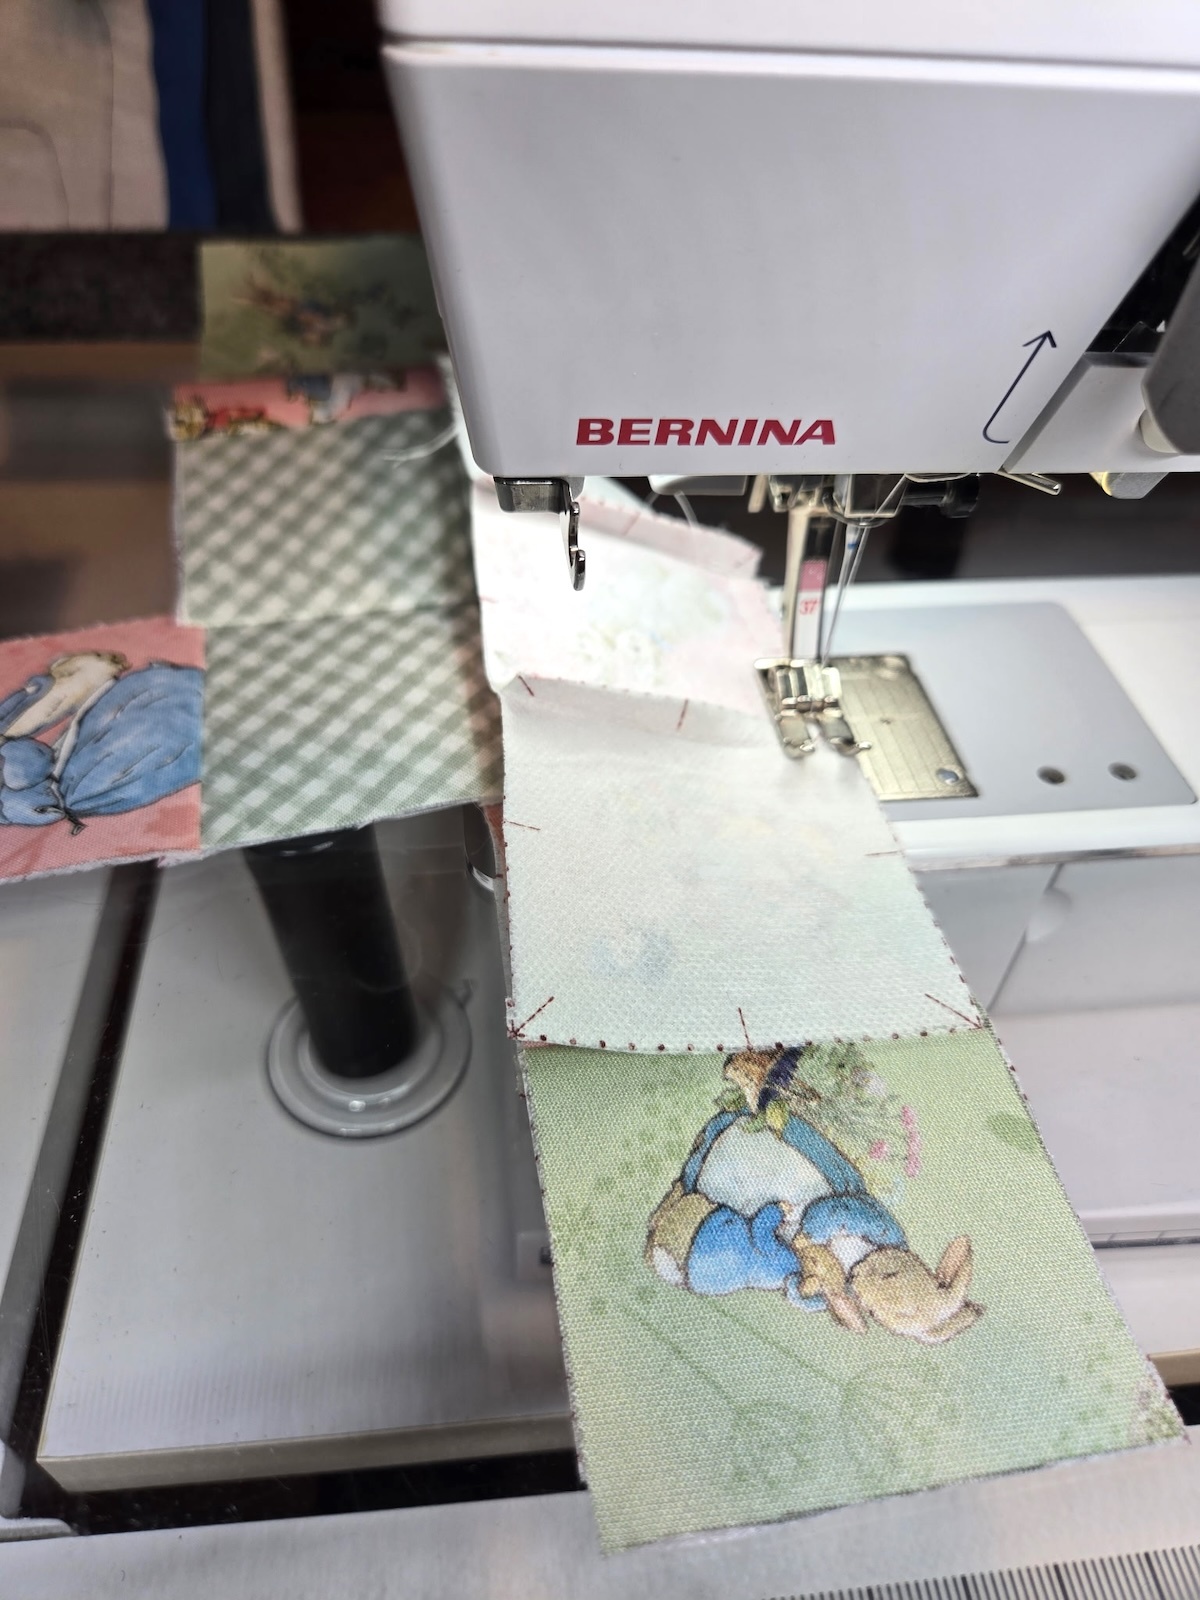
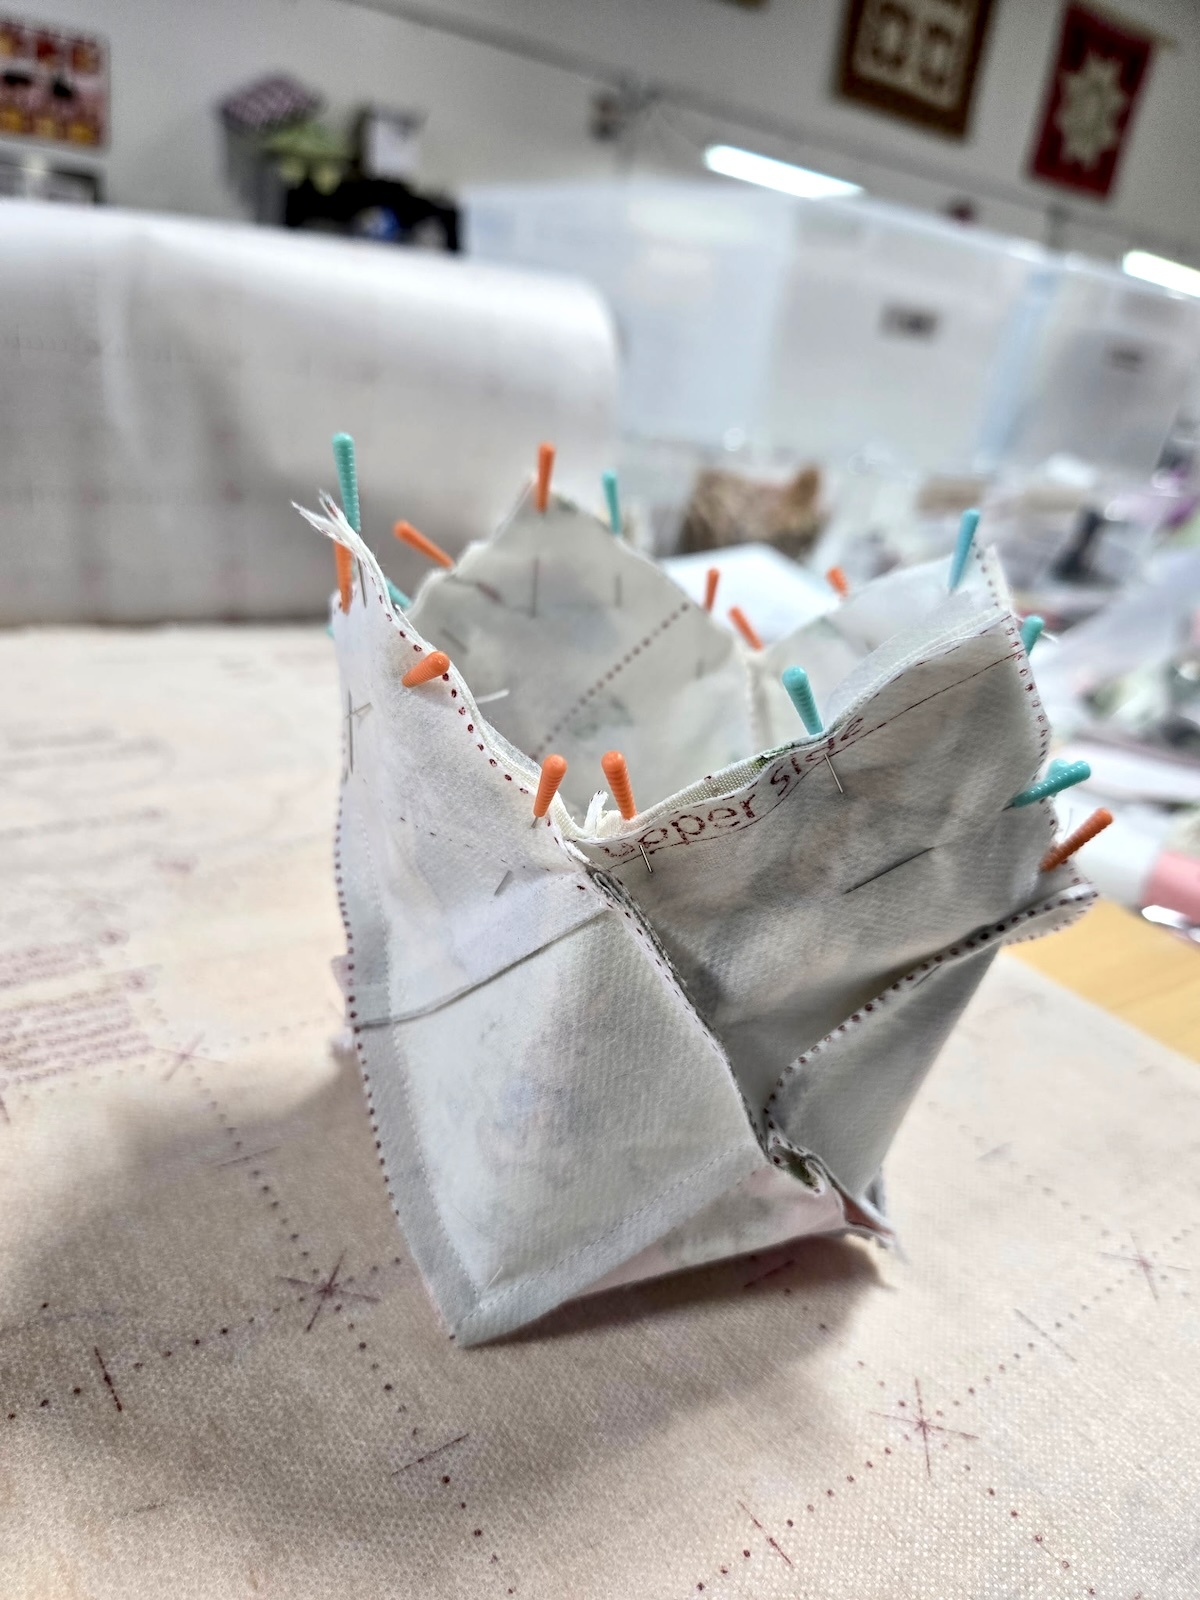
Next, fold one of the sides together and stitch with a 1/4" seam allowance.
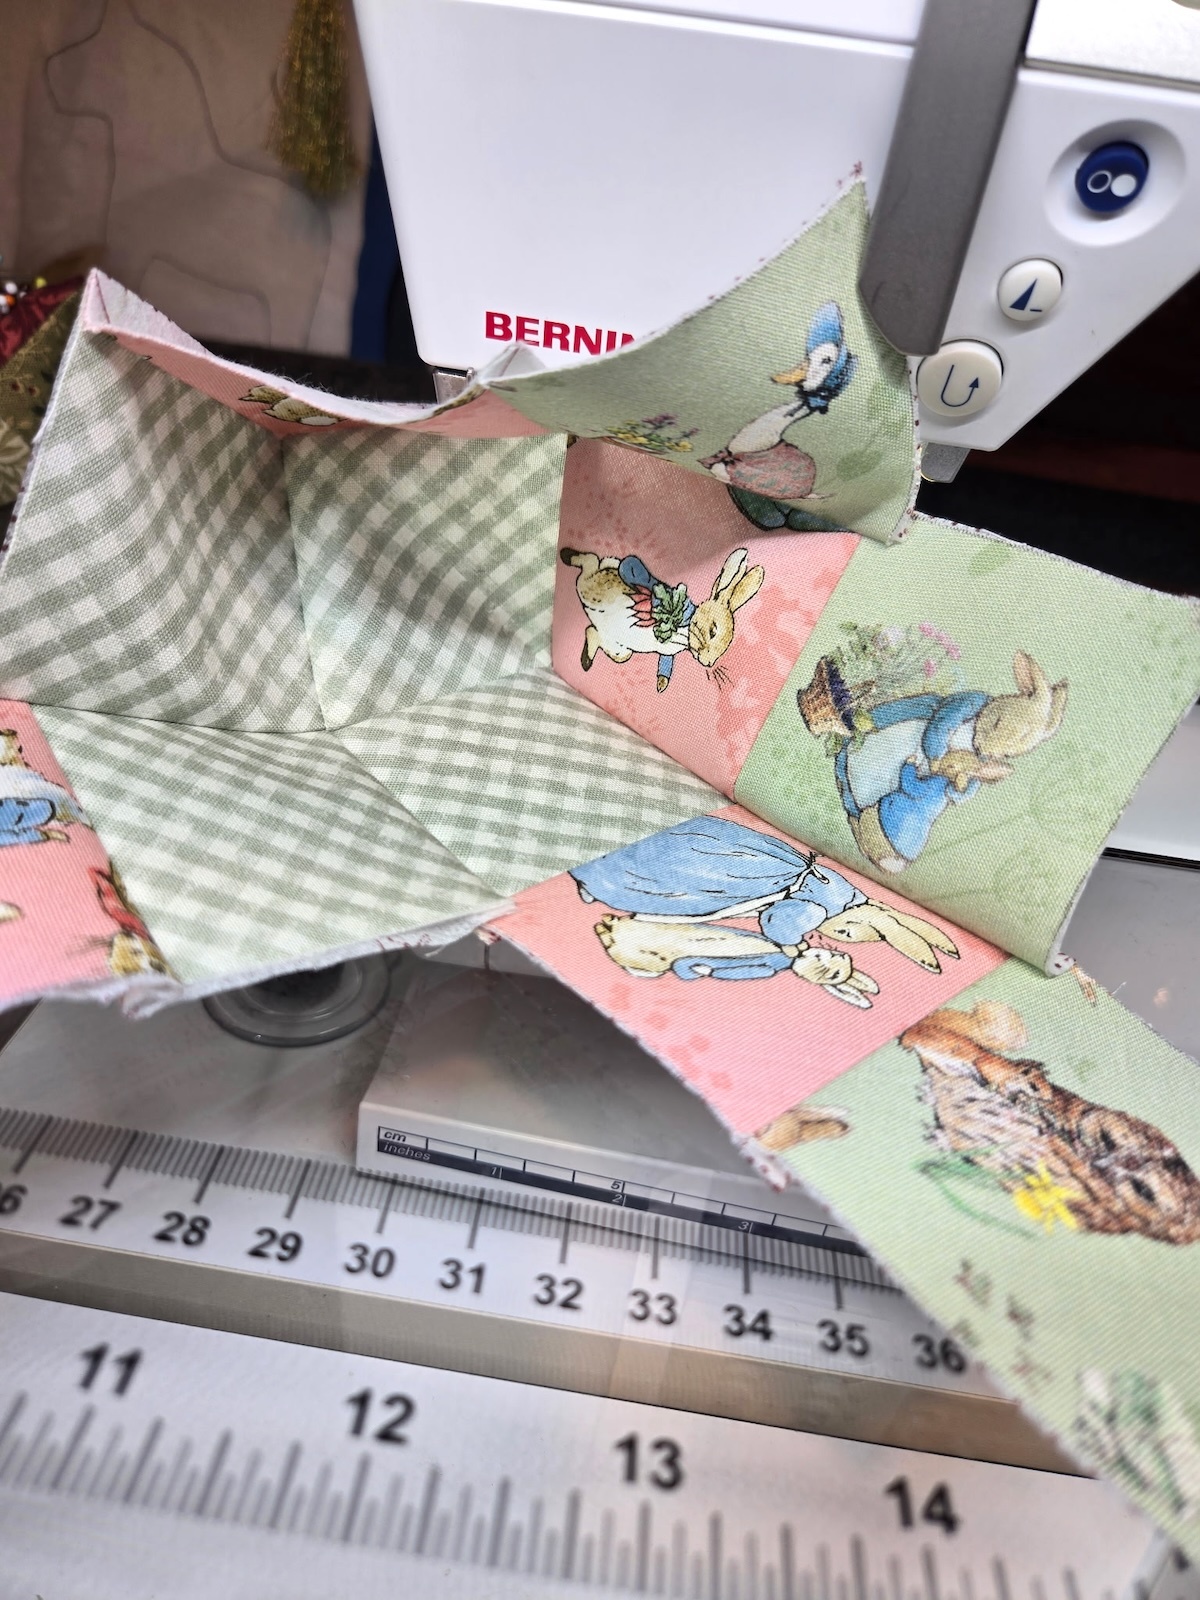
Continue around the basket, folding the sides together and sewing the side seams.
Above, the basket is all sewn together and hasn't been turned right side out.
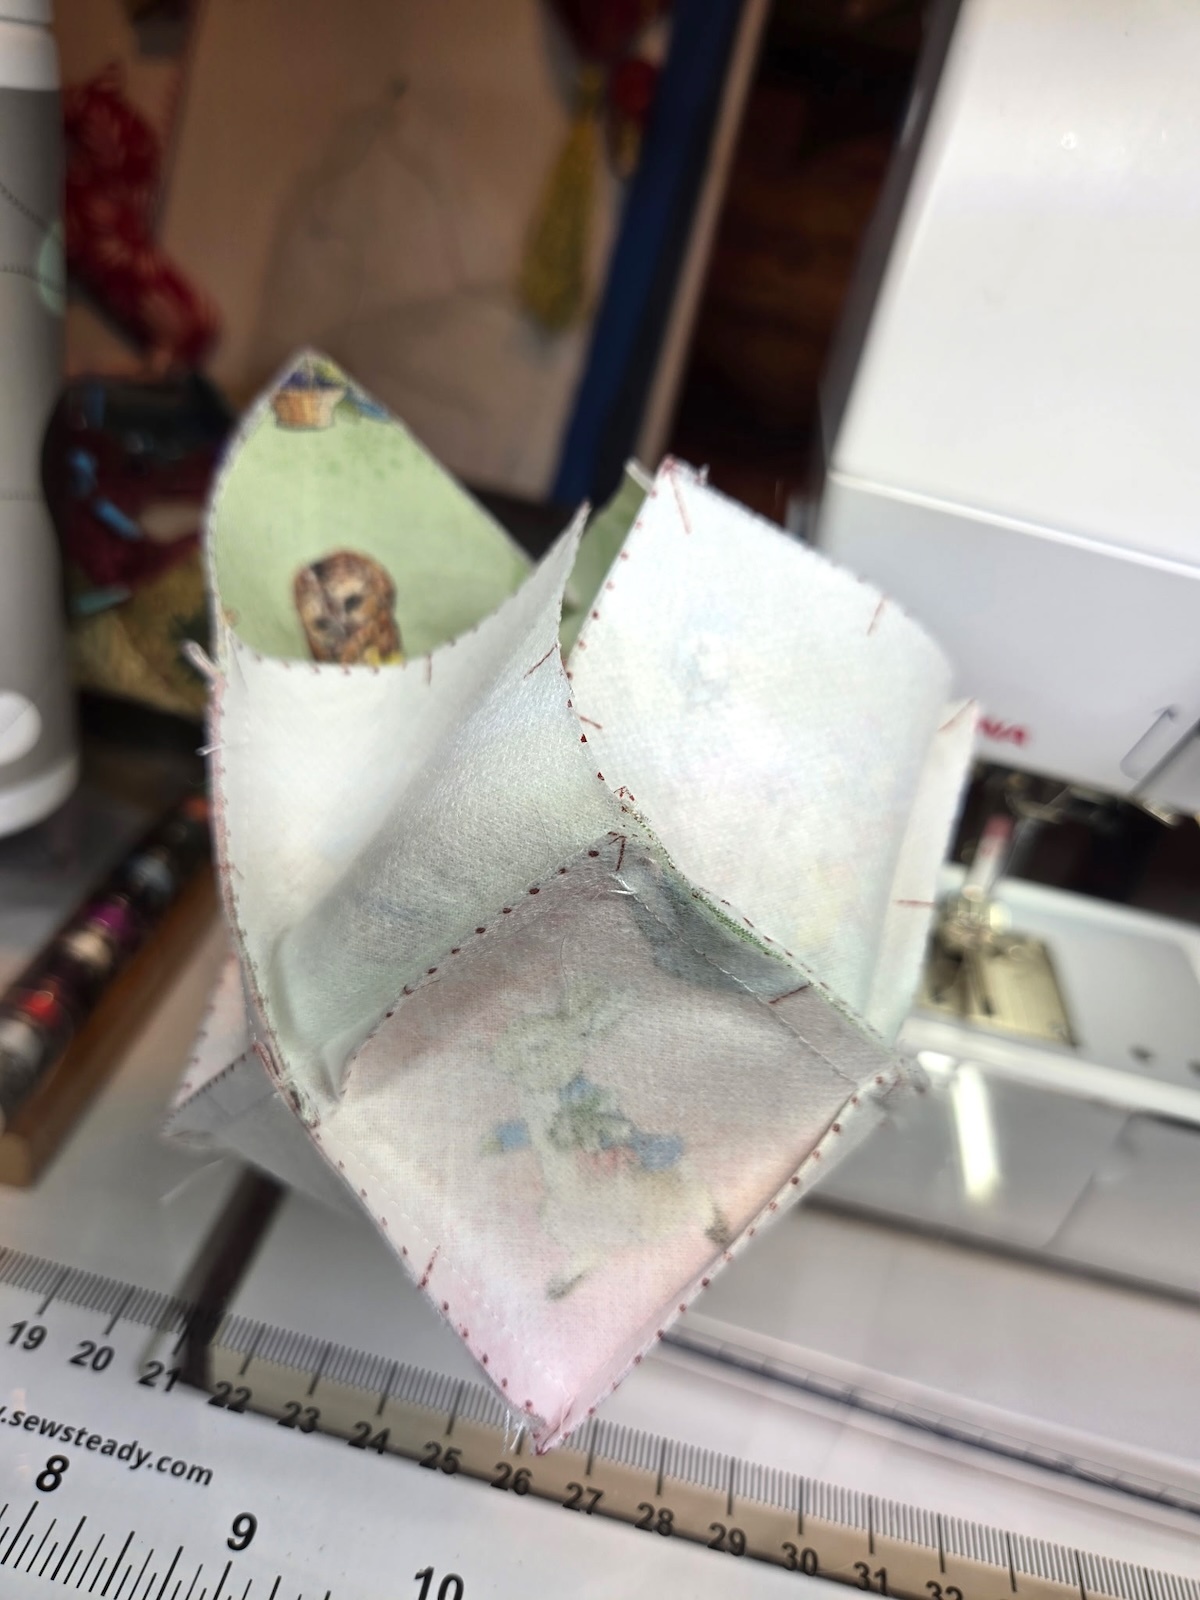
Next, cut your lining fabric. You'll need four (4) strips of fabric that are 2-1/2" wide x 6-1/2" long. Press a lightweight interfacing to the back of the lining fabric. This makes the itty bitty basket a little more sturdy.
Sew the lining pieces together, just like we did the outside of the basket. Start by sewing the bottoms together, then sew the side seams.
With right sides together, pin the Itty Bitty Easter Basket lining to the outer basket. Sew around the top edge with a 1/4" seam allowance.
NOTE: Make sure to leave one of the sides of the squares open to turn the basket right side out.
After sewing, turn the basket right side out through the opening. Use a corner turner to gently poke out your corners.
Topstitch all around the top edge, making sure to close the gap used for turning the basket right side out.
Turn your basket right side out and fill it with some Easter grass and goodies!
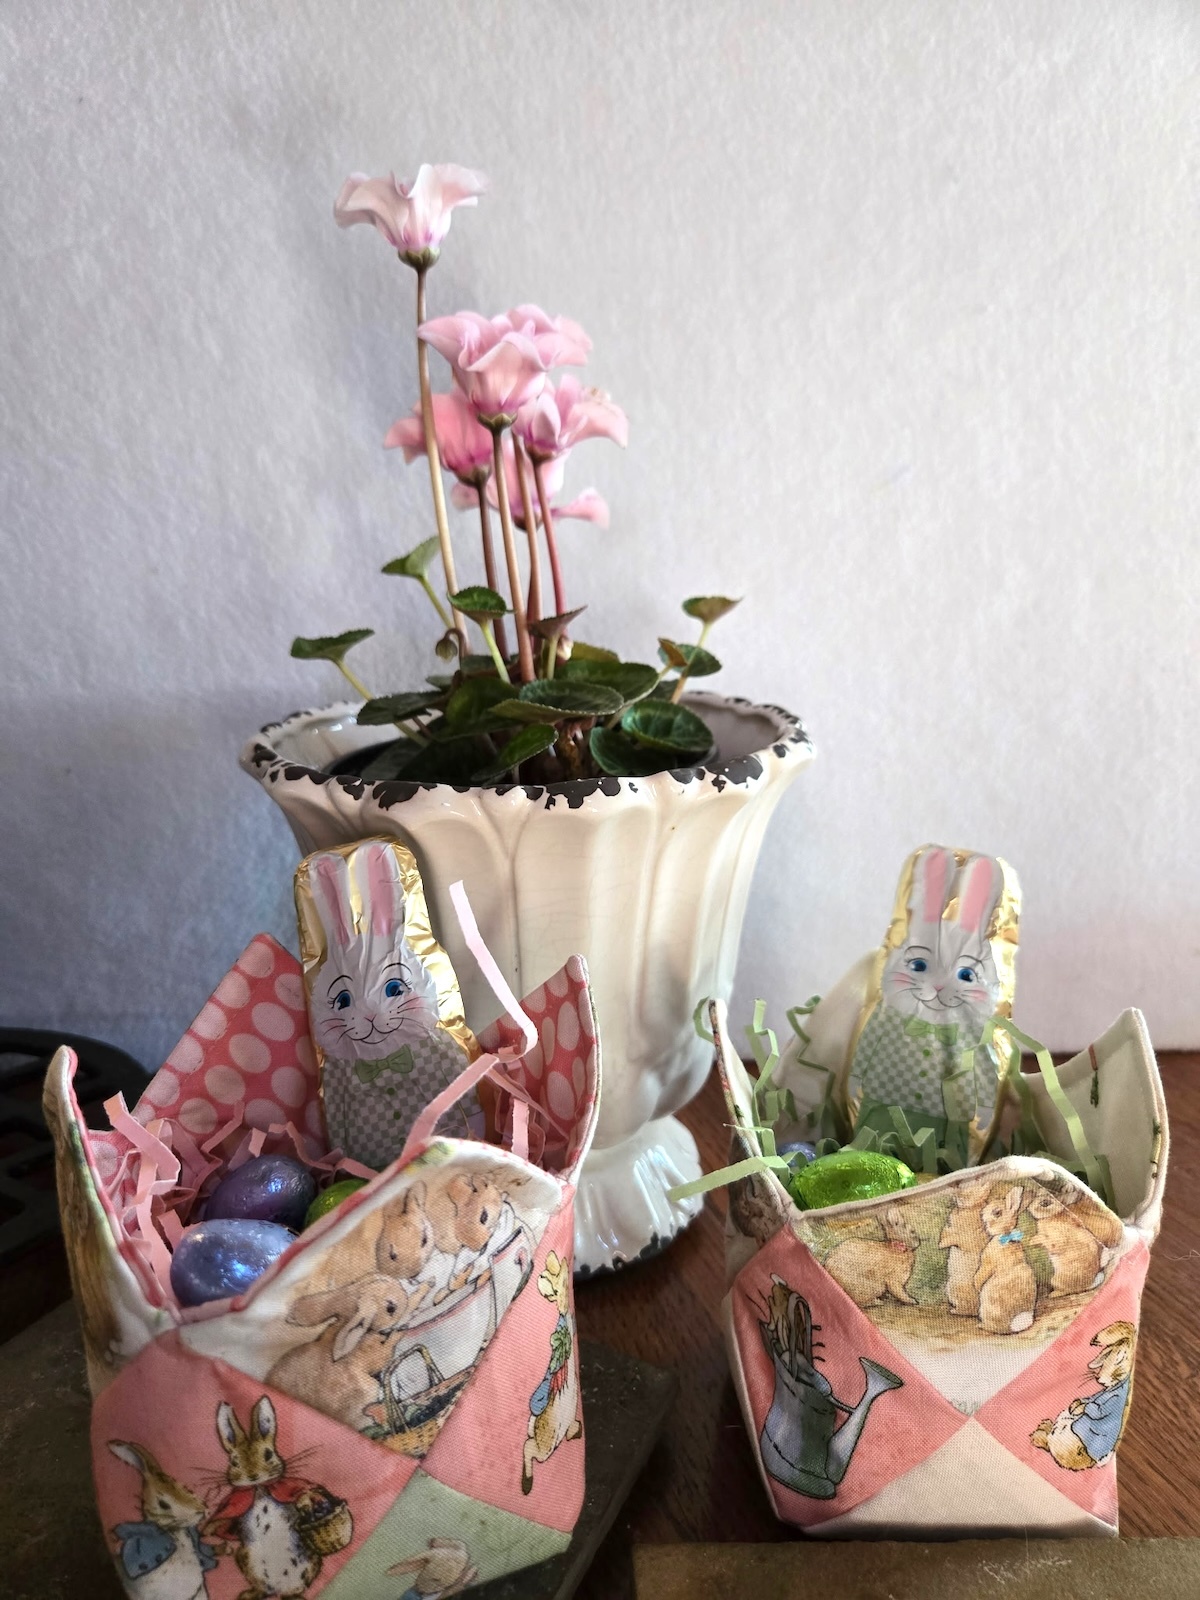
Learn how to make this adorable Itty Bitty Easter Basket with our Sample Project Fusible Brochure!